Getting started with messaging
Managing brand-to-consumer conversations on messaging
LivePerson is the most advanced platform for any size organization, offering a slew of customization capabilities. To ensure you are getting the most out of messaging, review how to manage a contact center that messages, and develop and set up your preferences in three areas:
- Customer experience: design what consumers will see when they interact with your brand by customizing the engagement window, including the banners, buttons and automatic text. You can also start to add bots and automation to receive and respond to incoming conversations.
- Agent experience: set up the agent experience to ensure your reps can easily and successfully communicate with consumers, including Predefined Content and custom widgets.
- Management & operations: set up agent skills and LOBs, routing,& queue priority.
Step 1: Set up data for accurate tracking
Adding more data will enable you to better target customers, arm agents with more information, and get more granular and accurate reporting.
In addition to adding the LivePerson tag to website pages, brands can also:
- Send engagement attributes - information about consumers, such as items added to a shopping cart, account status and more - to LivePerson for reporting purposes. Engagement attributes, such as conversions, can be tracked across different sessions or customer visits. Developers can add engagement attribute tracking directly into the LivePerson tag or by scraping.
- Determine the attribution model to enables brands to select how to attribute cross session conversions to agents who handled the conversation.
- Set up LivePerson to track multiple currencies if needed for accurate conversion tracking and reporting even across multiple countries.
Step 2: Customize your account settings
- Account security settings: review the security recommendations and apply standards based on your brands requirements.
- Account Administration:
- Skills - set up or import the list of skills that you’d like conversations routed to.
- Users - set up or import the list of agents, managers or administrators.
- Groups/LOB - set up groups or lines of business to reflect how your contact center is organized to reflect in reporting, as well as filter so agents and managers only see relevant conversations and data.
- Permissions - assign permissions or customize permissions based on what actions your users can take in the system. For example, create a ‘supervisor’ role with permissions to set up and add users.
- Timezone - set up the time zone of your account for timestamp and reporting purposes.
- Languages - setup the language for Agent Workspace.
Step 3: Connect to your channels of choice
Using LivePerson, consumers can begin messaging with your brand from any channel. Although each channel is set up separately using messaging connectors, once you have configured all relevant channels, LivePerson's settings and bots automatically apply. See our messaging channels capabilities matrix, or drill down on specific connectors.
- Web Messaging on your website
- App Messaging
- SMS (Twilio, Google My Business)
- Apple Messages for Business
- Google RCB Business Messaging
- WhatsApp Business
- Line
- Connector API (build a connector to any custom messaging channel)
Step 4: Design the customer experience
- Rich Conversation: Enhancing the conversation is crucial to enable agents to handle more types of inquiries and actions over messaging. Beyond regular text, LivePerson enables brands to set up the following Rich Conversations capabilities:
- Photo sharing (consumer to agent)
- Structured content (cards, carousels, lists)
- Quick replies
- See the messaging channels capabilities comparison matrix for detailed information on what is available per messaging channel.
- Add bots: Automate tasks by greeting consumers with a bot that can immediately answer questions, or route the conversations. Learn how you can easily create bots.
- Automatic messages: these are the messages that are sent by the system to consumers (e.g. ‘an agent will reply shortly’). Customize the text of Automatic Messages to match your brand's look and feels guide.
- Surveys: there are two surveys you can set up for Web Messaging: one before a conversation starts and one when a resolution has been achieved.
- Routing bots give pre conversation surveys that greet consumers and ask questions to determine what skill (or bot) the conversation should be routed to.
- Post conversation survey - when a conversation is closed or resolved, a survey can be sent out to consumers asking them questions, such as customer satisfaction questions.
- Secure forms: take payments or verify secure identities of customers using PCI compliant secure forms within the conversation window.
Step 5: Define the agent experience
- Predefined answers: create or import a database of Predefined Content defined by skill and language that your agents can quickly enter into the conversation, saving valuable time.
- Custom agent tools: within the Agent Workspace there are widgets that contain additional tools, webpages or applications for agents to use during the conversation. For example there is a custom CRM integration widget that pulls up the record of the customer in an active conversation.

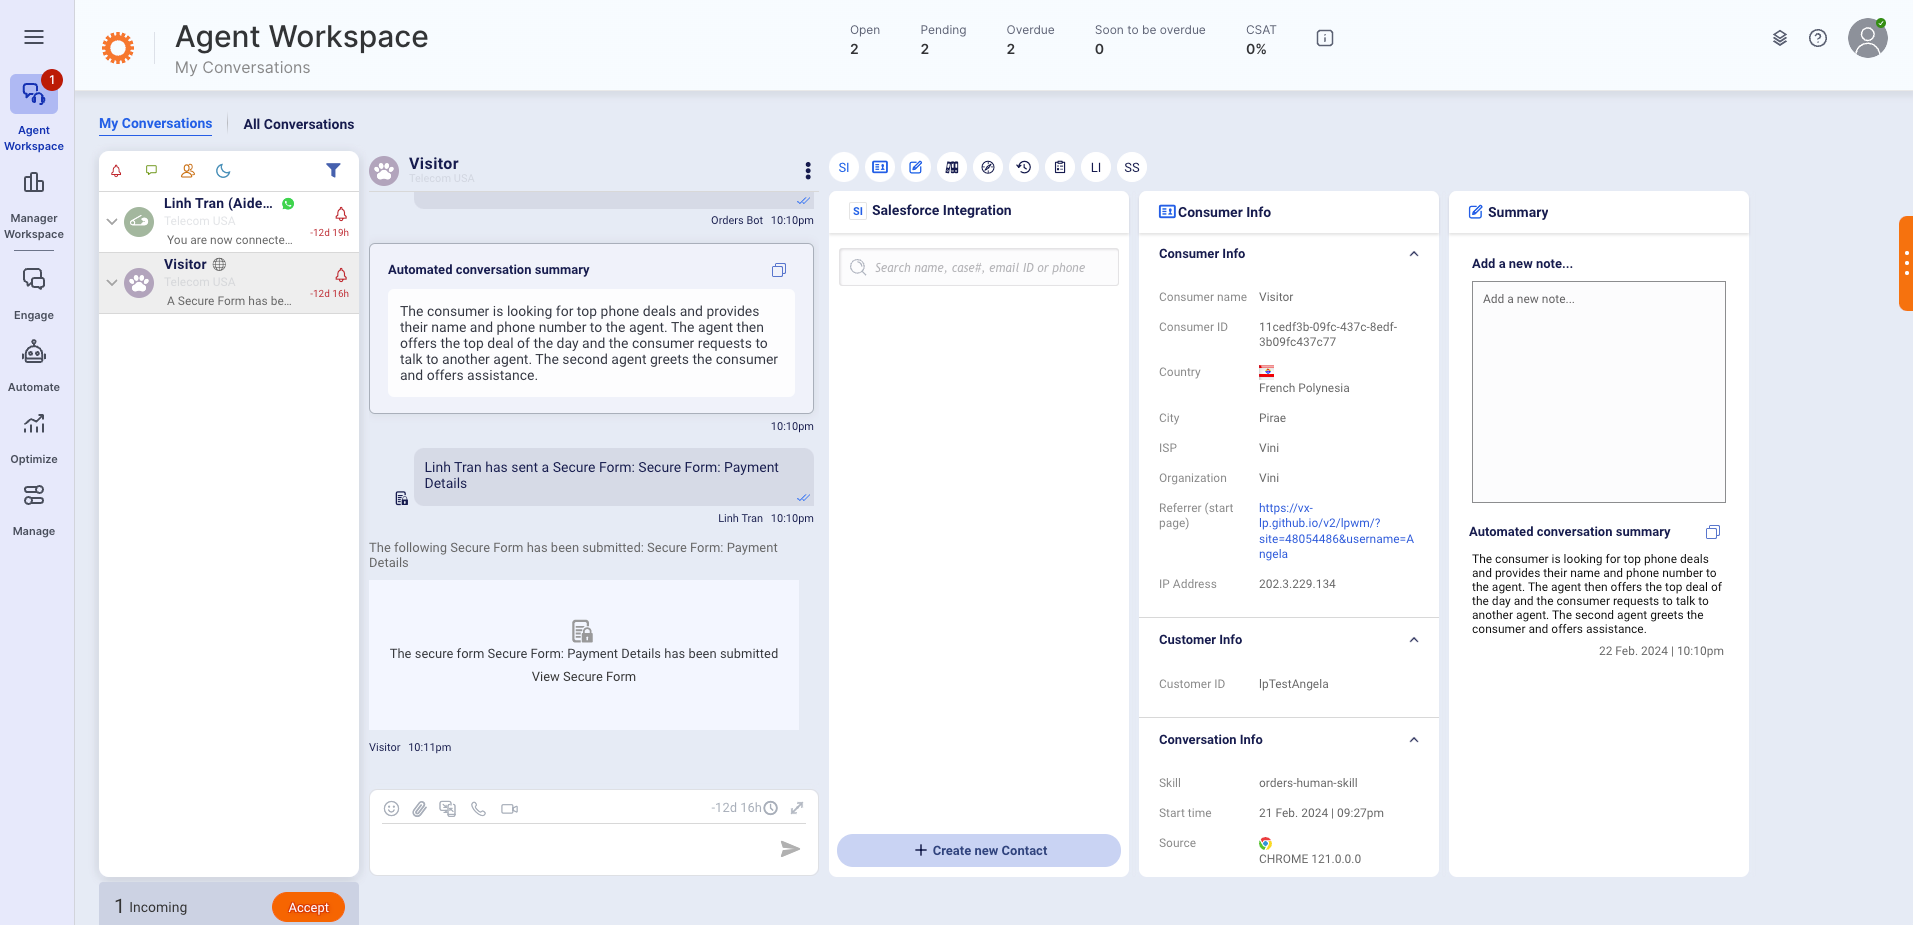
Agent Workspace for messaging
3. Multiple away states: by default, your agents can be ‘online’ and available to take messages, ‘busy’, or ‘away’. These away states affect the flow of incoming conversations, and are customizable to give better granularity in reporting agent times - e.g. create an away state for training.
4. Configure CoBrowse: For high touch conversations, agents can connect to customers screens and conduct a CoBrowse session. Administrators can define which agents have this capability.
5. Warm up: In order for agents to prepare to start shifts smoothly, LivePerson can be configured to assign conversations to the agents gradually giving agent the proper warm up’ to the flow of messaging conversations, you can configure
6. Agent guide: Agent training should include your business processes as well as best practices for conducting messaging conversations. LivePerson has developed an expertise in agent training that substantially increases performance. To learn more, ask account team for specialized training and the LivePerson University.
7. SSO Login: brands have the option to connect LivePerson to their company’s secured hub for SSO integration.
Step 6: Manage the operational elements
- Routing: routing conversations are configured based on a variety of smart factors brands can control. Brands can also leverage LivePerson's routing bots.
- Determine schedules and working hours. Brands can schedule the days and times agents and skills will be available, impacting the behavior of buttons as well as the greeting messages. For example, Automatic Messages can say ‘we will answer your question within the next 2 minutes’ during working hours, and ‘we will answer you in the morning’ for conversations that came in over night.
- Shift scheduling - set up and shifts worked per skill using
- Working hours management
- Set up queue prioritization rules to guide LivePerson engine on which conversations should be answered first. Messaging conversations can span over a few hours, or even a few days, and in many cases become inactive as we’re waiting for a consumer to reply.
- Dynamic Capacity: LivePerson's proprietary Dynamic Capacity replaces the traditional agent capacity rate, and dynamically fills agent workload with conversations by taking active and inactive states into consideration.
- Response time: determine the SLA or how quickly each skill should respond to incoming messages by configuring response times. These metrics help route conversations and manage agents queues, including in reporting.
- Auto close: for conversation that are inactive, auto close lets brands enable and configure the automatic close capability to help to clear Agent Workspaces as well as focus resources on active conversations.
Missing Something?
Check out our Developer Center for more in-depth documentation. Please share your documentation feedback with us using the feedback button. We'd be happy to hear from you.