Getting started with Proactive Messaging
What is Proactive Messaging?
LivePerson’s Proactive Messaging feature allows brands to engage in two-way conversations with their consumers by creating targeted outbound campaigns using rich channels. Consumer responses are routed into the Agent Workspace, where conversations can be handled by humans, automation, or a tango of both. This enables brands to increase their ability to connect with a targeted consumer base, with a higher probability of achieving goals, and a richer, more personalized consumer experience.
Getting started
Step 1: Accessing Proactive Messaging
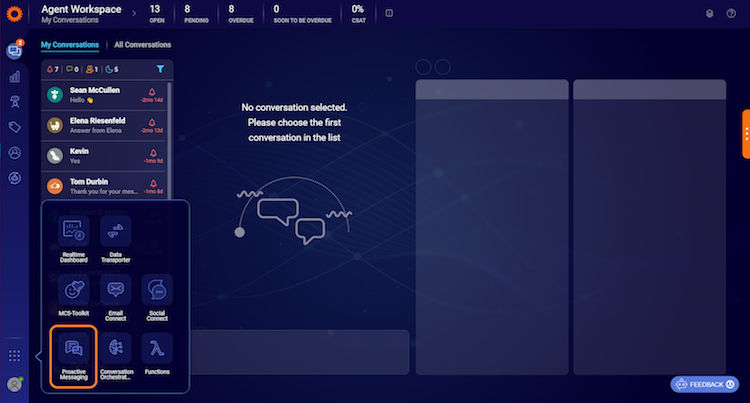
To access Proactive Messaging, log in to the Conversational Cloud and find Proactive Messaging in the Quick launch menu at the bottom left of the screen.

Step 2: Create your first Proactive outbound campaign
To create a new Proactive campaign, click on New Campaign on the Proactive Messaging landing page.
- Define the campaign name (you can give it any name that you’d like!)
- Select the channel in which the outbound message should be sent through (SMS)
- Select the number you would like the outbound message to be sent from
- Select the skill that the consumer responses from this campaign should be routed to (these are the skills assigned to the agents and created inside the Conversational Cloud)
- The SMS content of the outbound message can be typed in by users (if you enter more than 140 characters, it will be sent as two different SMS messages instead of a single text)
- Define recipients by either uploading the list of recipients via a .csv file or typing in the recipient phone numbers (ensure one recipient per line, recipient’s phone number must start with country code, and then the area code)
- Once you type in the recipient phone numbers, click the Parse button to get a preview of the message being sent per phone number. If there are any errors, users will see the highlighted phone number with the error.
Step 3: Schedule your campaign
- Select the date that you want the messages to be sent out. Currently we only support Start now but in the future, you will be able to select a future date
- Select the time window when you would like your recipients to receive the message based on their time zone, determined by the country code and area code of their phone numbers (it’s important to note that this is not the time the message will be sent, but rather the time the recipients will receive the message)
Step 4: Preview and launch
- Review the details of the campaign before publishing, including the skill routing, the opt out text, the message content and the recipients
- Users must check the box which states that they are responsible for collecting opt-in consent from consumers before reaching out to them, and legally abide by the TCPA and GDPR compliance laws
Next steps
Congratulations, you have now created your first Proactive outbound campaign. For more detailed information and FAQ, please click here.
Missing Something?
Check out our Developer Center for more in-depth documentation. Please share your documentation feedback with us using the feedback button. We'd be happy to hear from you.