SAML SSO
LivePerson now supports agent login by SAML SP-Initiated SSO flow
Introduction
The SAML federation is usually initiated by the service provider (in LivePerson's case, by the Conversational Cloud). The Conversational Cloud redirects the user to authenticate using the brand's IDP which redirects the user back to the Conversational Cloud with a SAML assertion containing information about the user identity and the authentication metadata for completing the login flow.
Is this feature relevant to me?
Your Conversational Cloud account needs to be migrated to the Advanced Login System in order to use SAML SSO.
Please read this to check if your account is already migrated.
Configuration
Create a SAML Application in your IDP application setup
* Before you start, please note that the configuration steps below refer to an SP-Initiated application. The application could not be launched from your IDP hub (as an IDP-initiated app) without an adjustment. For more information, please read the next section
1. Application Callback URL (also known as redirect URL/URI, Single Sign-On (SSO) URL, Direct Relay State, or Assertion Consumer Service (ACS) URL):
Two variables structure the callback URL:
- See: Login_Tenant_Domain , Full_Connection_Name
- It looks like this:
https://<Login_Tenant_Domain>/login/callback?connection=<Full_Connection_Name>
For example, an account 1234 with the connection name My-brand-name-Okta will be: https://auth-z1.liveperson.net/login/callback?connection=SAML-1234-my-brand-name-okta
2. SAML Assertion Structure
1. loginName attribute
Your SAML Response must contain the loginName attribute.
The loginName value must be equal to the Conversational Cloud Login Name for the requester user.


2. ‘Audience’ attribute (optional)
If your IDP SAML Response contains the ‘Audience’ attribute, it is the Full_Connection_Name.
3. Encrypted SAML Assertion (optional)
You can sign or encrypt both your requests and your responses in the SAML protocol.
For encrypting your SAML content, you need to download our login service’s public key.
The public key can be found here in different formats:
- PEM - https://Login_Tenant_Domain/pem?cert=connection
- CER - https://Login_Tenant_Domain/cer?cert=connection
- raw PEM - https://Login_Tenant_Domain/rawpem?cert=connection
- PKCS#7 - https://Login_Tenant_Domain/pb7?cert=connection
- Fingerprint - https://Login_Tenant_Domain/fingerprint?cert=connection
Configure a Conversational Cloud account to authenticate its Agents using a SAML SP-Initiated flow
1. Login to the Conversational Cloud using your admin user
2. From the sidebar menu, browse to Manage-> Management Console

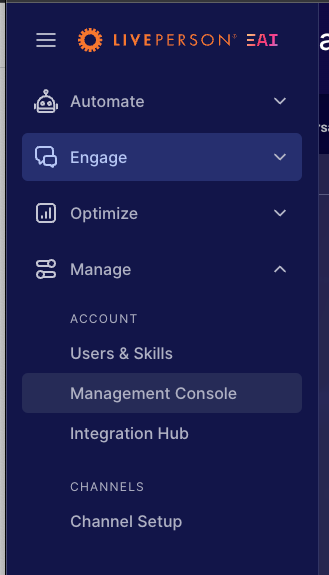
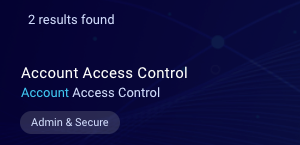
3. Search for the Account Access Control page and open it up


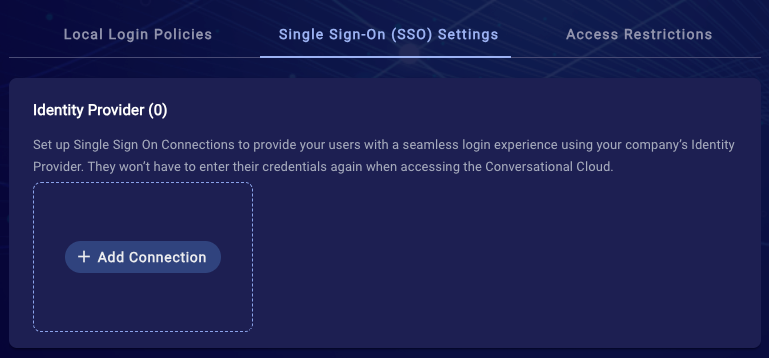
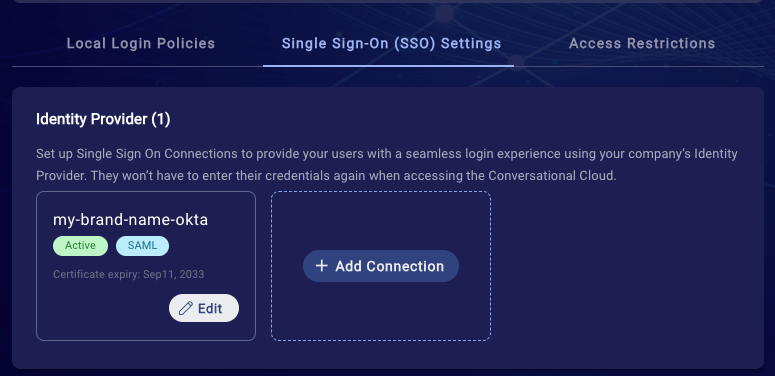
4. Open the Single Sign-ON (SSO) Settings tab
5. Click on the + Add Connection card

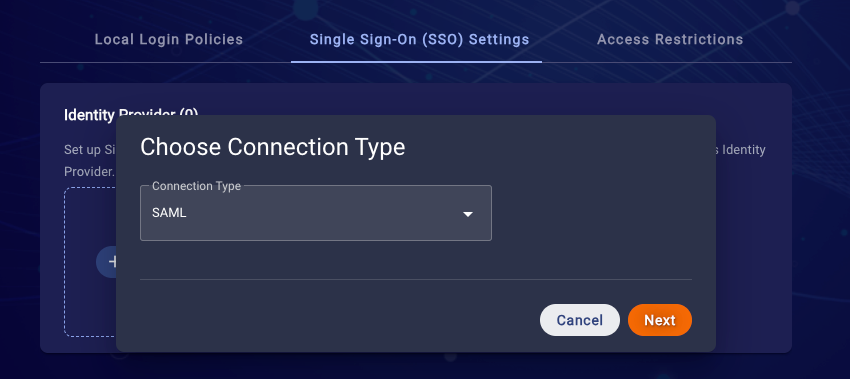
6. Choose the SAML connection type and click next

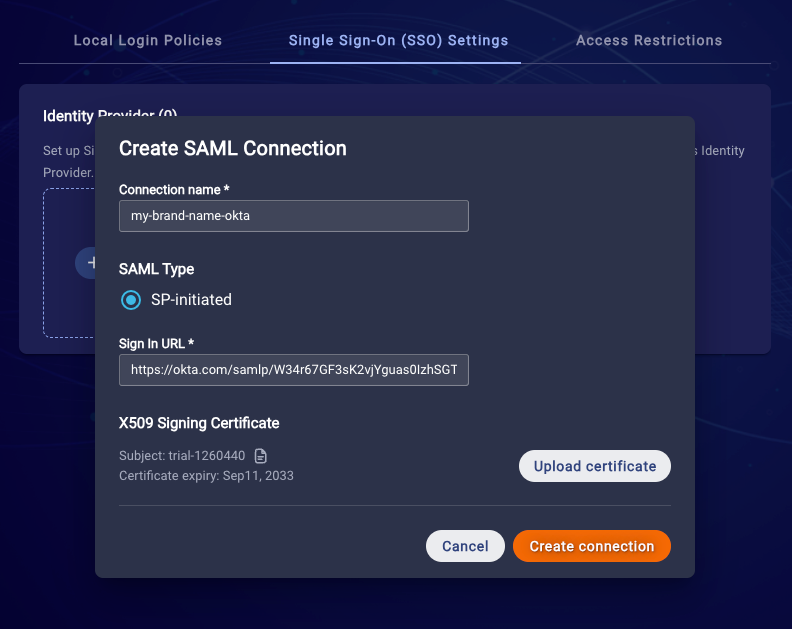
7. Create a SAML Connection
- Enter a unique Connection name (this name will be used to represent this SAML connection)
- Enter your IDP's SAML Sign In URL
- Upload your IDP’s SAML Signing Certificate (.pem or .cer files)
- Click Create connection

8. Now, you will be able to see your connection in the Identity Providers gallery. Note, this is where you can manage it in the future (enable/disable or update the certificate).

Accessing the Conversational Cloud
After completing the configuration parts, your users can use SSO to login to the Conversational Cloud using the SP-Initiated flow.
There are two ways to do this:
- Access the Conversational Cloud login page directly
- The user goes to https://authentication.liveperson.net/
- Enter your account number
- The user will automatically redirected to the Conversational Cloud with a session or to your IDP to complete the login
- Access the brand's IDP dashboard (hub)
- The user opens the brand's hub SSO portal
- The user clicks the Conversational Cloud application
- The user will be redirected to the Conversational Cloud.
The link to be used for this bookmarked app is: https://authentication.liveperson.net/accountSelection.html?stId=<ACCOUNT_ID>&prompt=none
Bookmarks
Login Tenant Domains
Alpha - auth-z1-a.liveperson.net
North America - auth-z1.liveperson.net
Europe - auth-z2.liveperson.net
Asia Pacific - auth-z3.liveperson.net
Full Connection Name Structure:
* The Connection name is defined by you when you register the SAML Connection in the Conversational Cloud
SAML-<account id>-<connection name>
For example SAML-122334-my_conection
Missing Something?
Check out our Developer Center for more in-depth documentation. Please share your documentation feedback with us using the feedback button. We'd be happy to hear from you.