Mutual TLS Self Service (mTLS)
The Mutual TLS Self-Service (mTLS) features will allow clients to manage their certificates, without the need to reach out to a LivePerson representative or the support team.
Learn more about Mutual TLS(mTLS) products and capabilities.
Prerequisites
- Configuration of Mutual TLS is self-serviced via the Management Console. Make sure you are logged in as the Brand Admin in CCUI.
Key Capabilities
- Create a new Certificate for Mutual TLS
- Upload your Certificate to Mutual TLS
- List all of the mTLS certificates & mappings
- Renew existing Mutual TLS Certificates
- Update the existing mapping
- Track Certificate Expirations
Configuration steps
1.) Navigate to the Management Console and using the search bar look for “mTLS”.

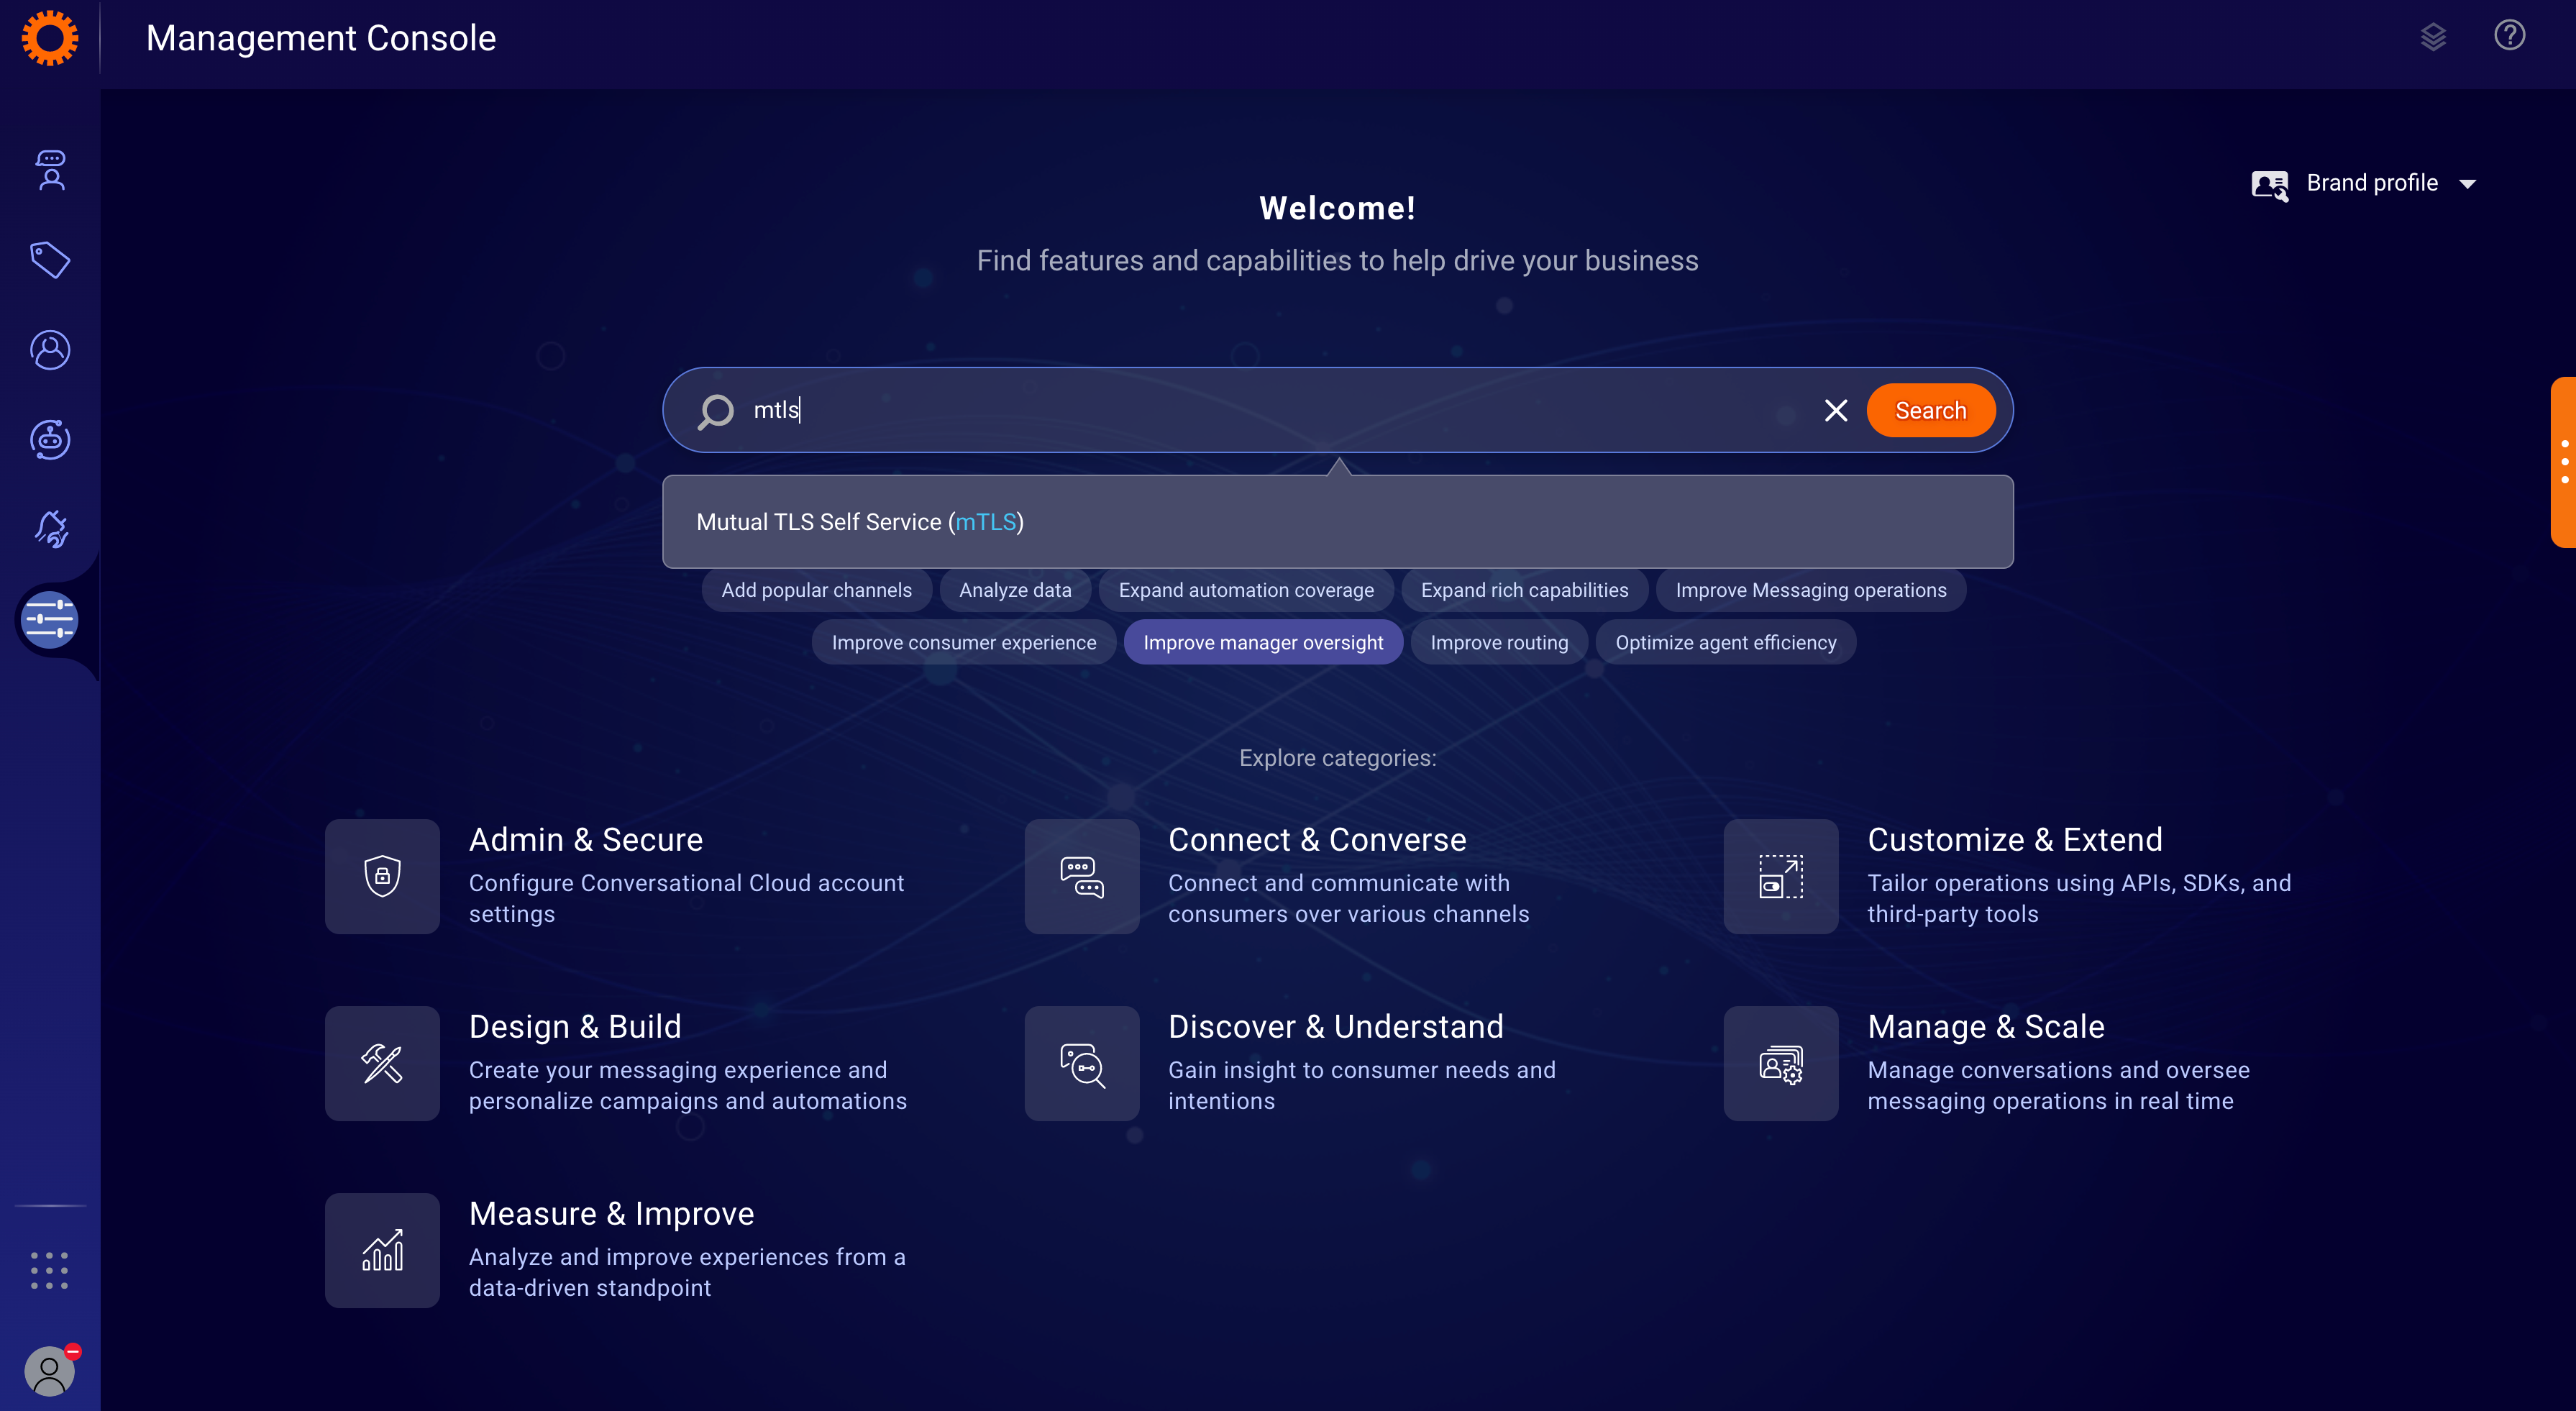
Mutual TLS Self-Service in Management Console
2.) On the Mutual TLS Self Service page, You will find the list of all currently configured and active mTLS certificates. Tap on “Add Certificate” to proceed.

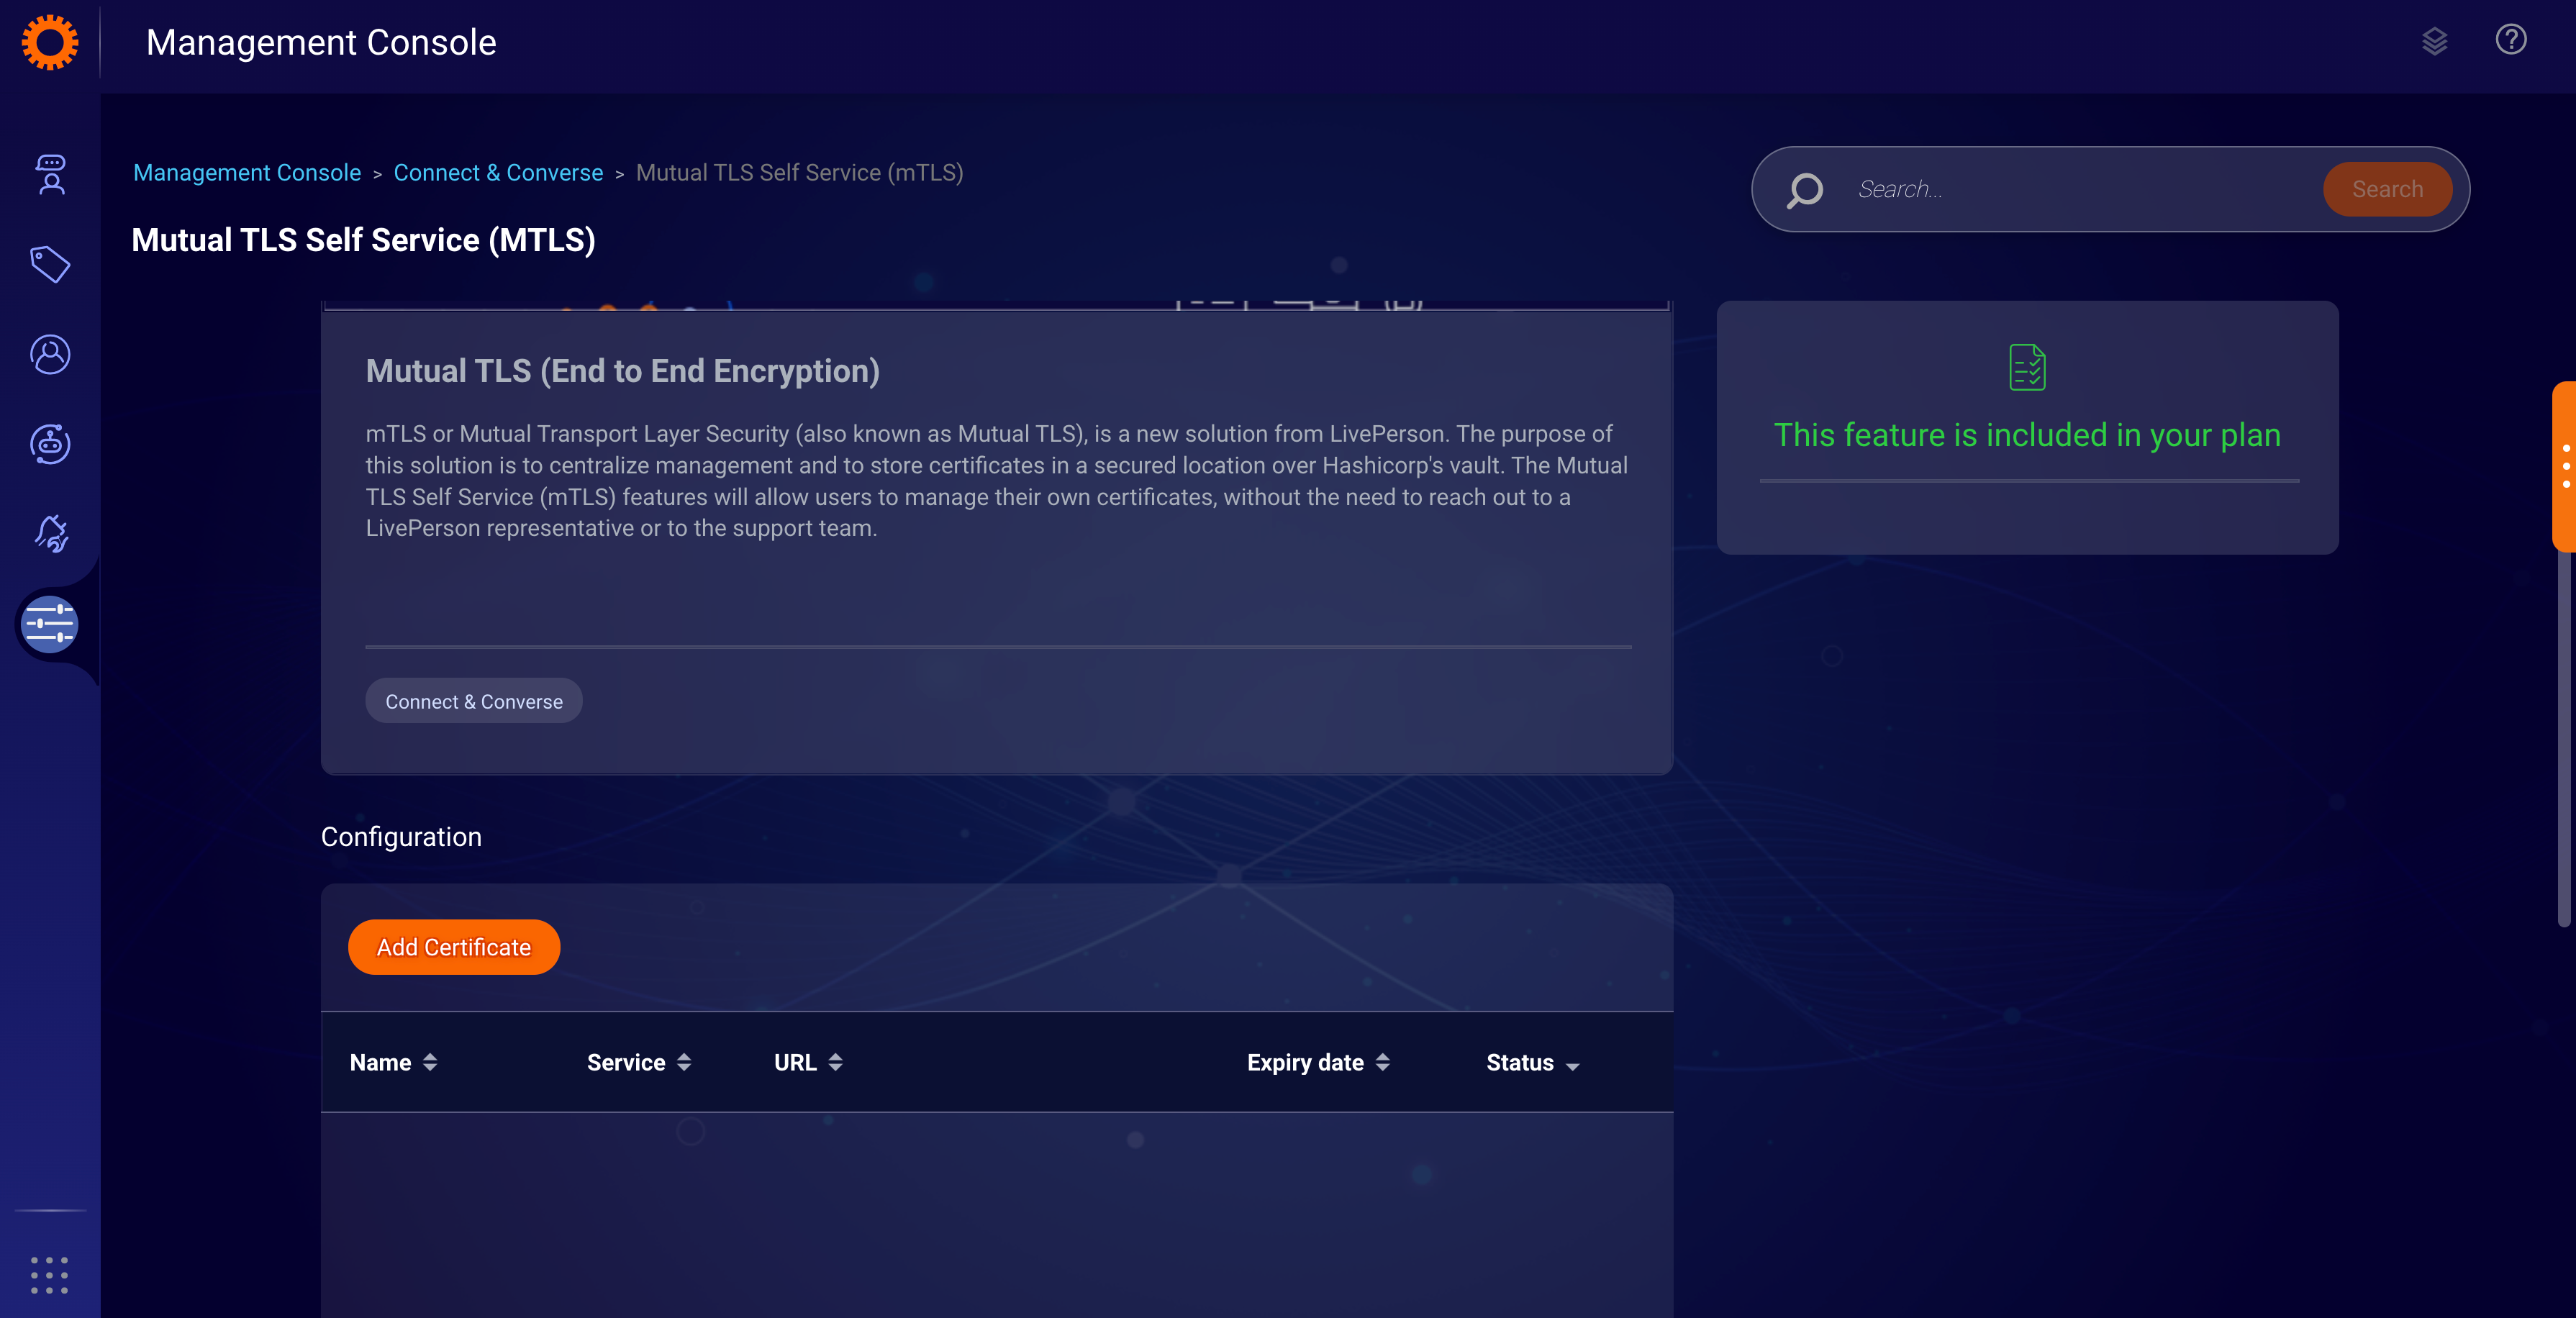
List Certificates & Mapping
3.) Here you can either Create a new certificate or upload an existing certificate.
3.1.) Create a new certificate
On the Add Certificate page, Make sure the “Auto-generate certificate” toggle is enabled, Please input the certificate name and password. Tap on “Confirm & Download” to create a new certificate and the certificate will be downloaded to your browser automatically.
Here we will verify the certificate and password and securely upload the certificate.

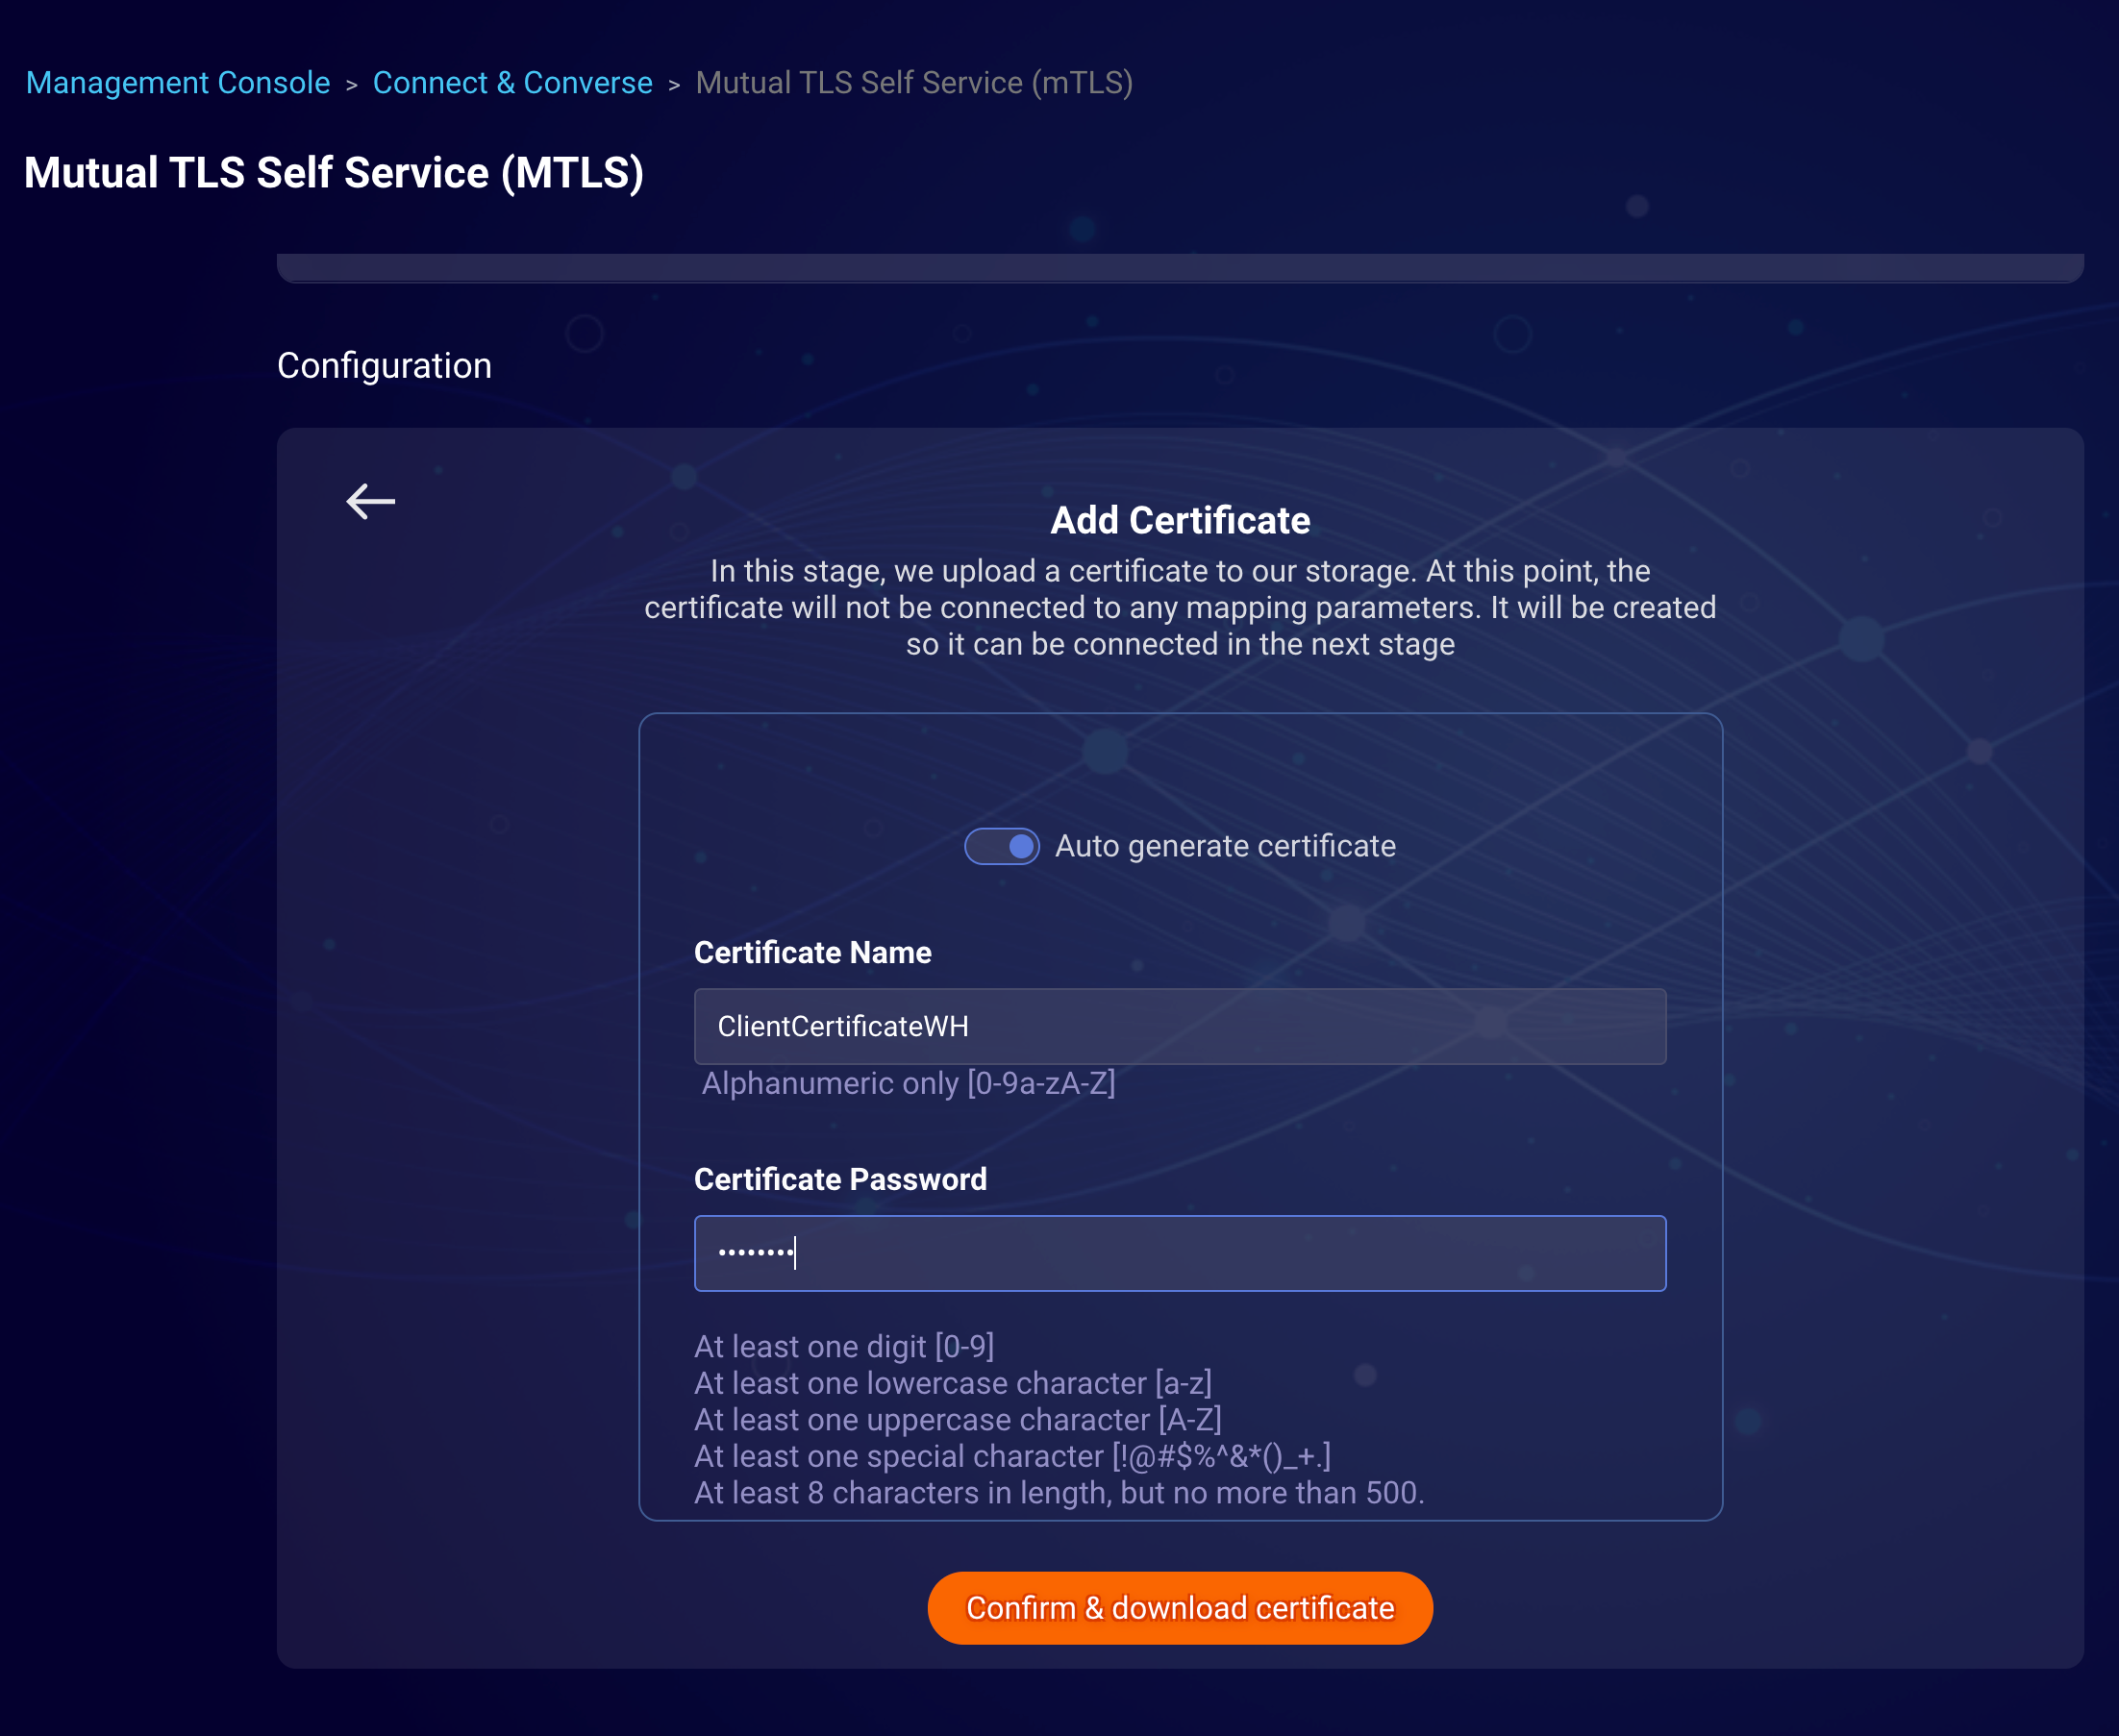
Create & Download New Certificate
3.2.) Upload an existing certificate
On the Add Certificate page, Make sure the “Auto-generate certificate” toggle is off, Please input the certificate name and password, post that click on “Upload a certificate “ to upload the certificate. Tap on “Confirm” to upload the certificate.
Here we will verify the certificate and password and securely upload the certificate.
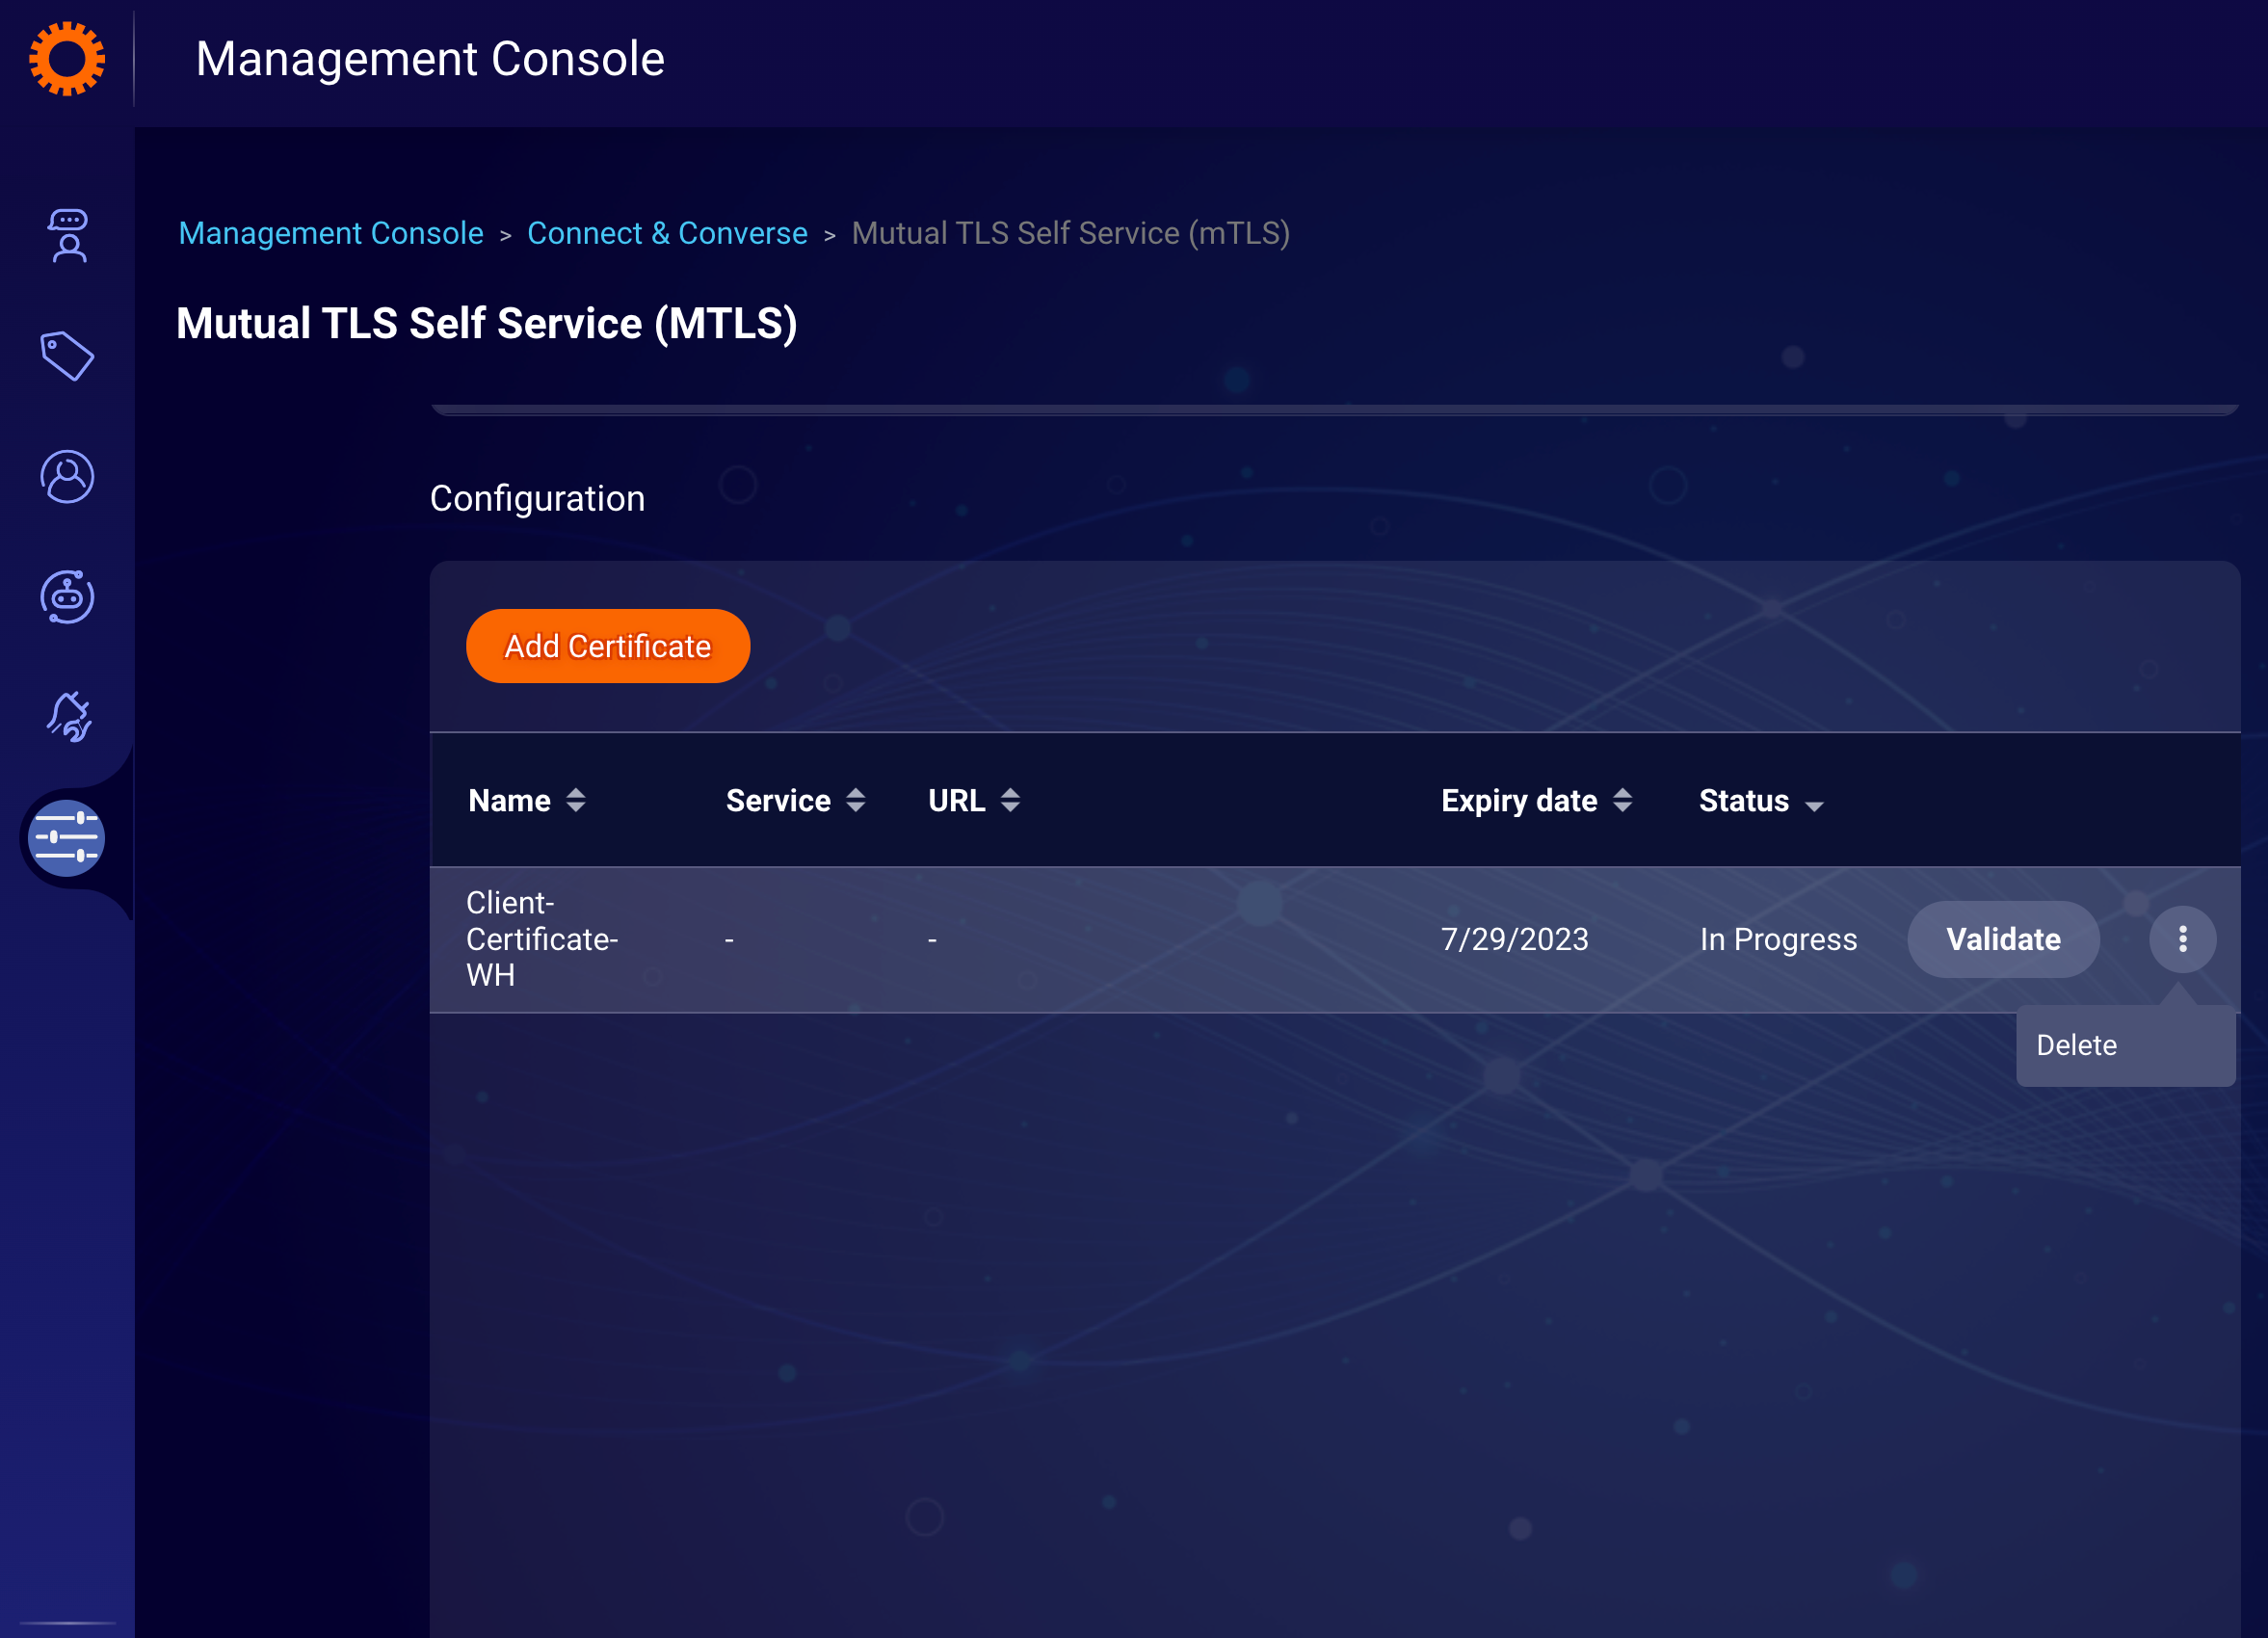
4.) Post Uploading the certificate, Clients can see the certificate in the tabular view in MTLS self-service.
The client can continue the process by Clicking on “Validate” or deleting the unmapped certificate.

5.) On the “Validate Certificate” page, Before proceeding further, Please ensure the same certificate is installed on the Client’s server for mTLS verification. If the certificate is installed on the Client’s server, Tap on “Confirm Installation” to continue.

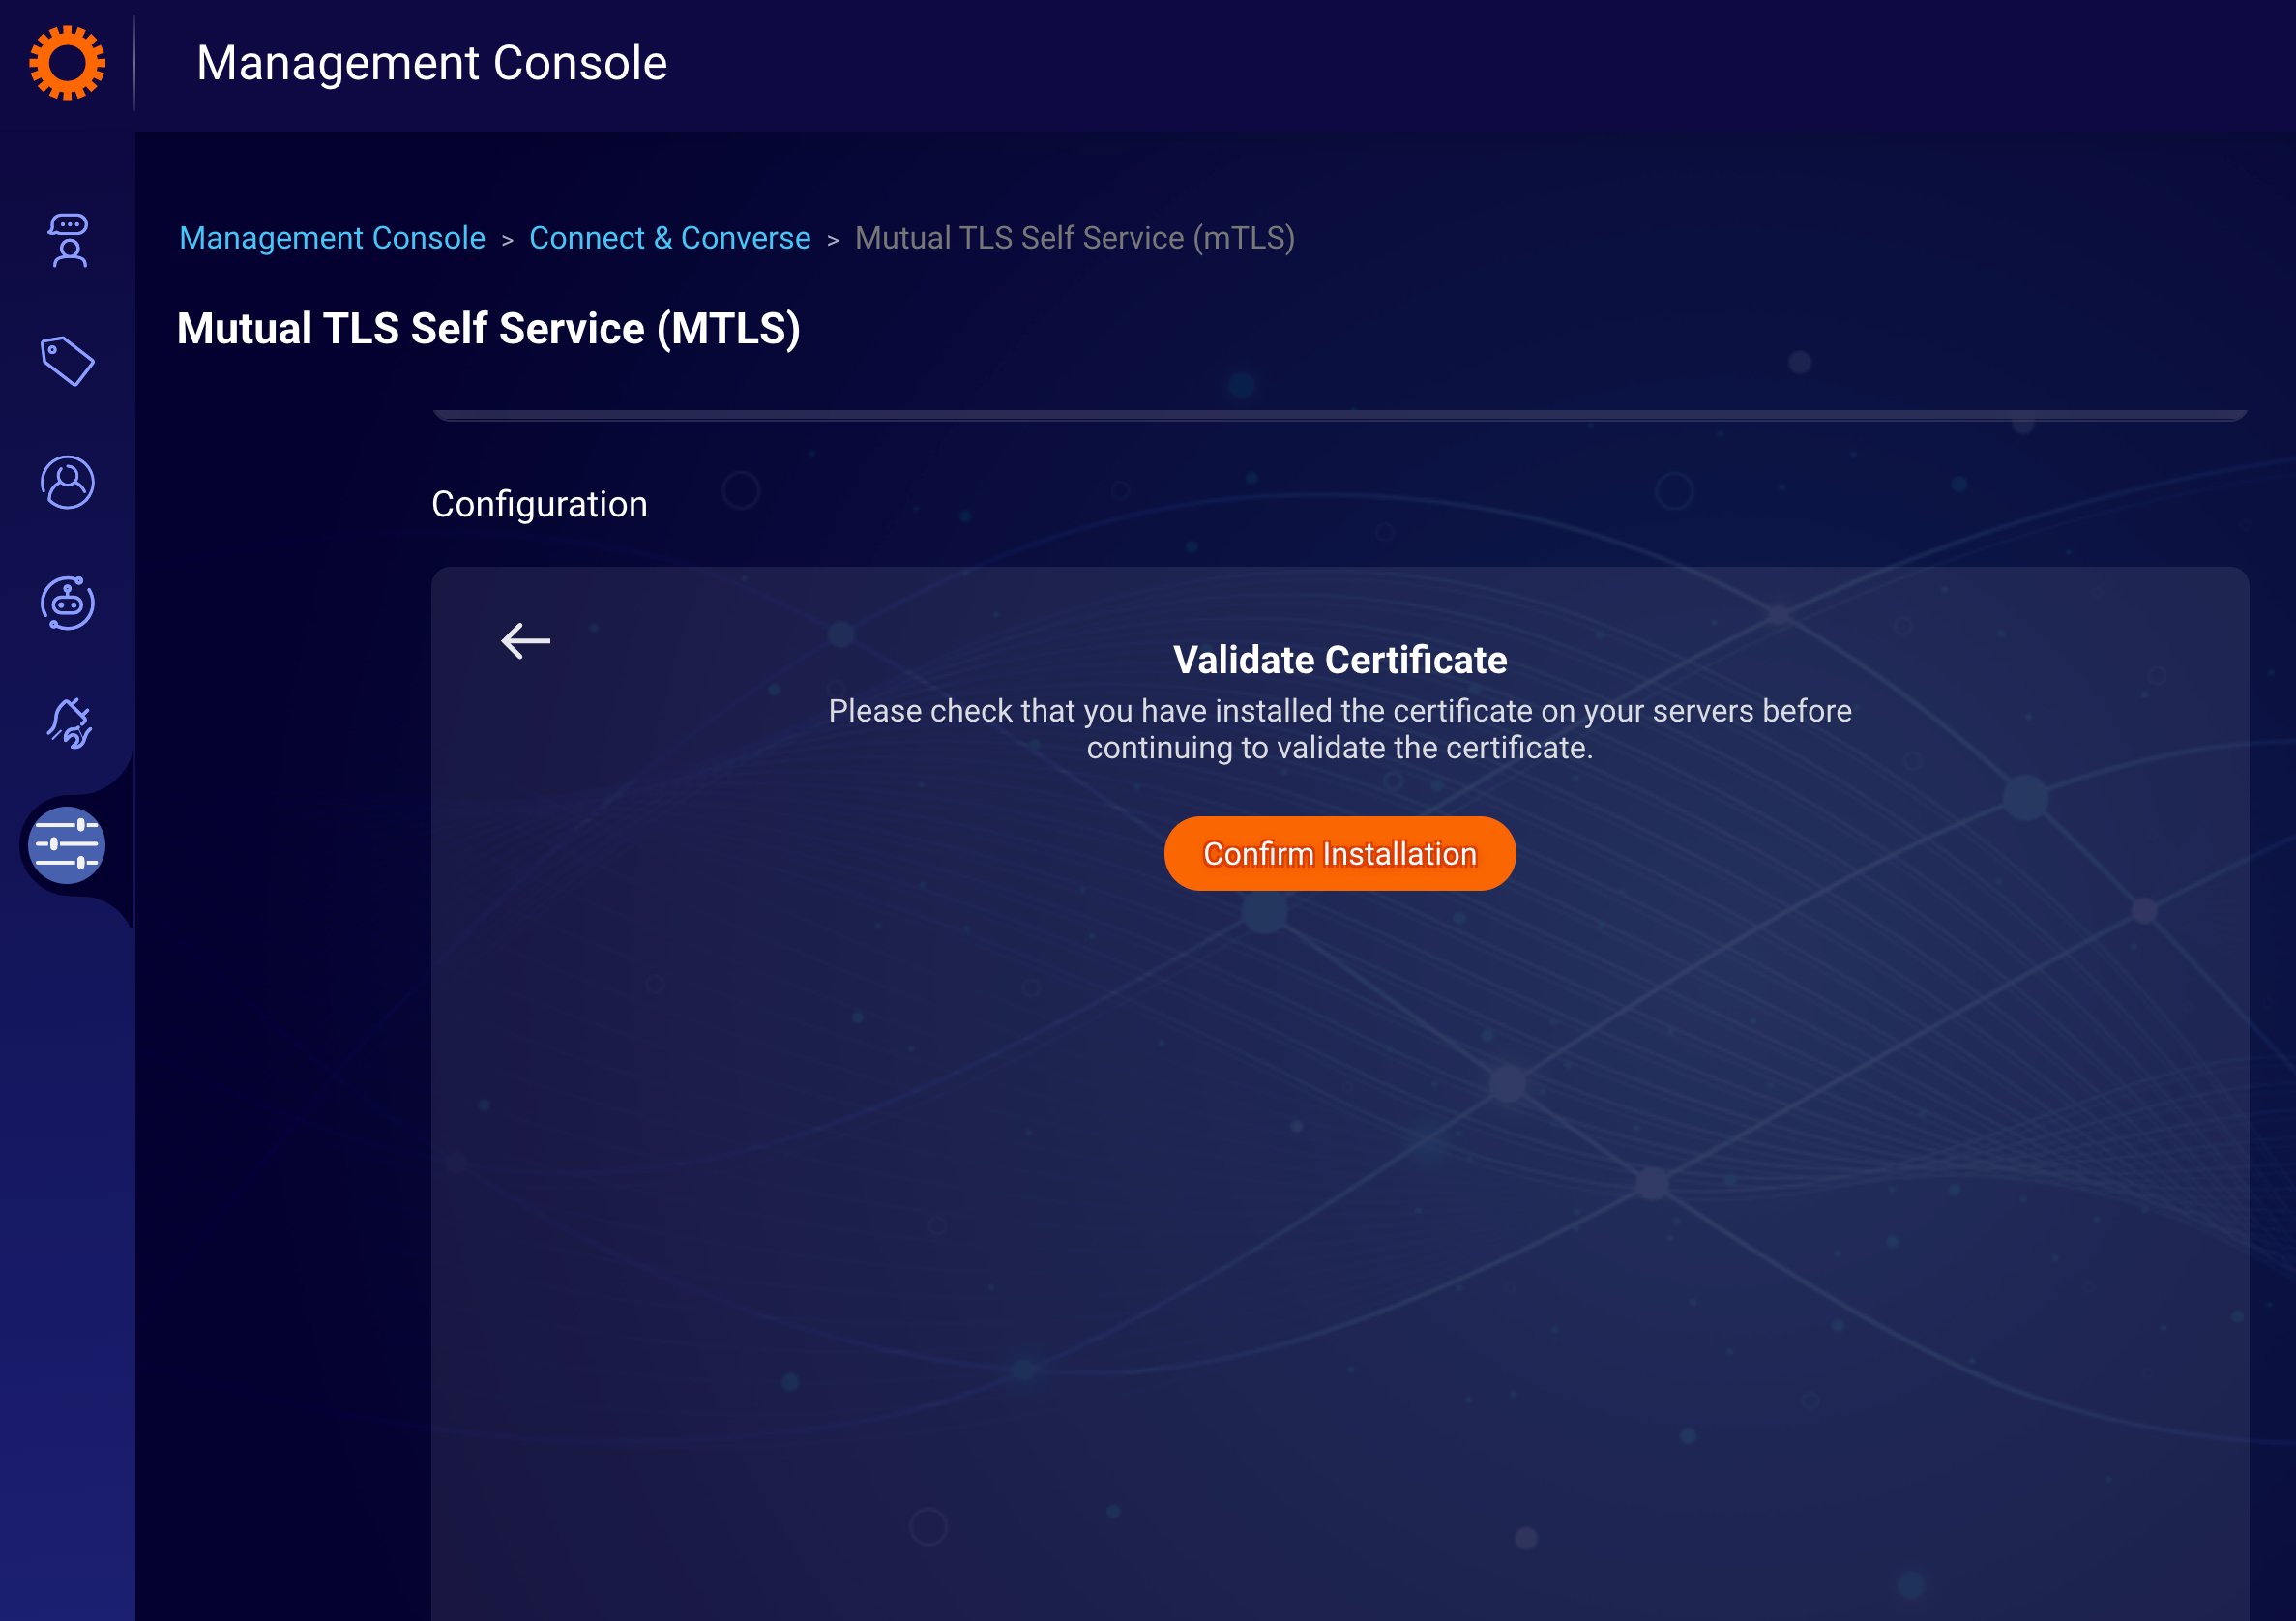
Validate Certificate
6.1 ) On the “Activate Certificate” page, Please input the service name and your endpoint for which mTLS needs to be configured. After input Tap on “Activate Certificate” to continue.
6.2) Applicable only for Certificate Renewal - On the “Activate Certificate” page, If your endpoint is already configured, System will automatically check and show a notification on the bottom for renewal of the certificate. If the Certificate name and expiry of the old certificate are correct, Tap on “Renew Certificate” to continue.
Here we will securely check the mTLS mapping is working properly before activating it and if it does not work or has some issues with client connectivity, the User will see the error on the screen.
If you find any discrepancies in the data, please get in touch with the LP representative.

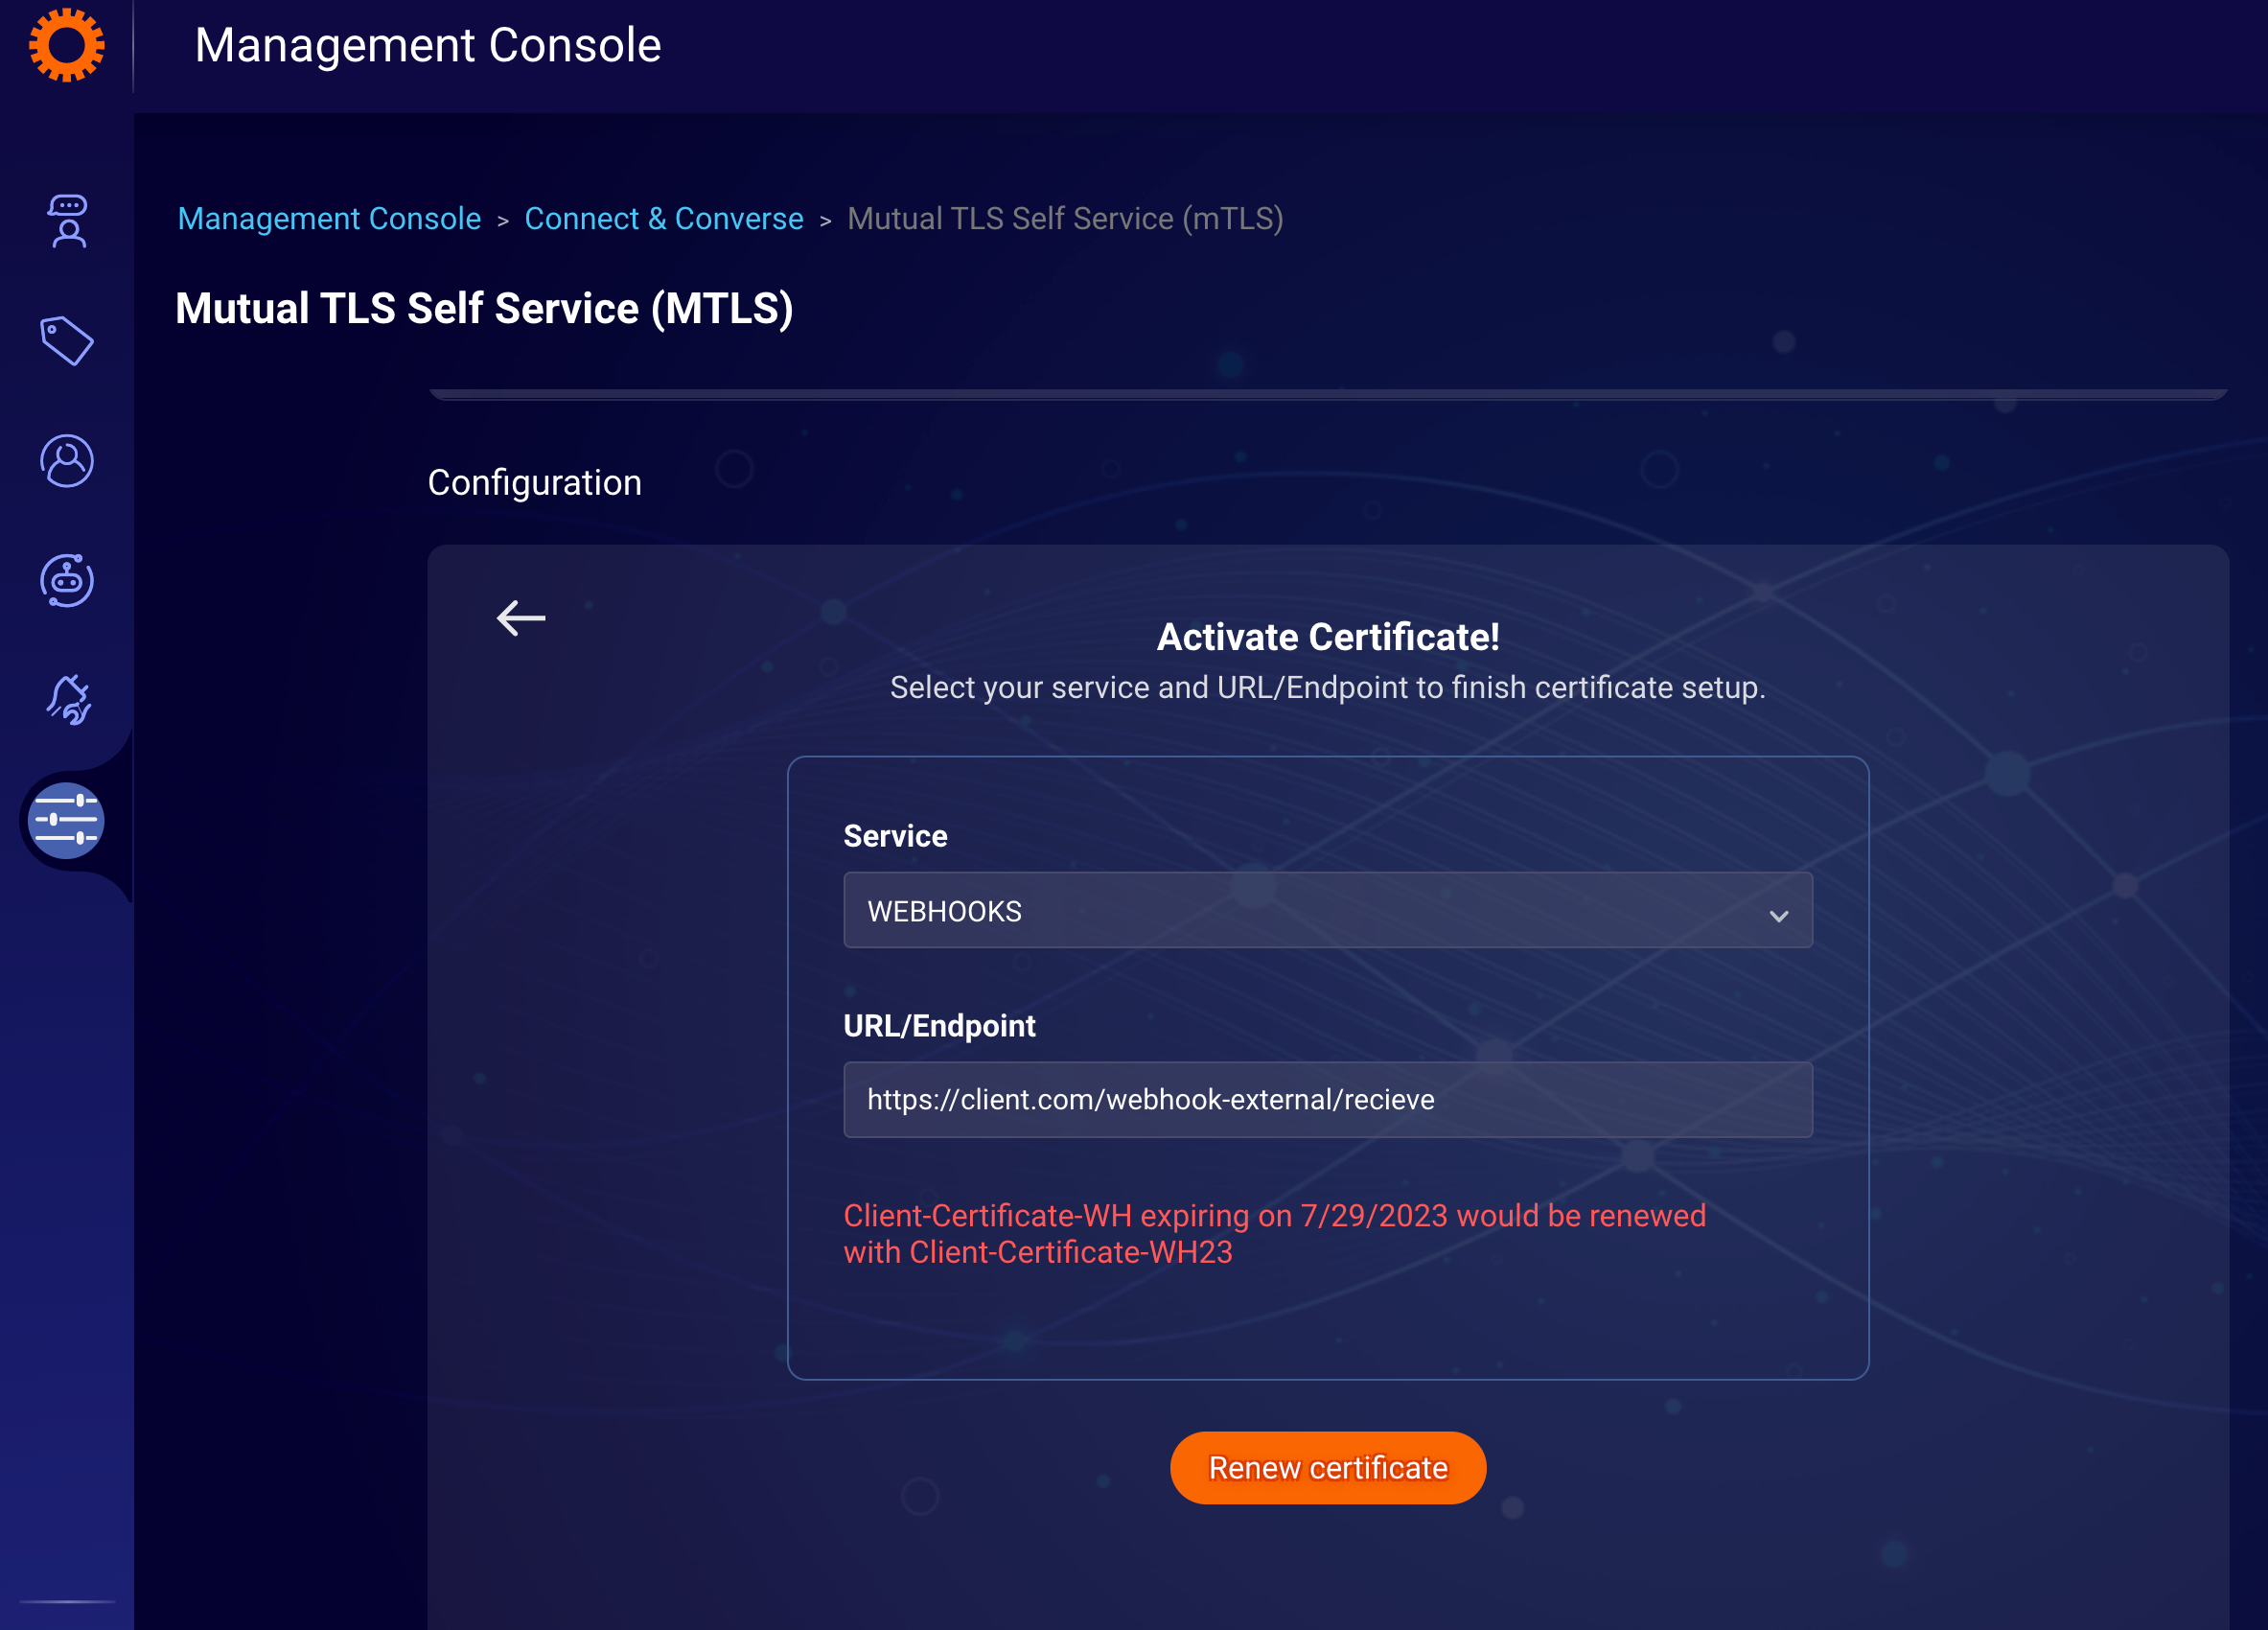
Renew Certificate
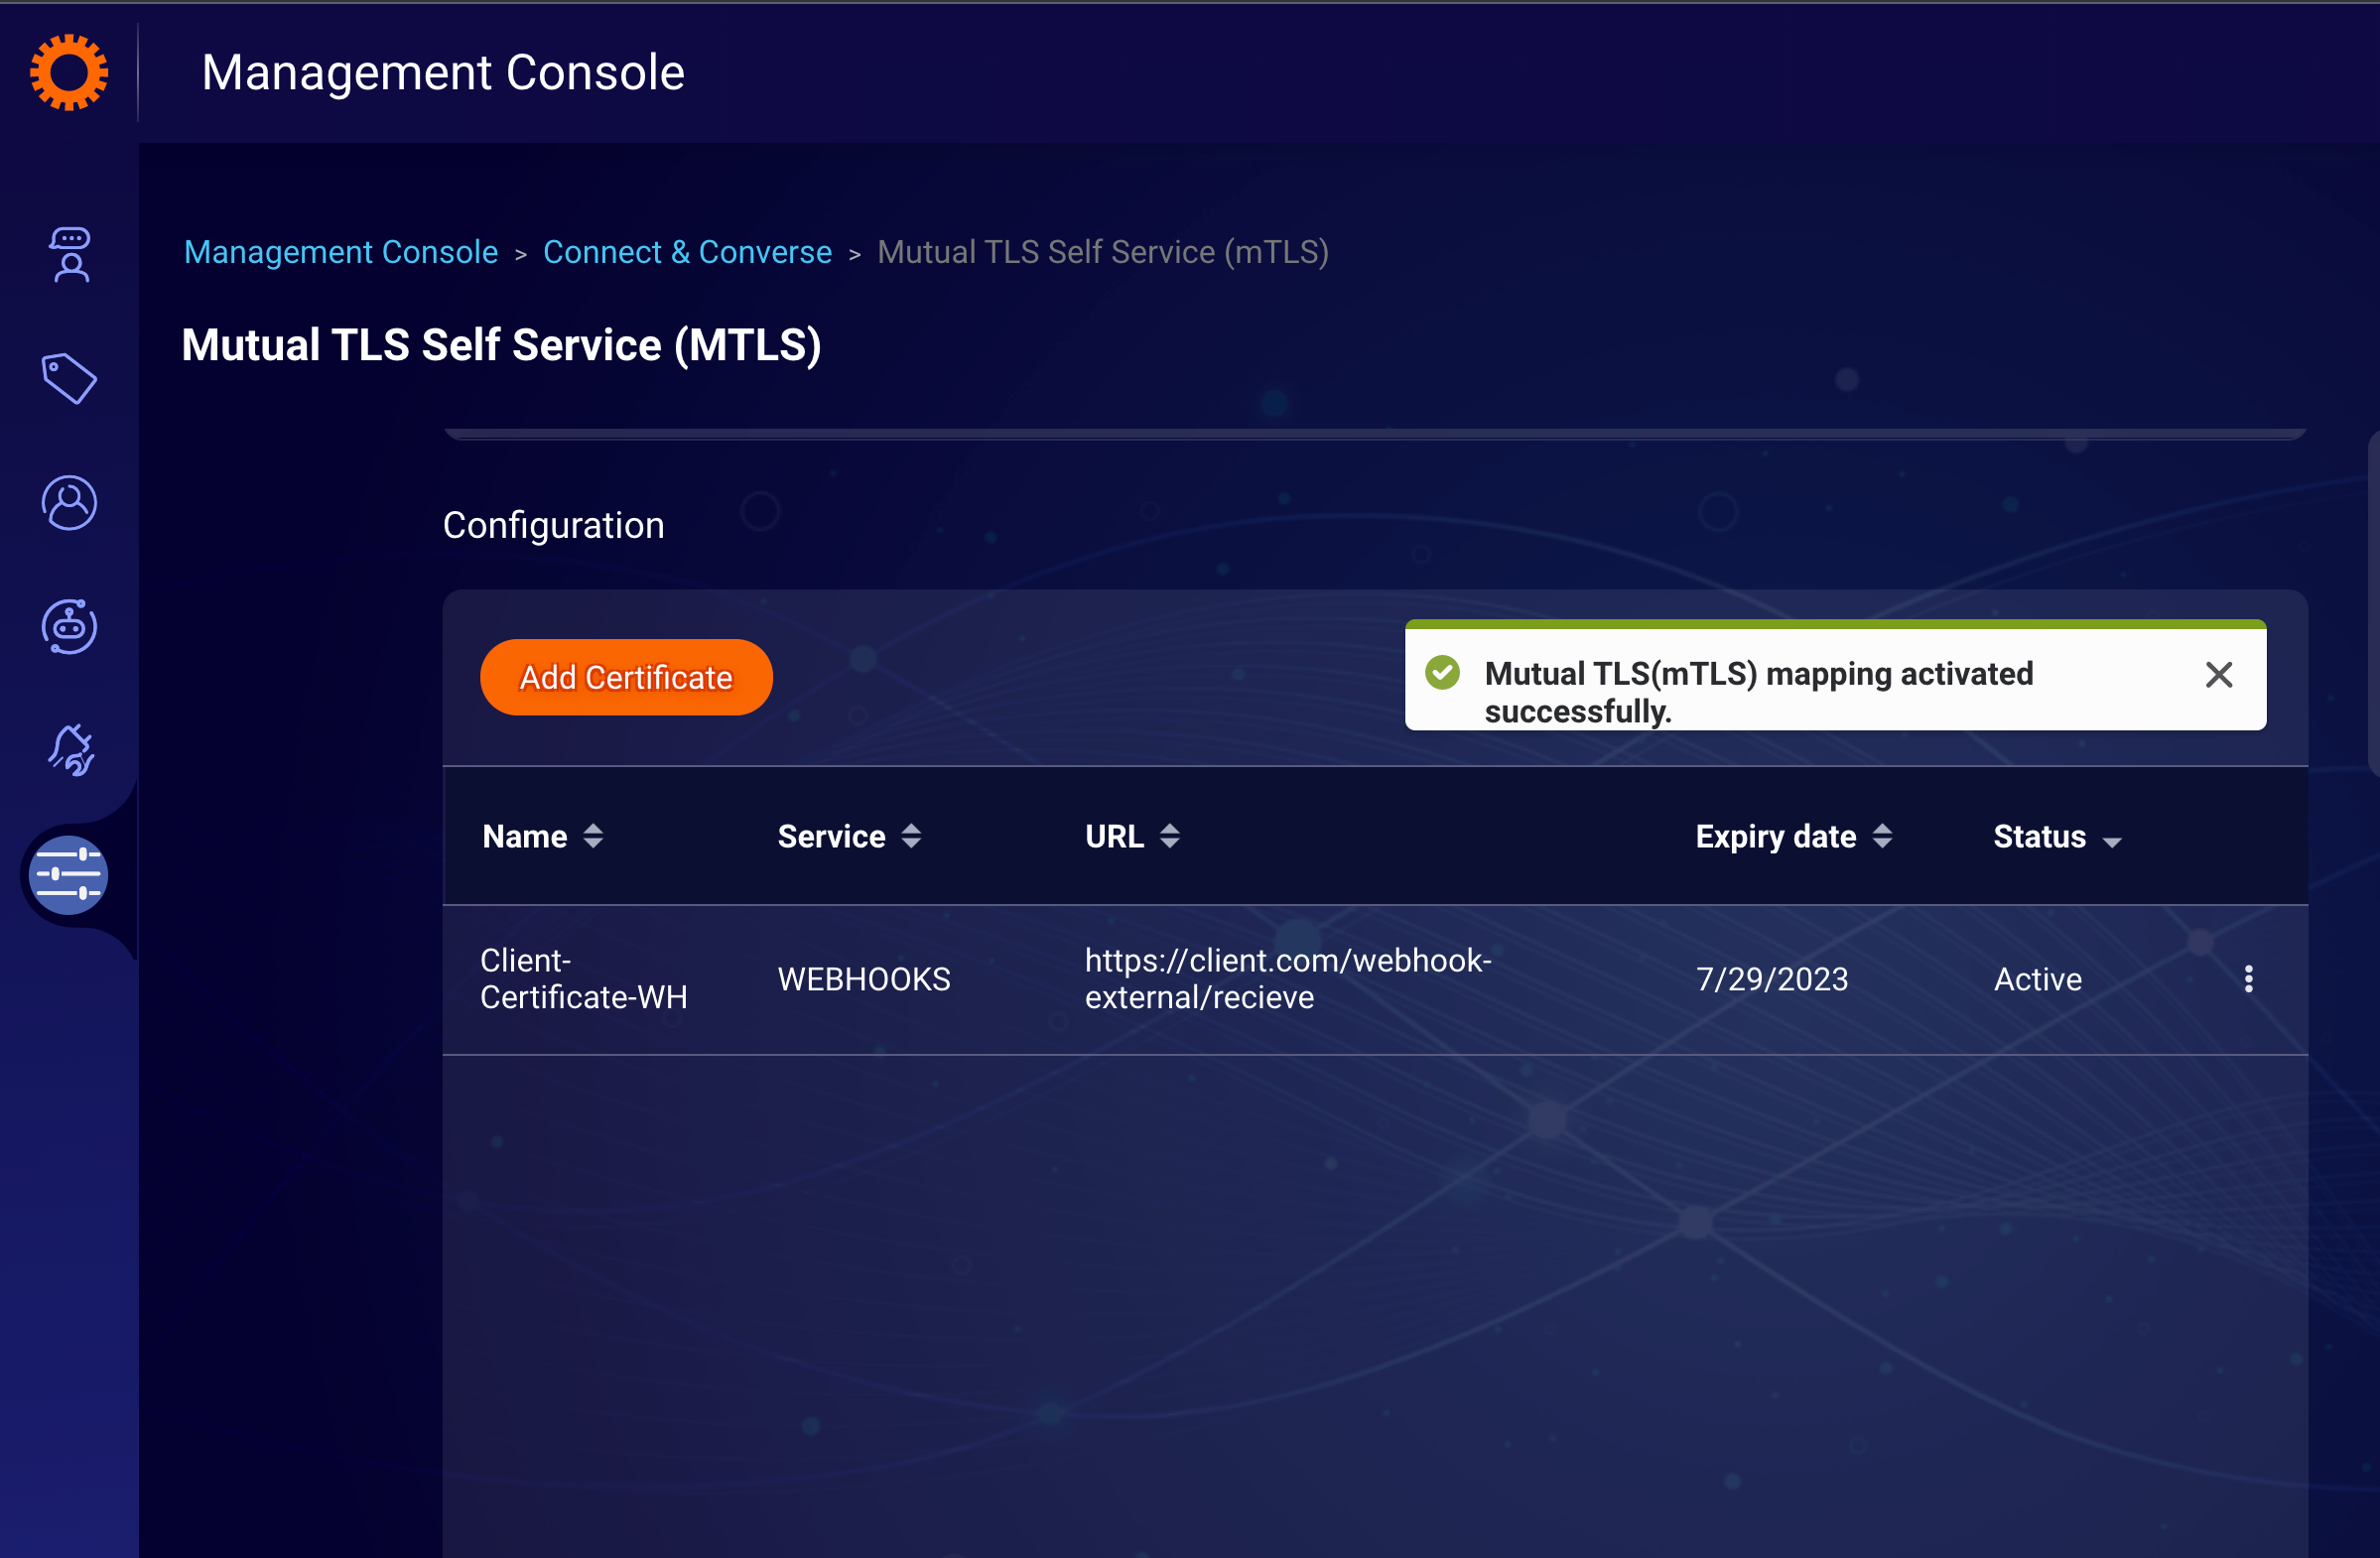
7. Now the certificate and mapping are activated and working. You can see the newly configured certificate in the list view in MTLS Self-Service with the status “Active”.

Missing Something?
Check out our Developer Center for more in-depth documentation. Please share your documentation feedback with us using the feedback button. We'd be happy to hear from you.