OIDC SSO
LivePerson supports agent login by OIDC (OpenID Connect) SSO flow
Introduction
The OIDC federation flow is initiated by the service provider (in LivePerson's case, by the Conversational Cloud). The Conversational Cloud redirects the user to authenticate using the brand's IdP, which redirects the user back to the Conversational Cloud with an OpenID Connect ID token that contains the information about the user identity metadata for completing the login flow.
The OIDC federation flow involves the following steps:
- Conversational Cloud (the 'Client' in OIDC terms) initiates the authentication request by redirecting the user-agent (browser) to the brand's IdP (the Authorization Server in OIDC terms).
- Perform the OAuth flow to obtain the ID token.
- Validate the JWT ID token locally based on built-in dates and signature
- Initiate a session and redirect the user to the Conversational Cloud.
Is this feature relevant to me?
In order to use OIDC SSO, your Conversational Cloud account needs to be migrated to the Advanced Login System.
Please read this to check if your account is already migrated.
Configuration
Create an OIDC Application in your IDP application setup
1. Callback URL
In your OIDC application, you will need to configure the 'Allowed Callback URLs' as follows:
https://<Login_Tenant_Domain>/login/callback
(See: Login_Tenant_Domain)
The callback URL for an account in US, will look like this:
https://auth-z1.liveperson.net/login/callback
2. ID_Token - Custom Claim
Your ID_Token Response must contain the loginName Custom Claim.
* Please note that the attribute name “loginName” is case-sensitive
The loginName value must be equal to the Conversational Cloud Login Name for the requester user.
How to configure a Conversational Cloud account to authenticate its Agents using the OIDC flow?
1. Login to the Conversational Cloud using your admin user
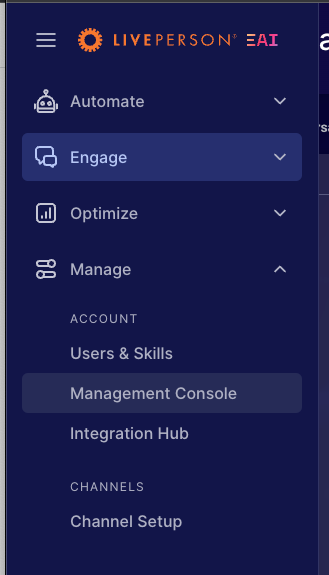
2. From the sidebar menu, browse to Manage-> Management Console

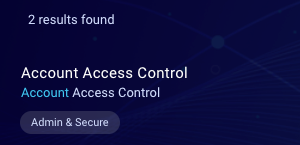
3. Search for the Account Access Control page and open it up


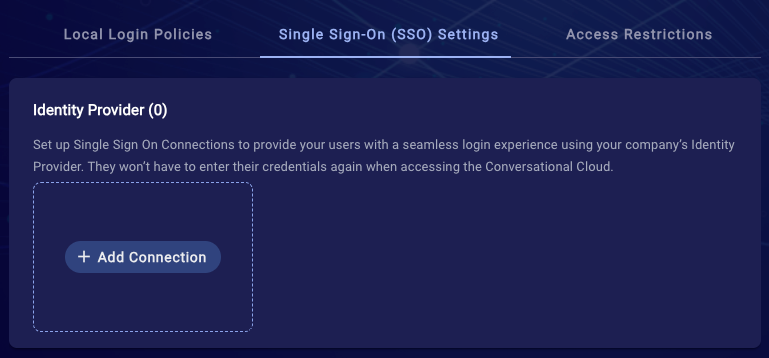
4. Open the Single Sign-ON (SSO) Settings tab
5. Click on the + Add Connection card

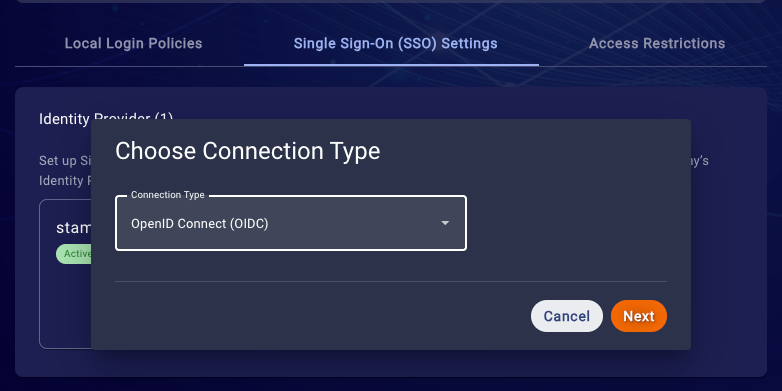
6. Choose the 'OpenID Connect (OIDC)' connection type and click next

7. Create an OIDC Connection
- Enter a unique Connection name (this name will be used to represent this OIDC connection)
- Choose the Connection Type - Set to Front Channel for using the OIDC protocol with response_mode=form_post and response_type=id_token, or Back Channel for using response_type=code.
- Discovery URL - Use a standard
/.well-known/openid-configurationOIDC configuration endpoint that will automatically complete the following fields, or uncheck the Discovery URL for setting them manually:- Issuer
- Authorization Endpoint
- Token Endpoint (in case that Back Channel is used)
- JWKS URL
- Client ID
- Client Secret (in case that Back Channel is used)
- Scopes (openid profile email)
8. Click on 'Create Connection'
Login Tenant Domains
Alpha - auth-z1-a.liveperson.net
VA - auth-z1.liveperson.net
EU - auth-z2.liveperson.net
APAC - auth-z3.liveperson.net
Missing Something?
Check out our Developer Center for more in-depth documentation. Please share your documentation feedback with us using the feedback button. We'd be happy to hear from you.