Setup guide
The following instructions will guide you through connecting Google Business Messages (GBM) to the Conversational Cloud. Please take note of all the requirements below.
For existing brands who want to integrate with the self service in the Conversational Cloud, please contact your account manager to enable your existing GBM integration for self service. Once it's enabled, you will be able to login to your LP account and view your GBM integration. On first time login, you would have to choose your brand in "Select Brand" step in order to fetch your data from Google.
Requirements:
- You must have a verified Google Business Profile. To learn more about business verification click here.
- You must be added as an owner/member of the Google Business Profile in order to access the account data.
- You must have an account that is assigned to an organization in order to fetch your Businesses on Select Brand step. If you want to use your personal account, you must have User group setup & locations assigned to this user group in order to let users manage your businesses. (Sign in to your Google Business Profile Manager> go to Businesses > select Business > click on Group settings > click Manage users > Add users / Add user group> Done).
- You must have Location group setup & Businesses assigned to a Location group in order to manage Location entry points. (Sign in to your Google Business Profile Manager > go to Businesses > click Create group (if you don't have one already). Then, select your Businesses > Click Actions > Transfer business > Select a business group > Click Transfer).
- Your Google Business Profile must have a valid business website domain and a business phone number.
- You should have a Brand Logo URL hosted online (e.g., on your website) which adheres to the following:
- Resolution should be maximum 1024x1024 pixels and cropped to fit within a circle
- File format should be PNG or JPG
- Background cannot be transparent
- The logo itself must be in the center of the file
- Brand logo URL cannot be changed after your agent is verified.
- Adding a GBM Integration in Conversational Cloud requires having a plan included in your account (not supported on trial accounts).
- The user adding the GBM integration in Conversational Cloud must have Campaign Manager or Administrator roles.
- If brands want to have two profiles for two LOBs with some domain, they need special permission from google
Step 1: Start with GBM Integration
- Login to the Conversational Cloud and click on the Channel Setup page located on the left navigation bar > Manage > Channel Setup.

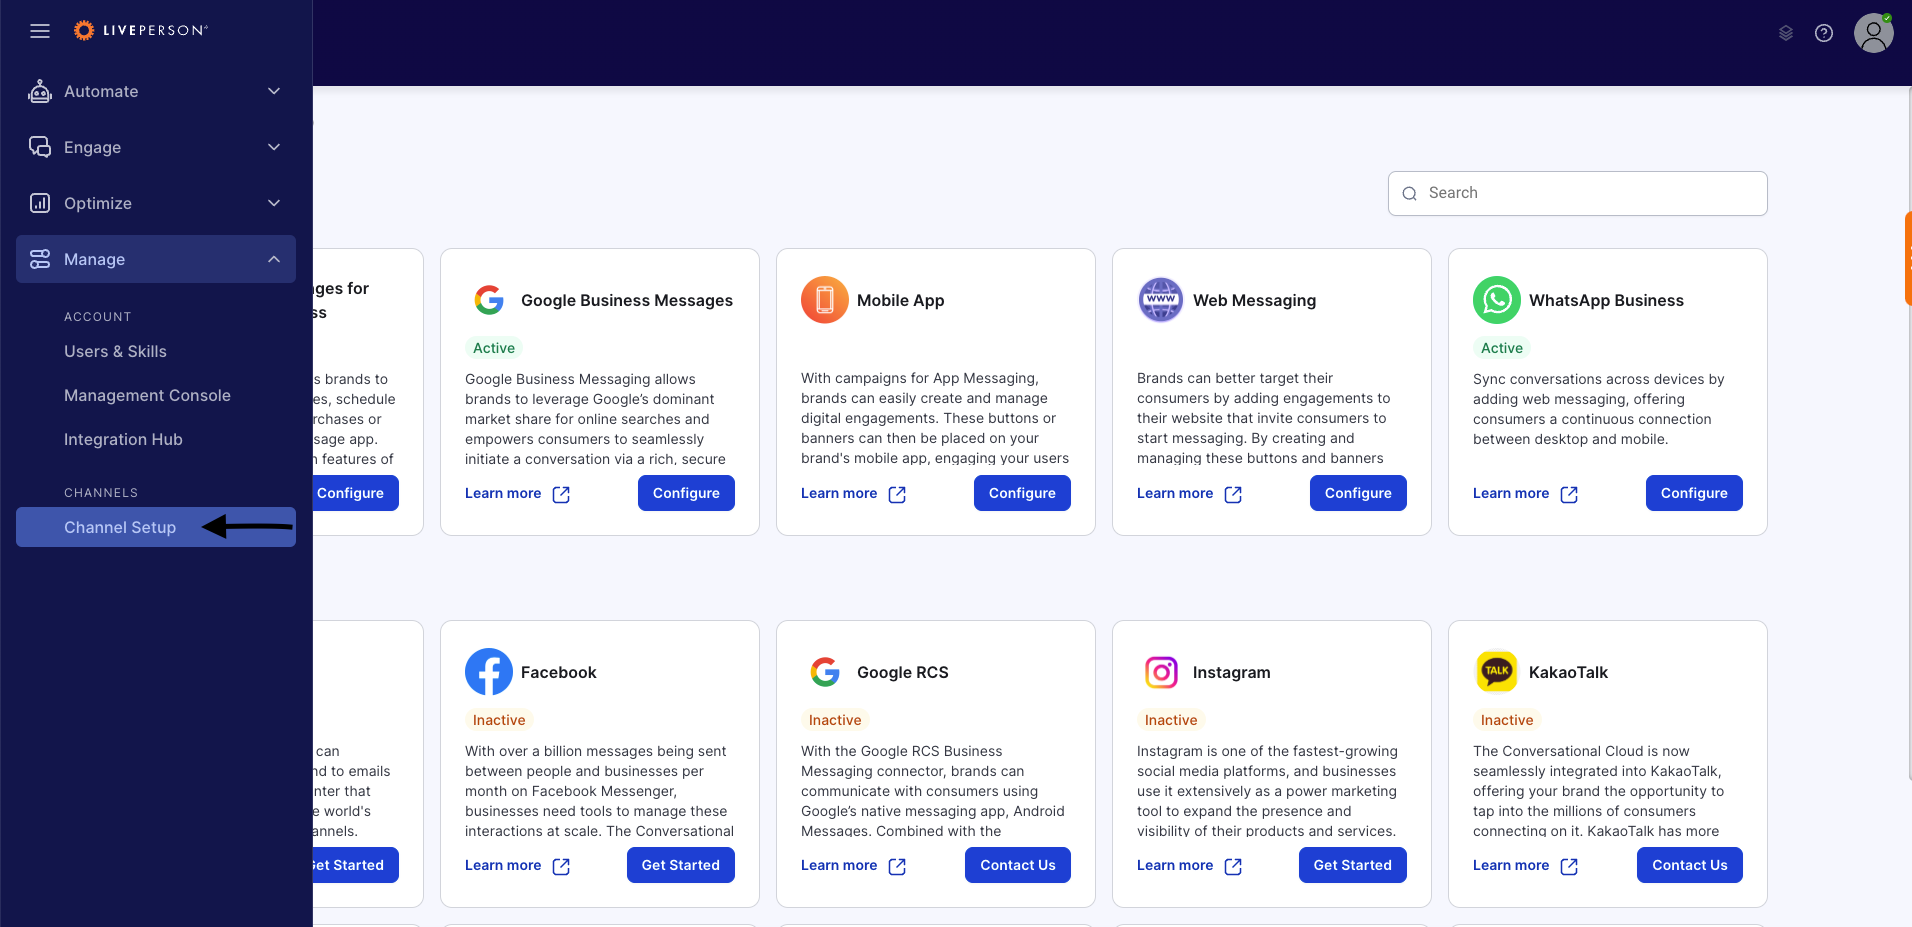
Channel Setup page within left nav bar
2. Click "Get Started" or "Configure" on Google Business Messages channel.

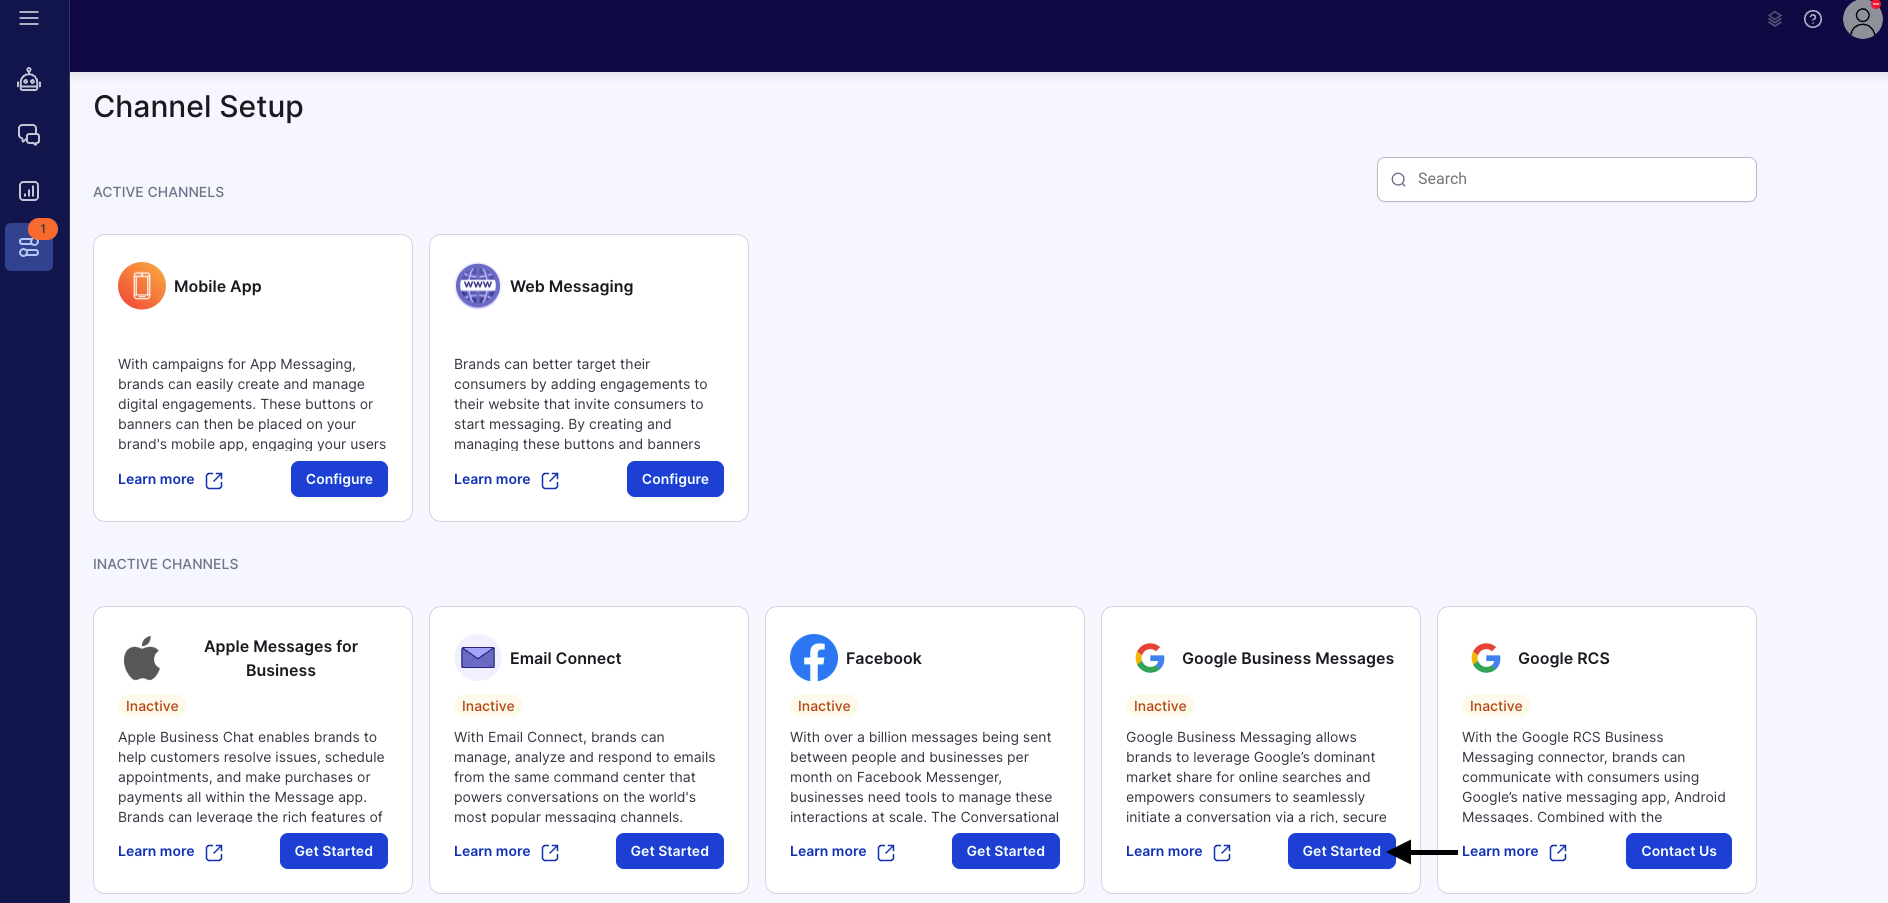
Get Started with GBM
3. Click "Get Started" on GBM landing page.

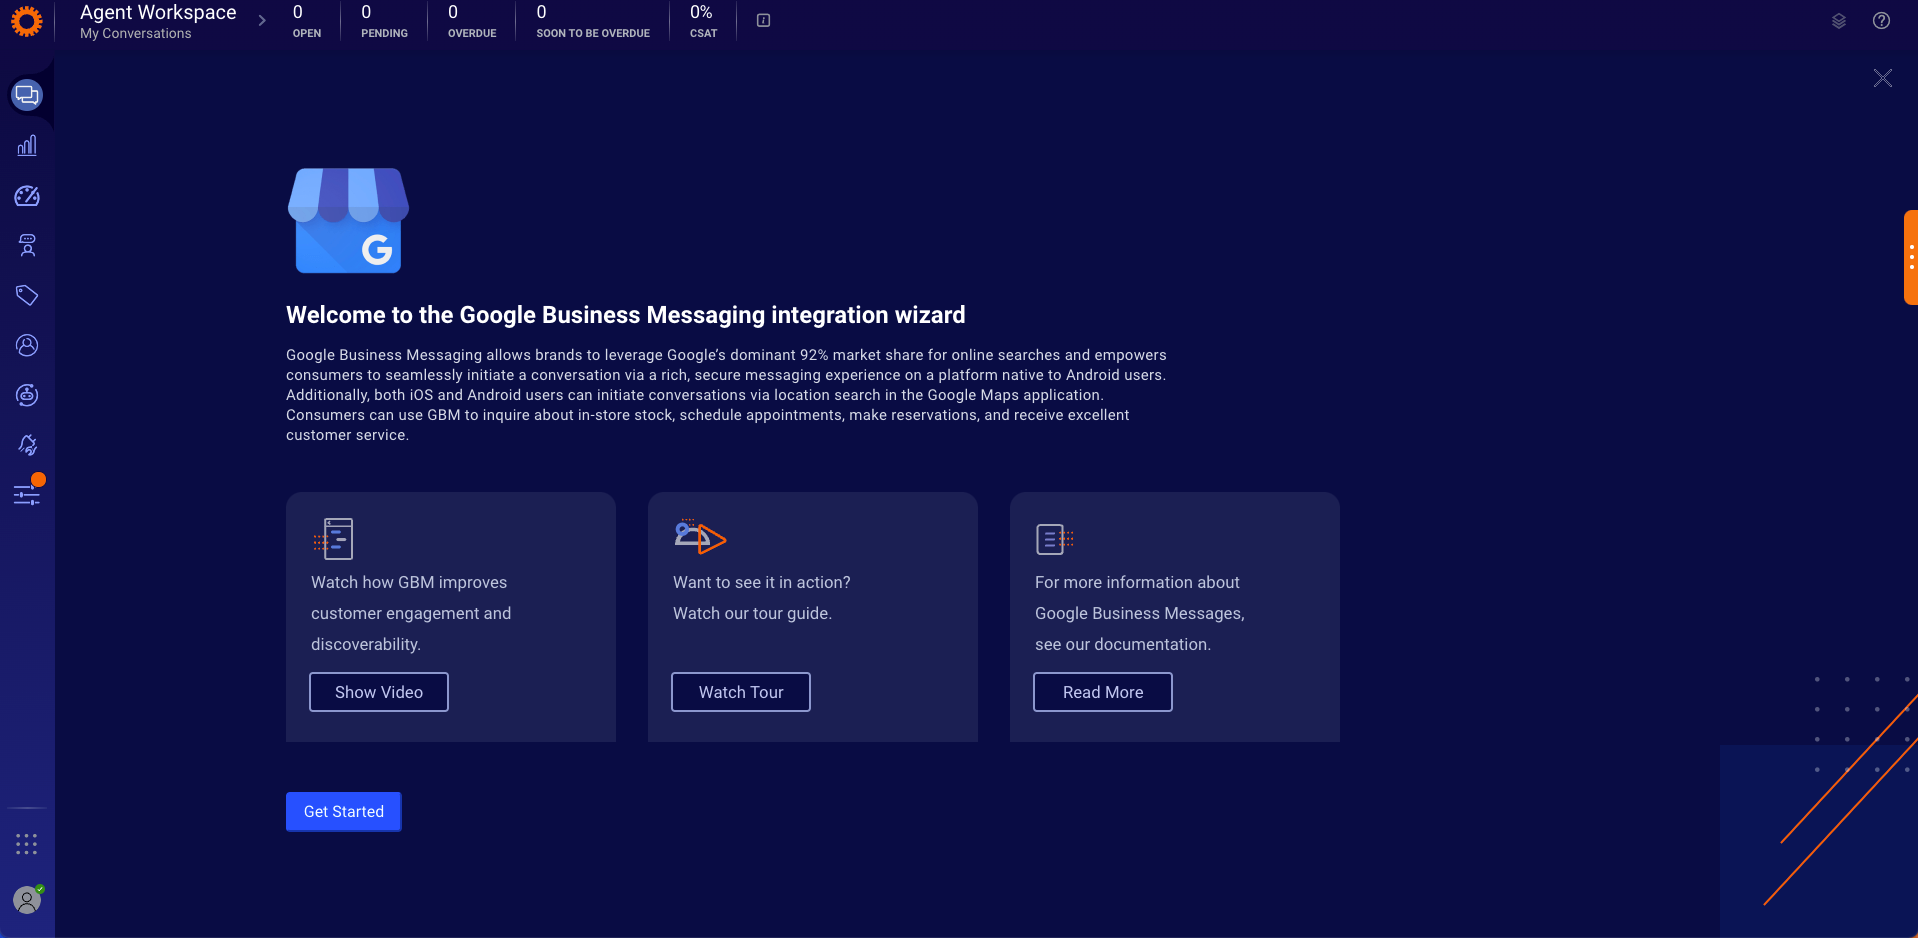
GBM getting started page
Step 1.A : Accept Terms and Conditions
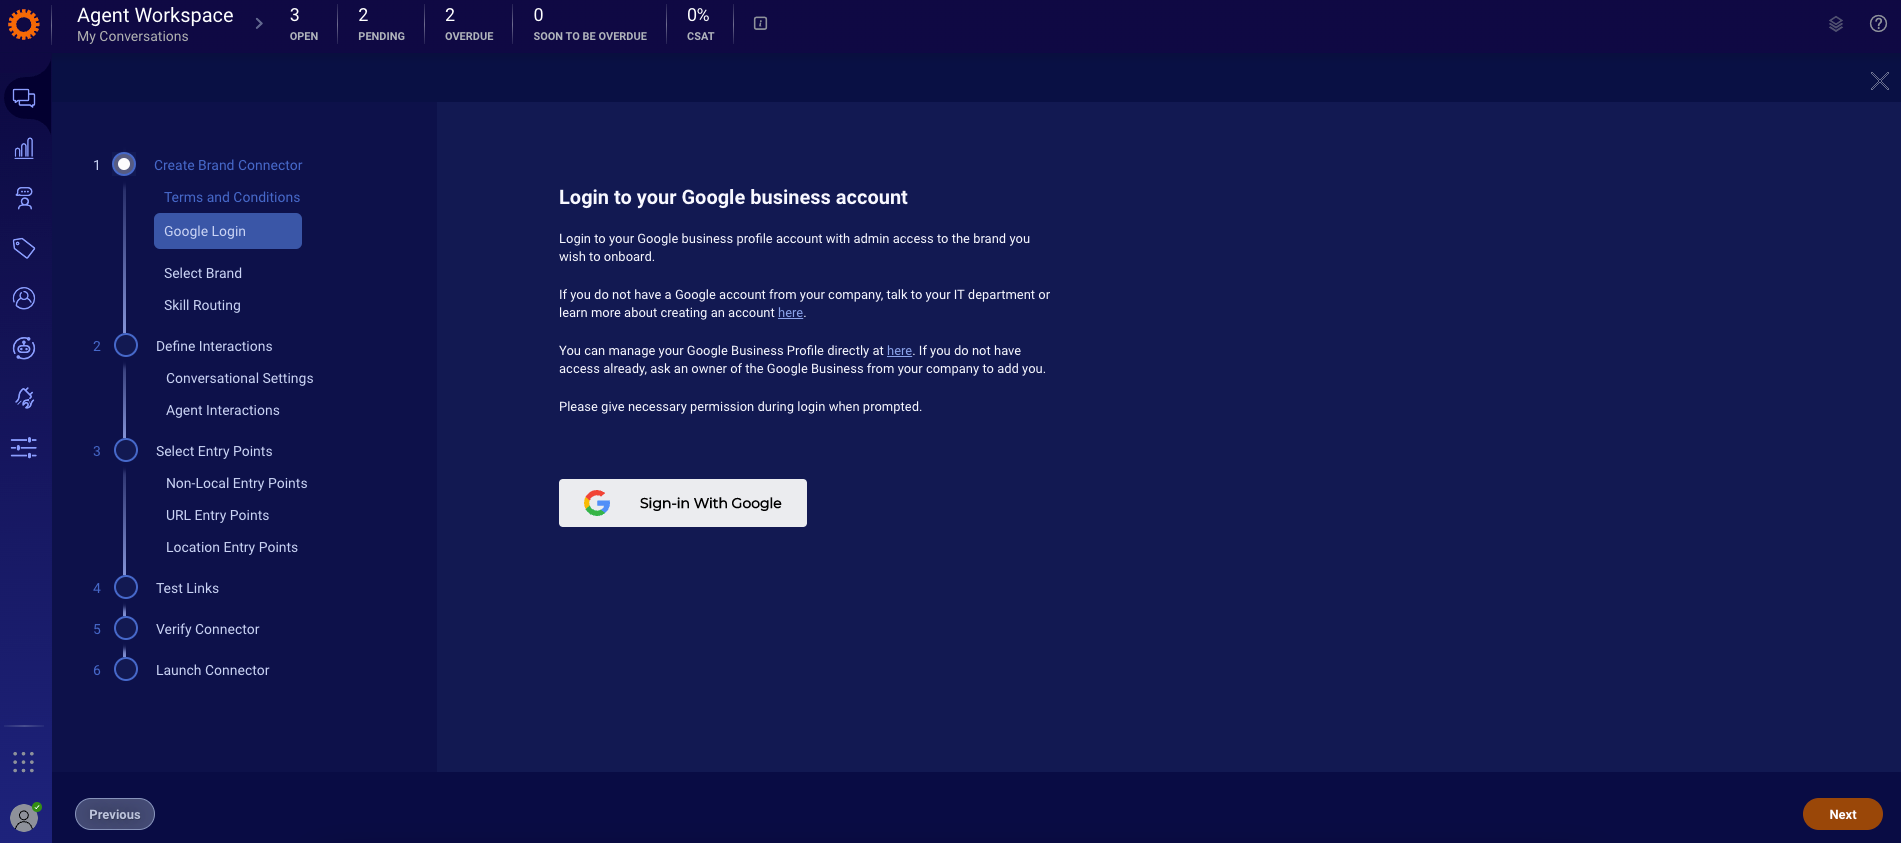
Step 1.B : Login to your Google Business Profile Account
- Login in to your Google Business Profile account. Make sure you have the right access and you followed the requirements above.

Login to your Google Business Account
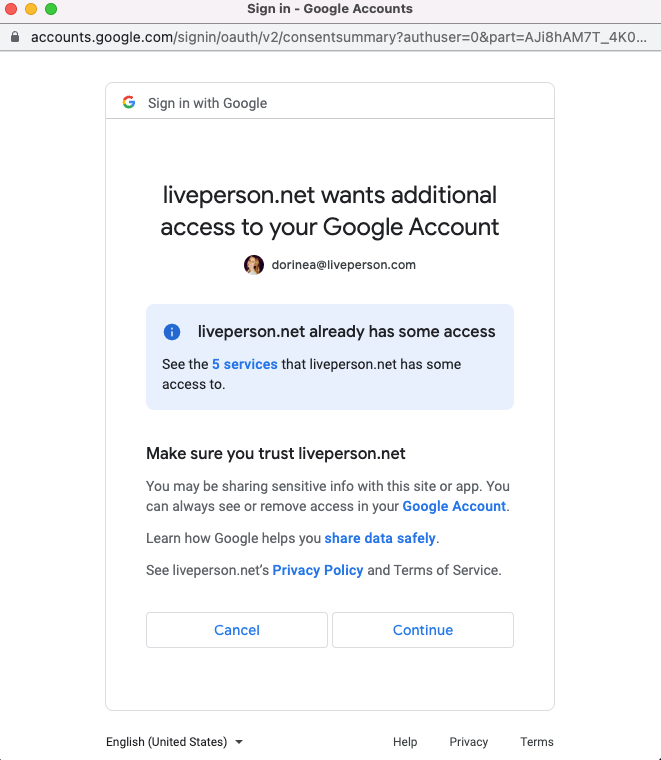
2. After choosing your email account, please give Liveperson access to your Google Account.
You may choose all 5 services:

Step 1.C: Select Brand
- In this step you will configure your Google agent for your selected brand.
- Please select your brand and fill in the Display name, Brand logo URL, and the Business phone number.
* Please note that Display name cannot be changed after this step and a brand's integration is created after clicking "Next". You can create only one integration per brand.

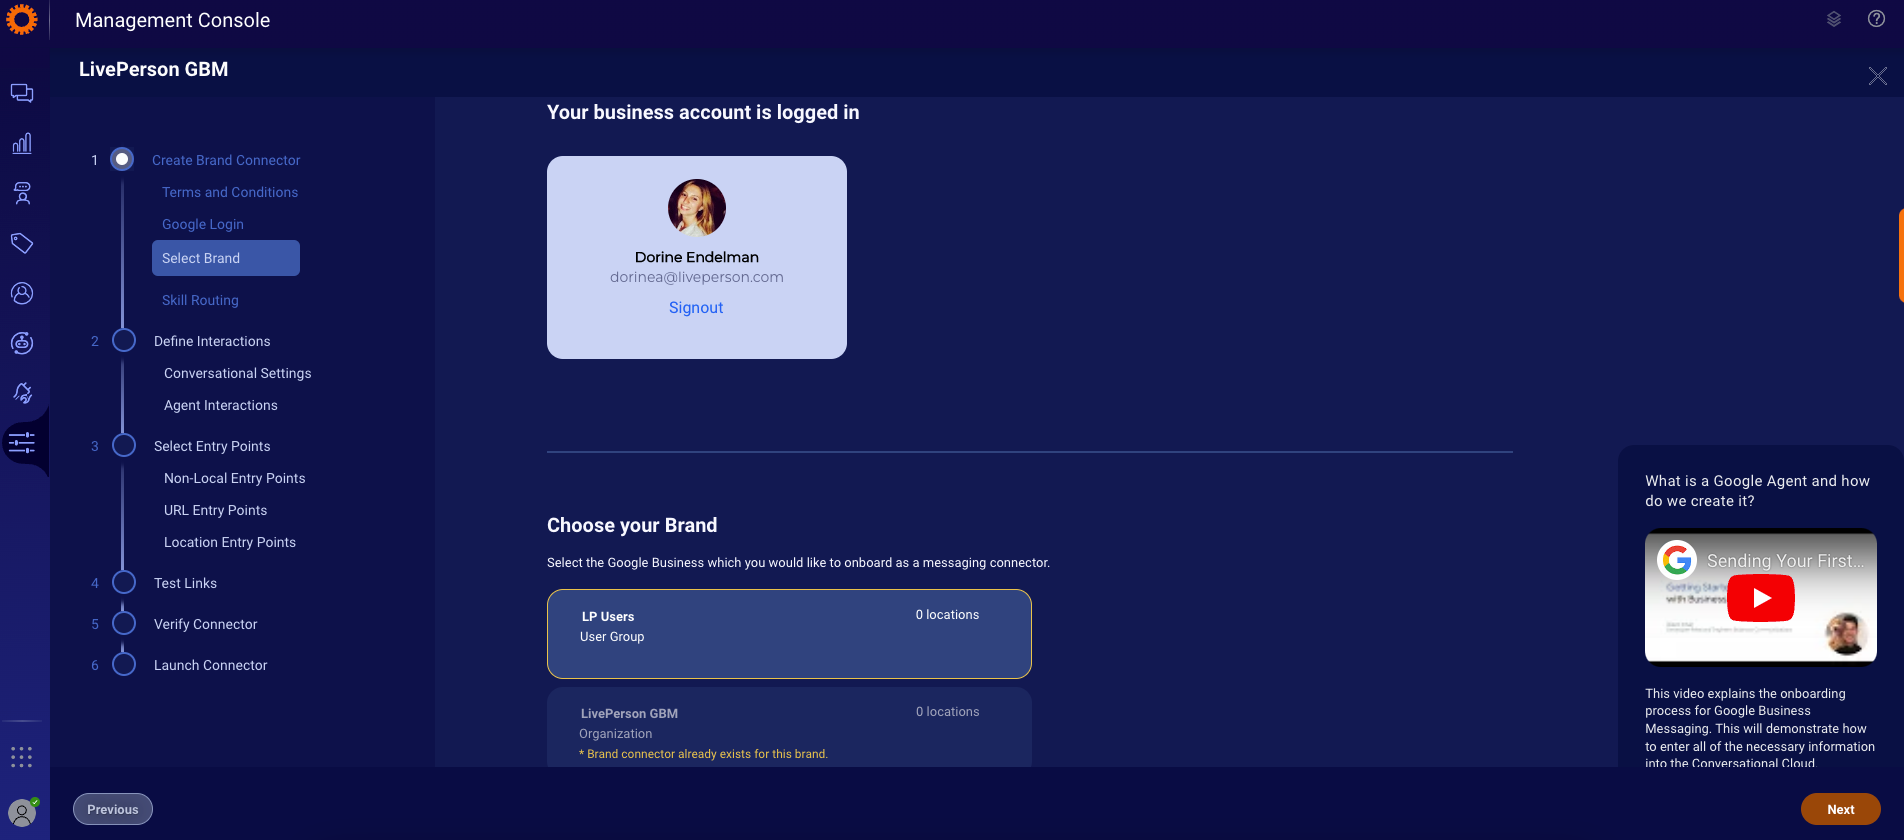
Select Brand Page

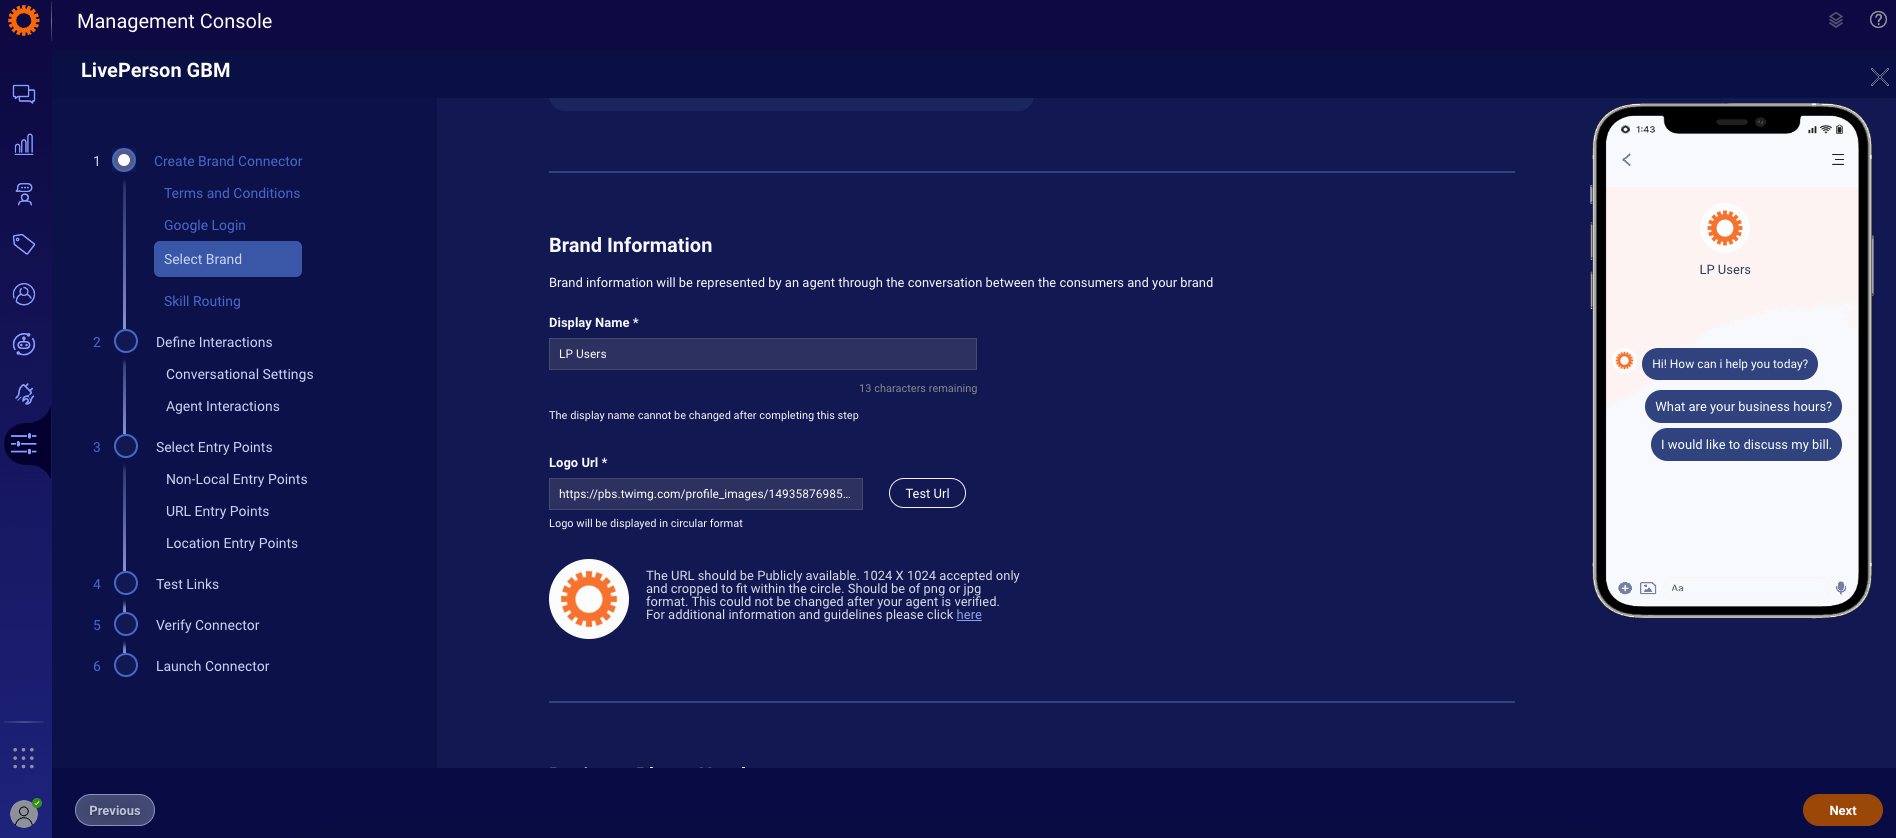
Select Brand Page
Step 2.A: Define Conversational Settings
- Define the conversational settings of your GBM agents.
- You can add the Language, Welcome Message, Offline Message, Privacy Link and Conversation Starter.

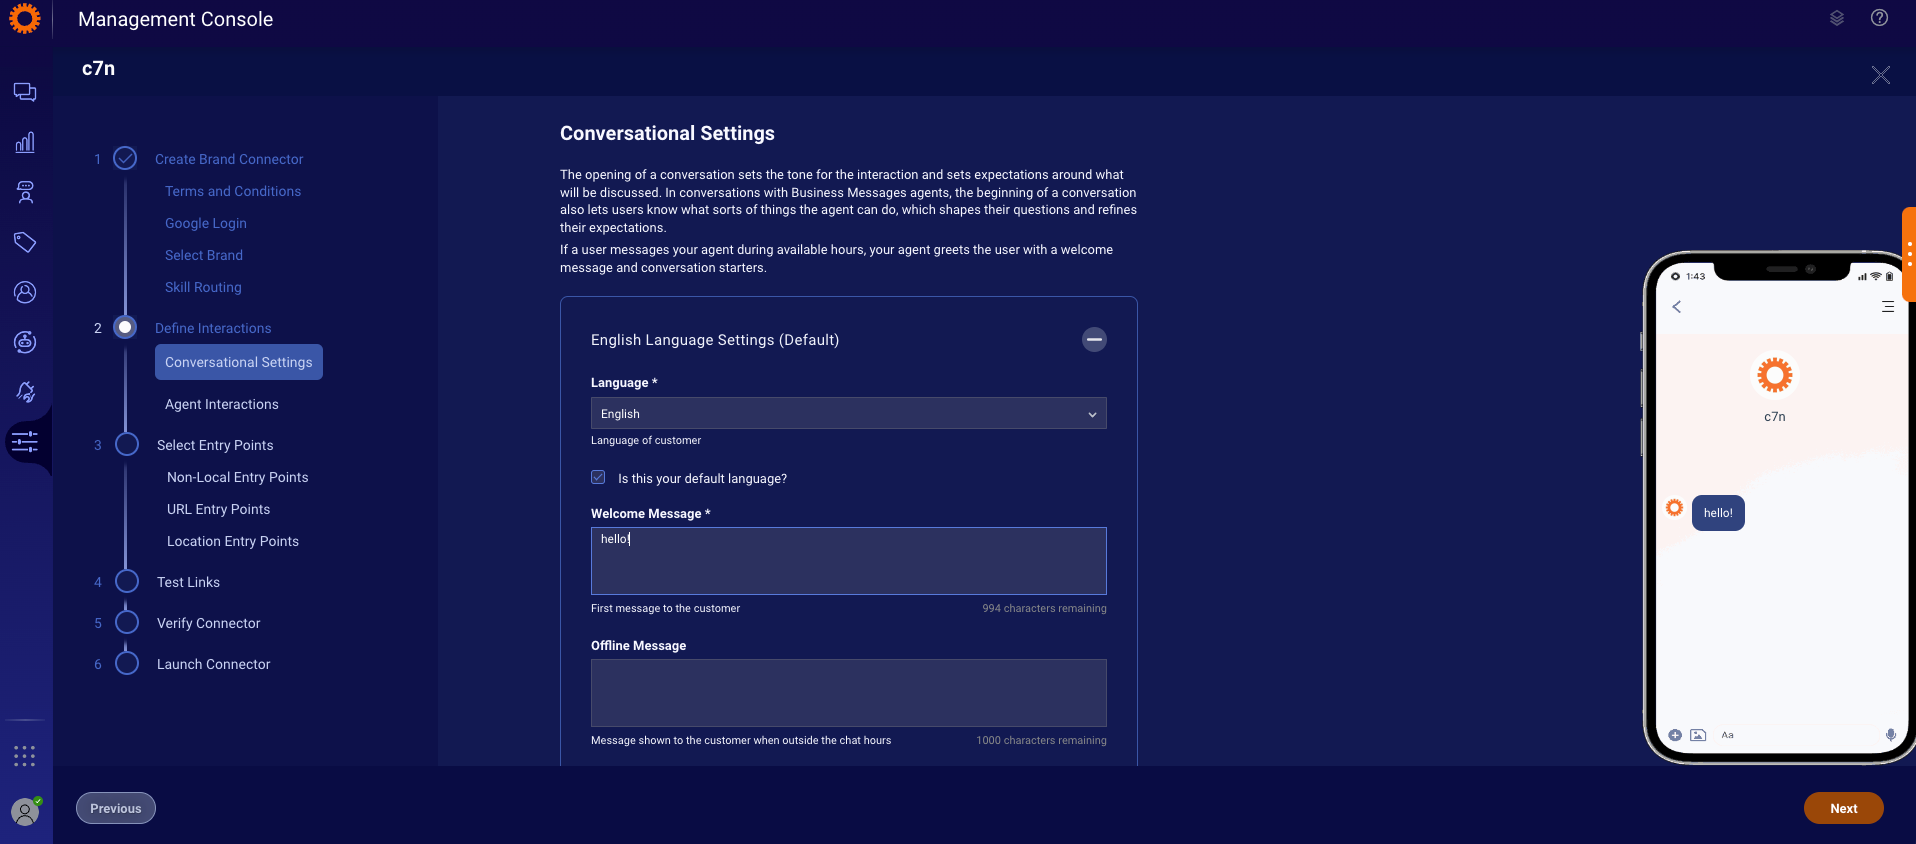
Conversational Settings Page
Step 2.B: Define Agent Interactions
- Define your Human Agent Availability in GBM.
- Please specify the days of the week and hours that you have live agents available to answer questions.


Agent Interactions Page
Step 3: Select Google Entry points
Select entry points (at least one is required):
- Non-Local Entry Points:
* Please note that the best practice is to select all regions in the first place and if you would like to remove some regions you can do it in later stage since you cannot add regions later.

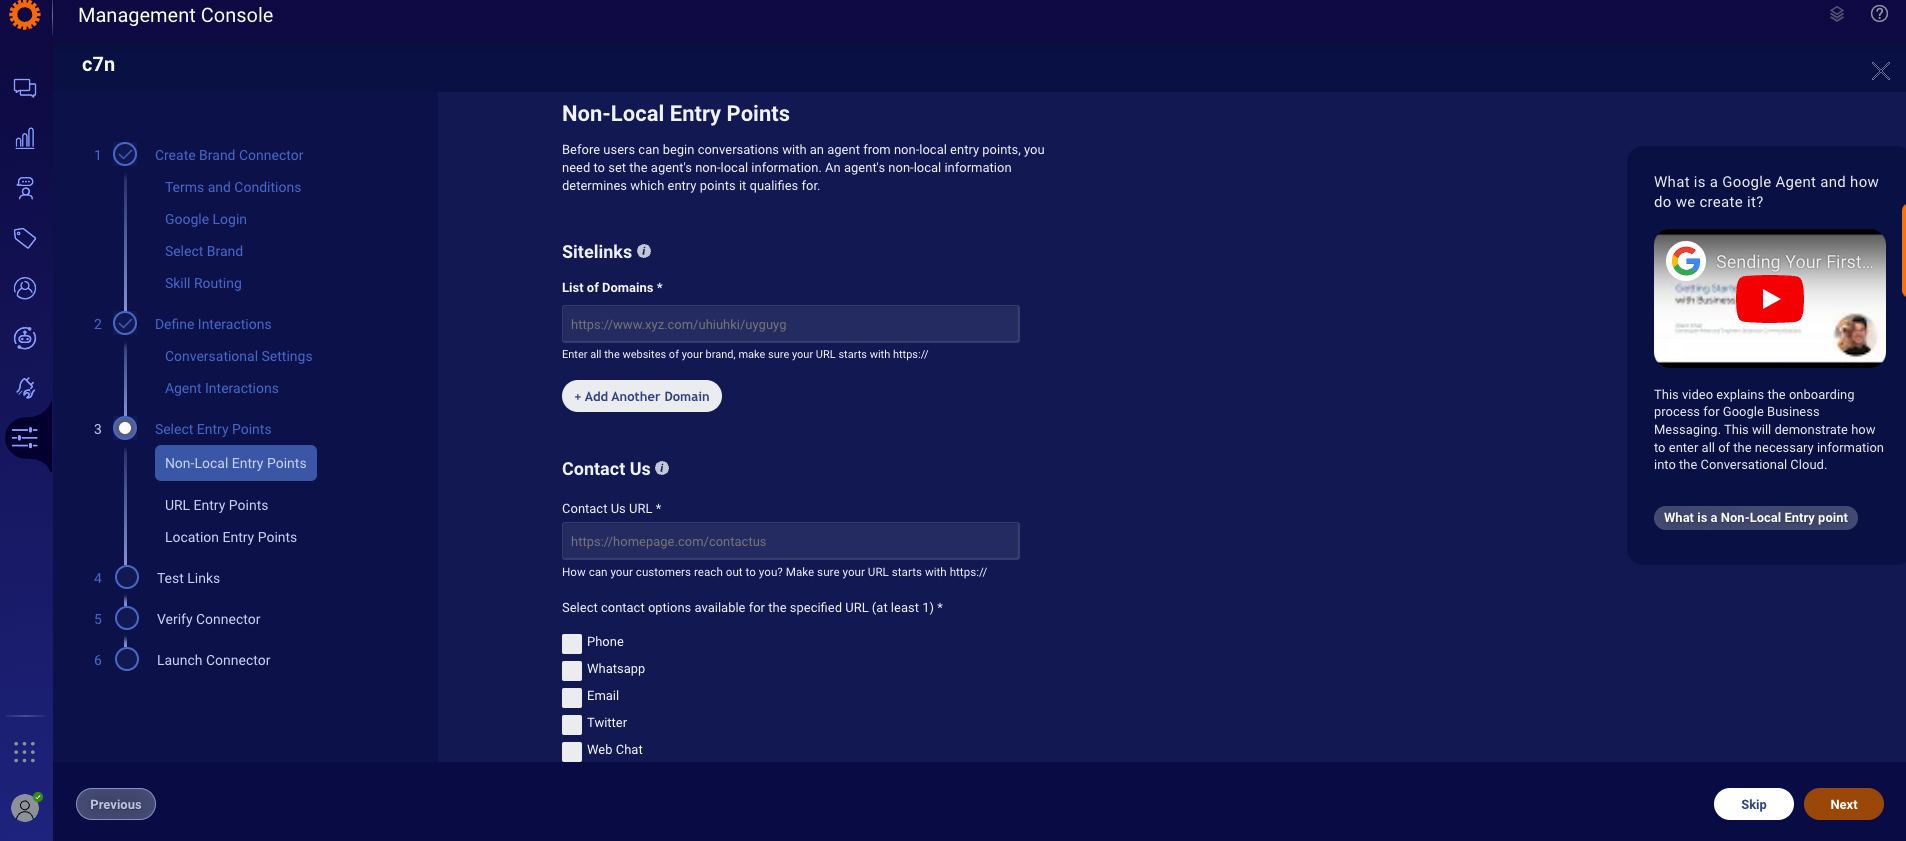
Non-Local Entry Points Page
- URL Entry Points:
The URL entry point enables URL access to your brand's integration, which you can include in emails, websites, or other messages. Please note that these links and QR Code works only on Android.

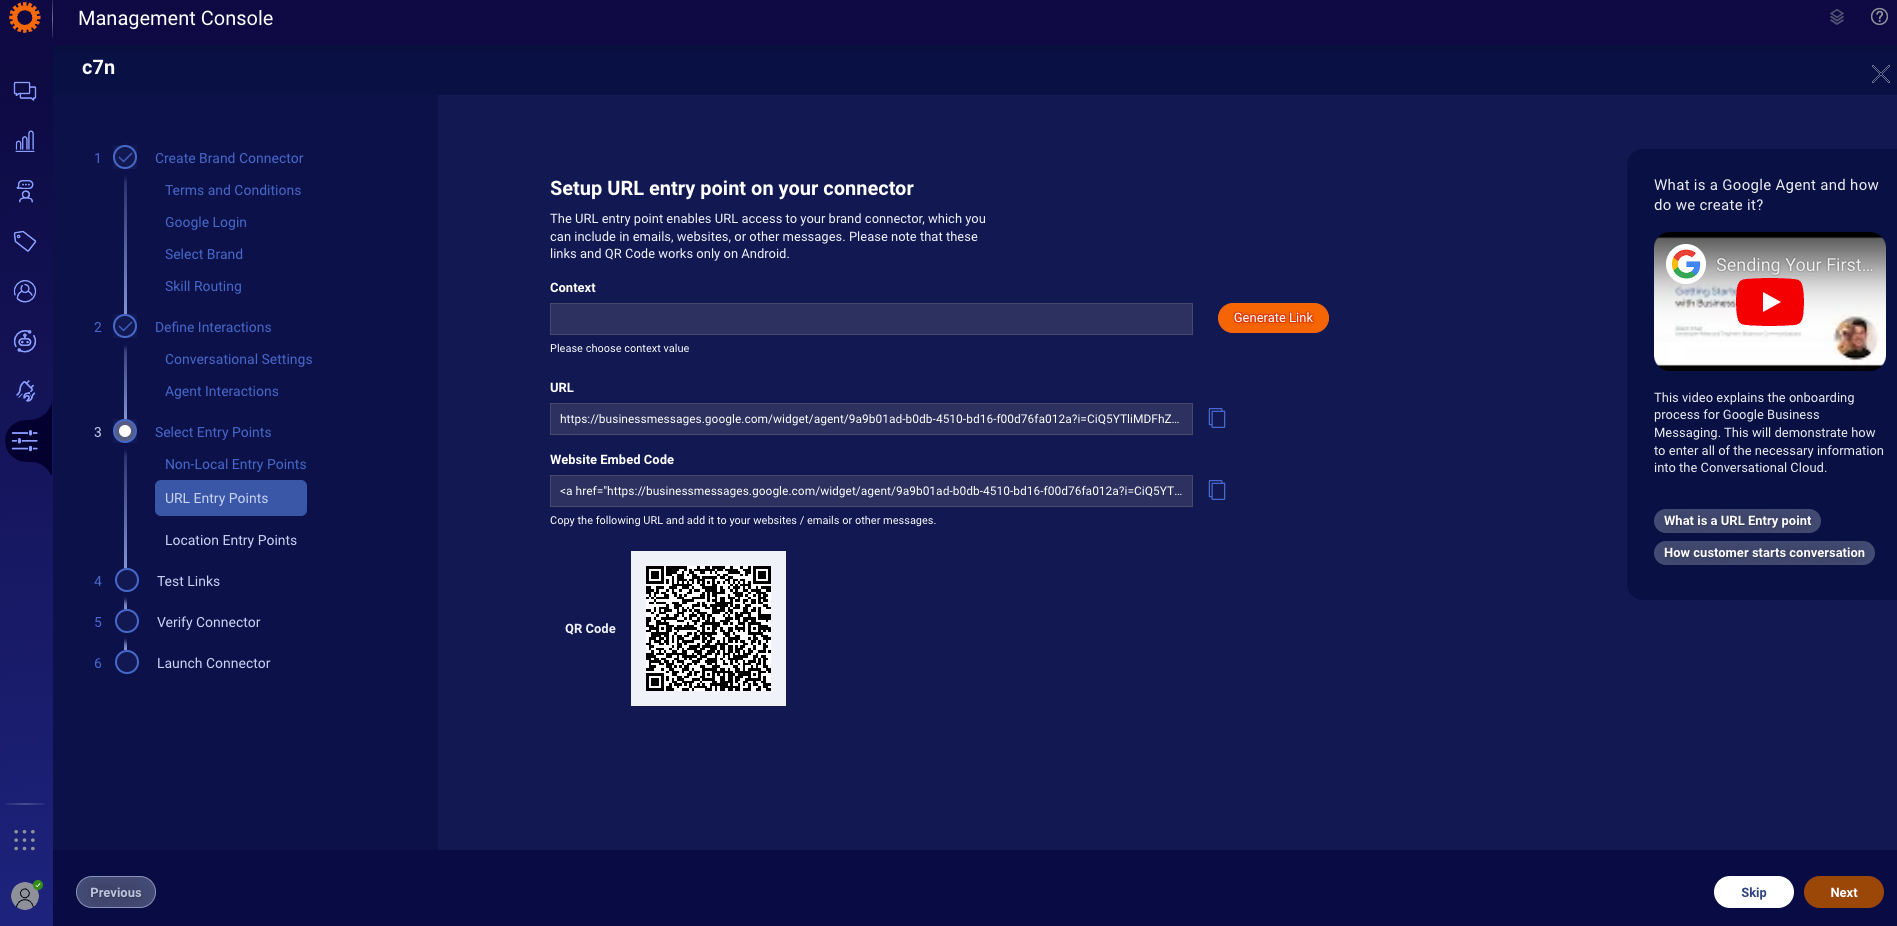
URL Entry Points Page
- Location Entry Points:
Please select which locations you wish to add to your location entry point by checking the check-box and uncheck already checked boxes to remove them.

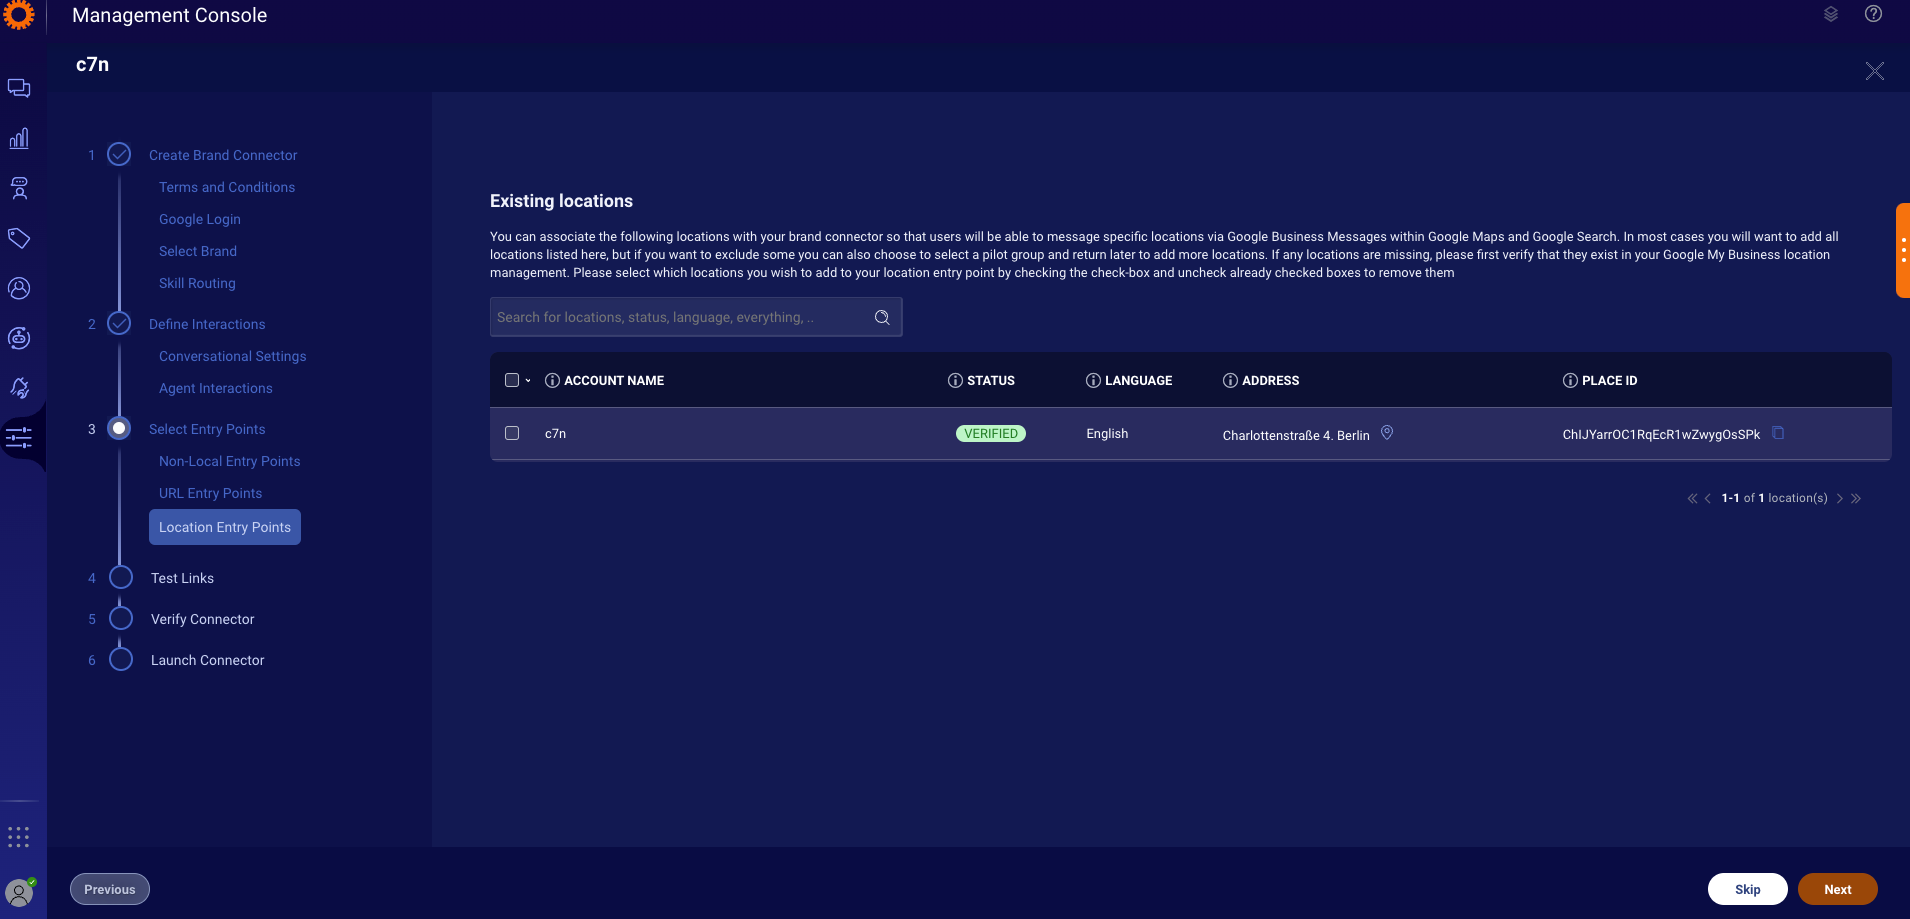
Locations Entry Points Page
Step 4.A : Configure Integration (Optional)
In this step you can manage the File Sharing configuration, Agent Name and Agent Image configuration, Survey configuration (for URL endpoint only) and GBM Authentication configuration using the self service without LP support. For more information please click here.

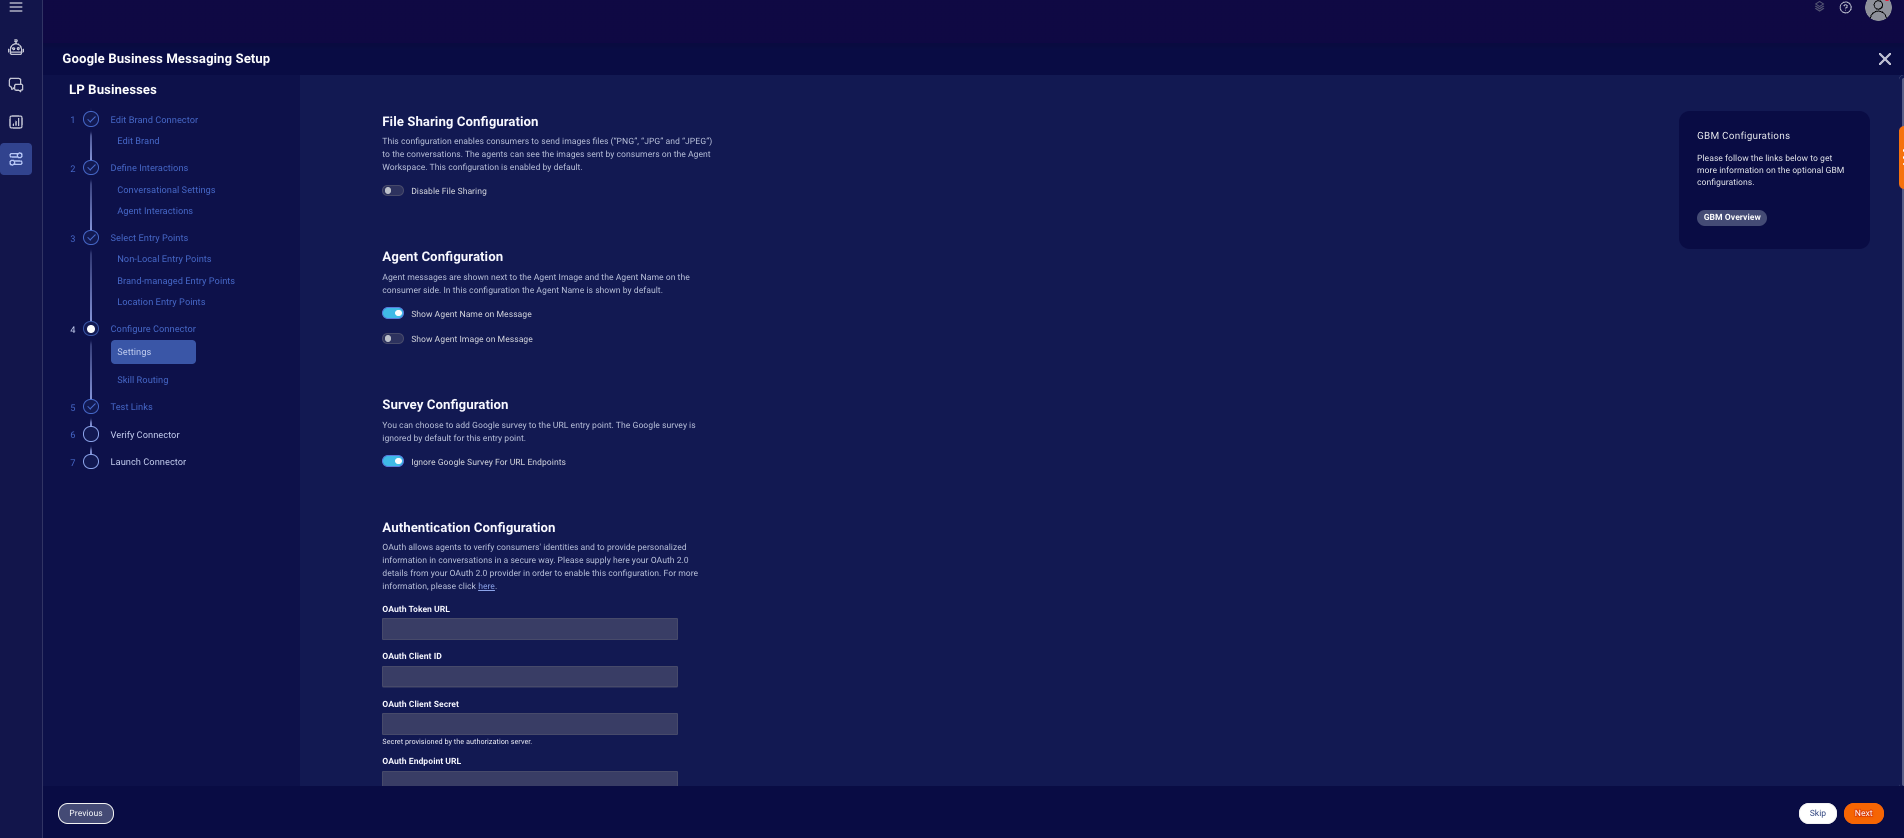
Integration Settings page
Step 4.B: Configure Skill Routing (Optional)
Choose skill routing rules in order to control which agents receive messages from GBM channel.

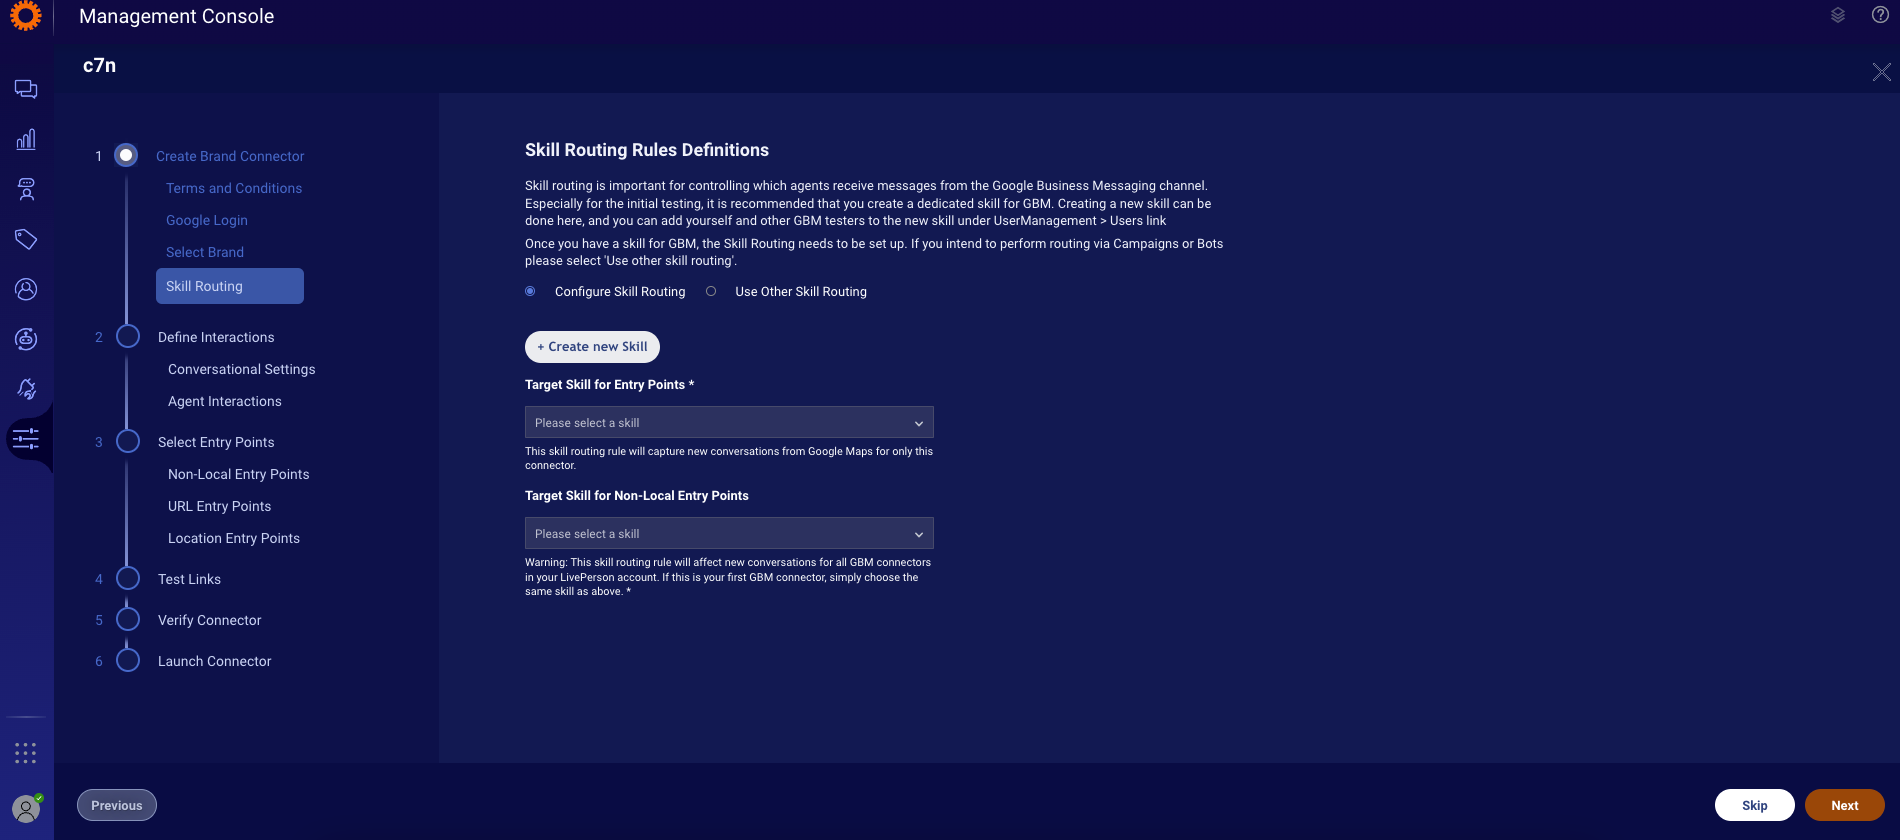
Skill Routing Page
Step 5: Test sending and receiving messages from GBM
In Test links, QR codes provided depend on which device you are using in order to start a GBM messaging conversation as a consumer and test your integration. Be sure to scan the correct code depending on whether you are testing with an iOS or Android phone. We recommend testing with both if possible.
It is very important to validate in this step that the icon, display name and messaging flow are working as expected before continuing to the verify step.


Step 6: Verify your Integration
In this step, please confirm that the brand logo, brand name and phone number are correct; ensure that you have tested them. Additionally, confirm that the agent's non-local information is correct and you have selected all regions where you may want to launch non-local entry points.
It is important that the above fields are correct because after they are verified, they can only be changed by raising a support ticket to Google.

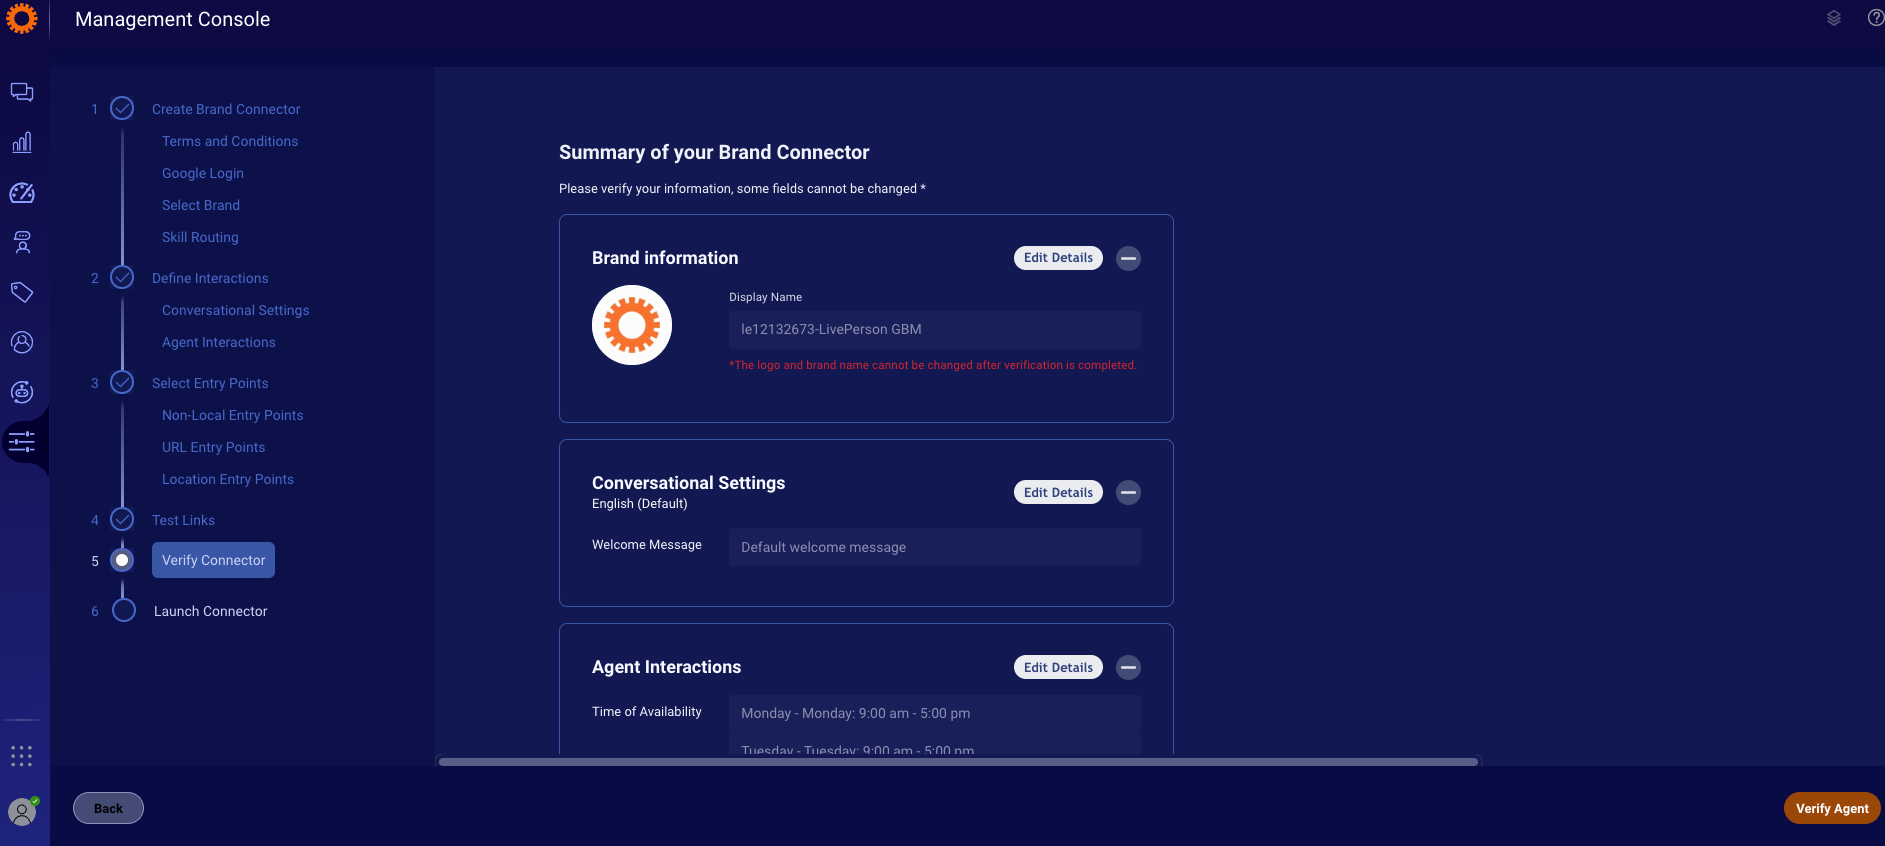
GBM verify your integration
After confirming your information and clicking on "Verify Agent", proceed to:
- Click "Submit Agent for Verification"
- Check your mailbox as you should receive two emails from "BM Support": one with a security key, and the second with more instructions to follow.
- Once the agent is verified, you can continue to verify locations (if local entry points have been selected)
- Click "Submit Locations for Verification"
- Once the locations are verified by Google, GBM Support will send you another confirmation email
- Return to GBM dashboard and continue to Launch
Step 7: Launch your GBM Integration
After verifying, you can launch your agent and the location entry points that you configured. Within a few hours of launching, the public will be able to see your new GBM entry points.
Missing Something?
Check out our Developer Center for more in-depth documentation. Please share your documentation feedback with us using the feedback button. We'd be happy to hear from you.