Manage phone numbers
Introduction
A Voice bot needs a phone number that it can use for automated conversations with consumers. So, this article provides info on how to manage the phone numbers used in your Voice solution.
Port a phone number
If you have an existing number that you want to use, you can port it if you want. Contact your LivePerson representative for assistance.
Claim a phone number
The info below describes how to claim a phone number from a list of available numbers.
Prerequisite steps
Before you claim a phone number, in Conversational Cloud create the skill that you will assign to the phone number.
Later, when you deploy the Voice bot, you must:
- Assign this same skill to the bot user that will be used by the Voice bot. Do this in Users, which is accessed via Manage > Users & Skills.
- Assign this same bot user to the Voice bot. Do this in LivePerson Conversation Builder, which is accessed via Automate > Conversation Builder.
When the consumer makes a call to the phone number, if the phone number’s assigned skill matches the Voice bot’s assigned skill, the Voice bot answers the call.
Claim a phone number for the North America region
1 - Log into Conversation Cloud.
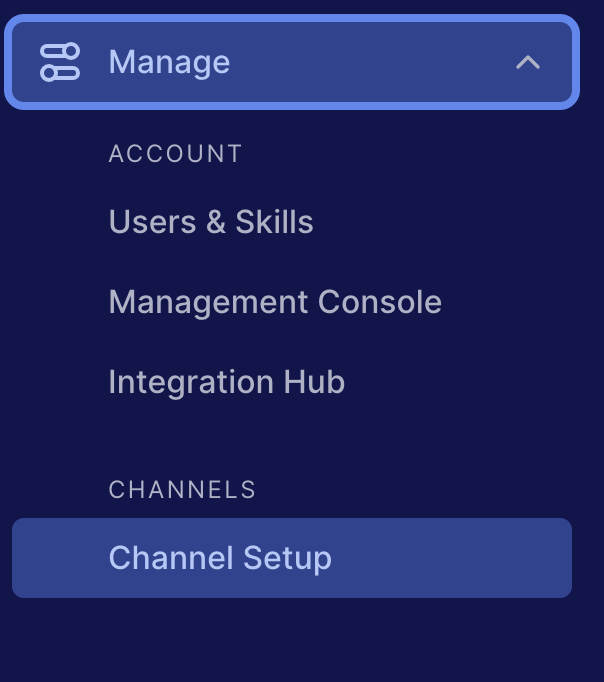
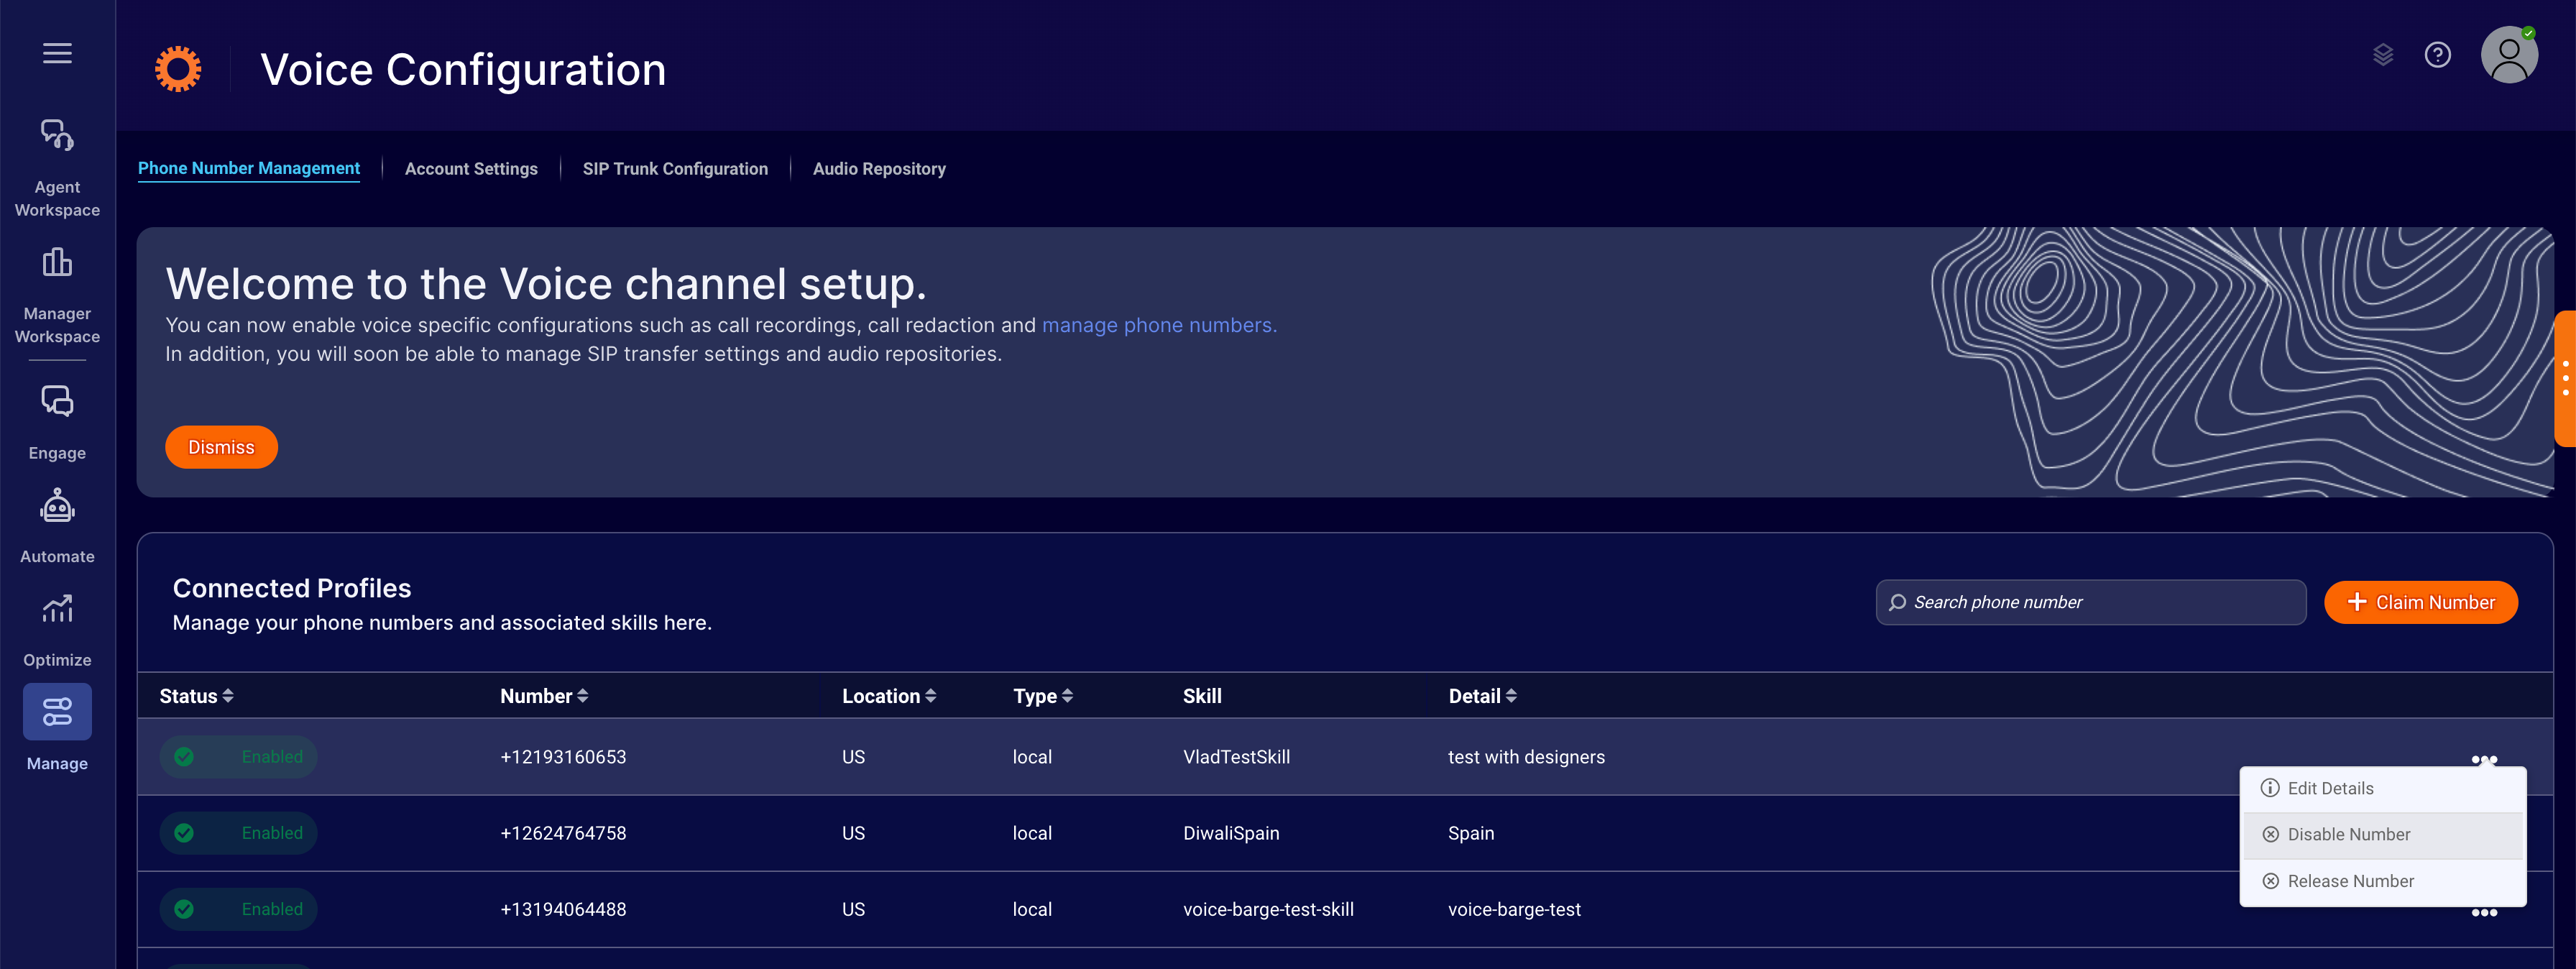
2 - Open the menu on the left side of the page, and select Manage > Channel Setup > Voice Configuration to open the configurations for Voice.

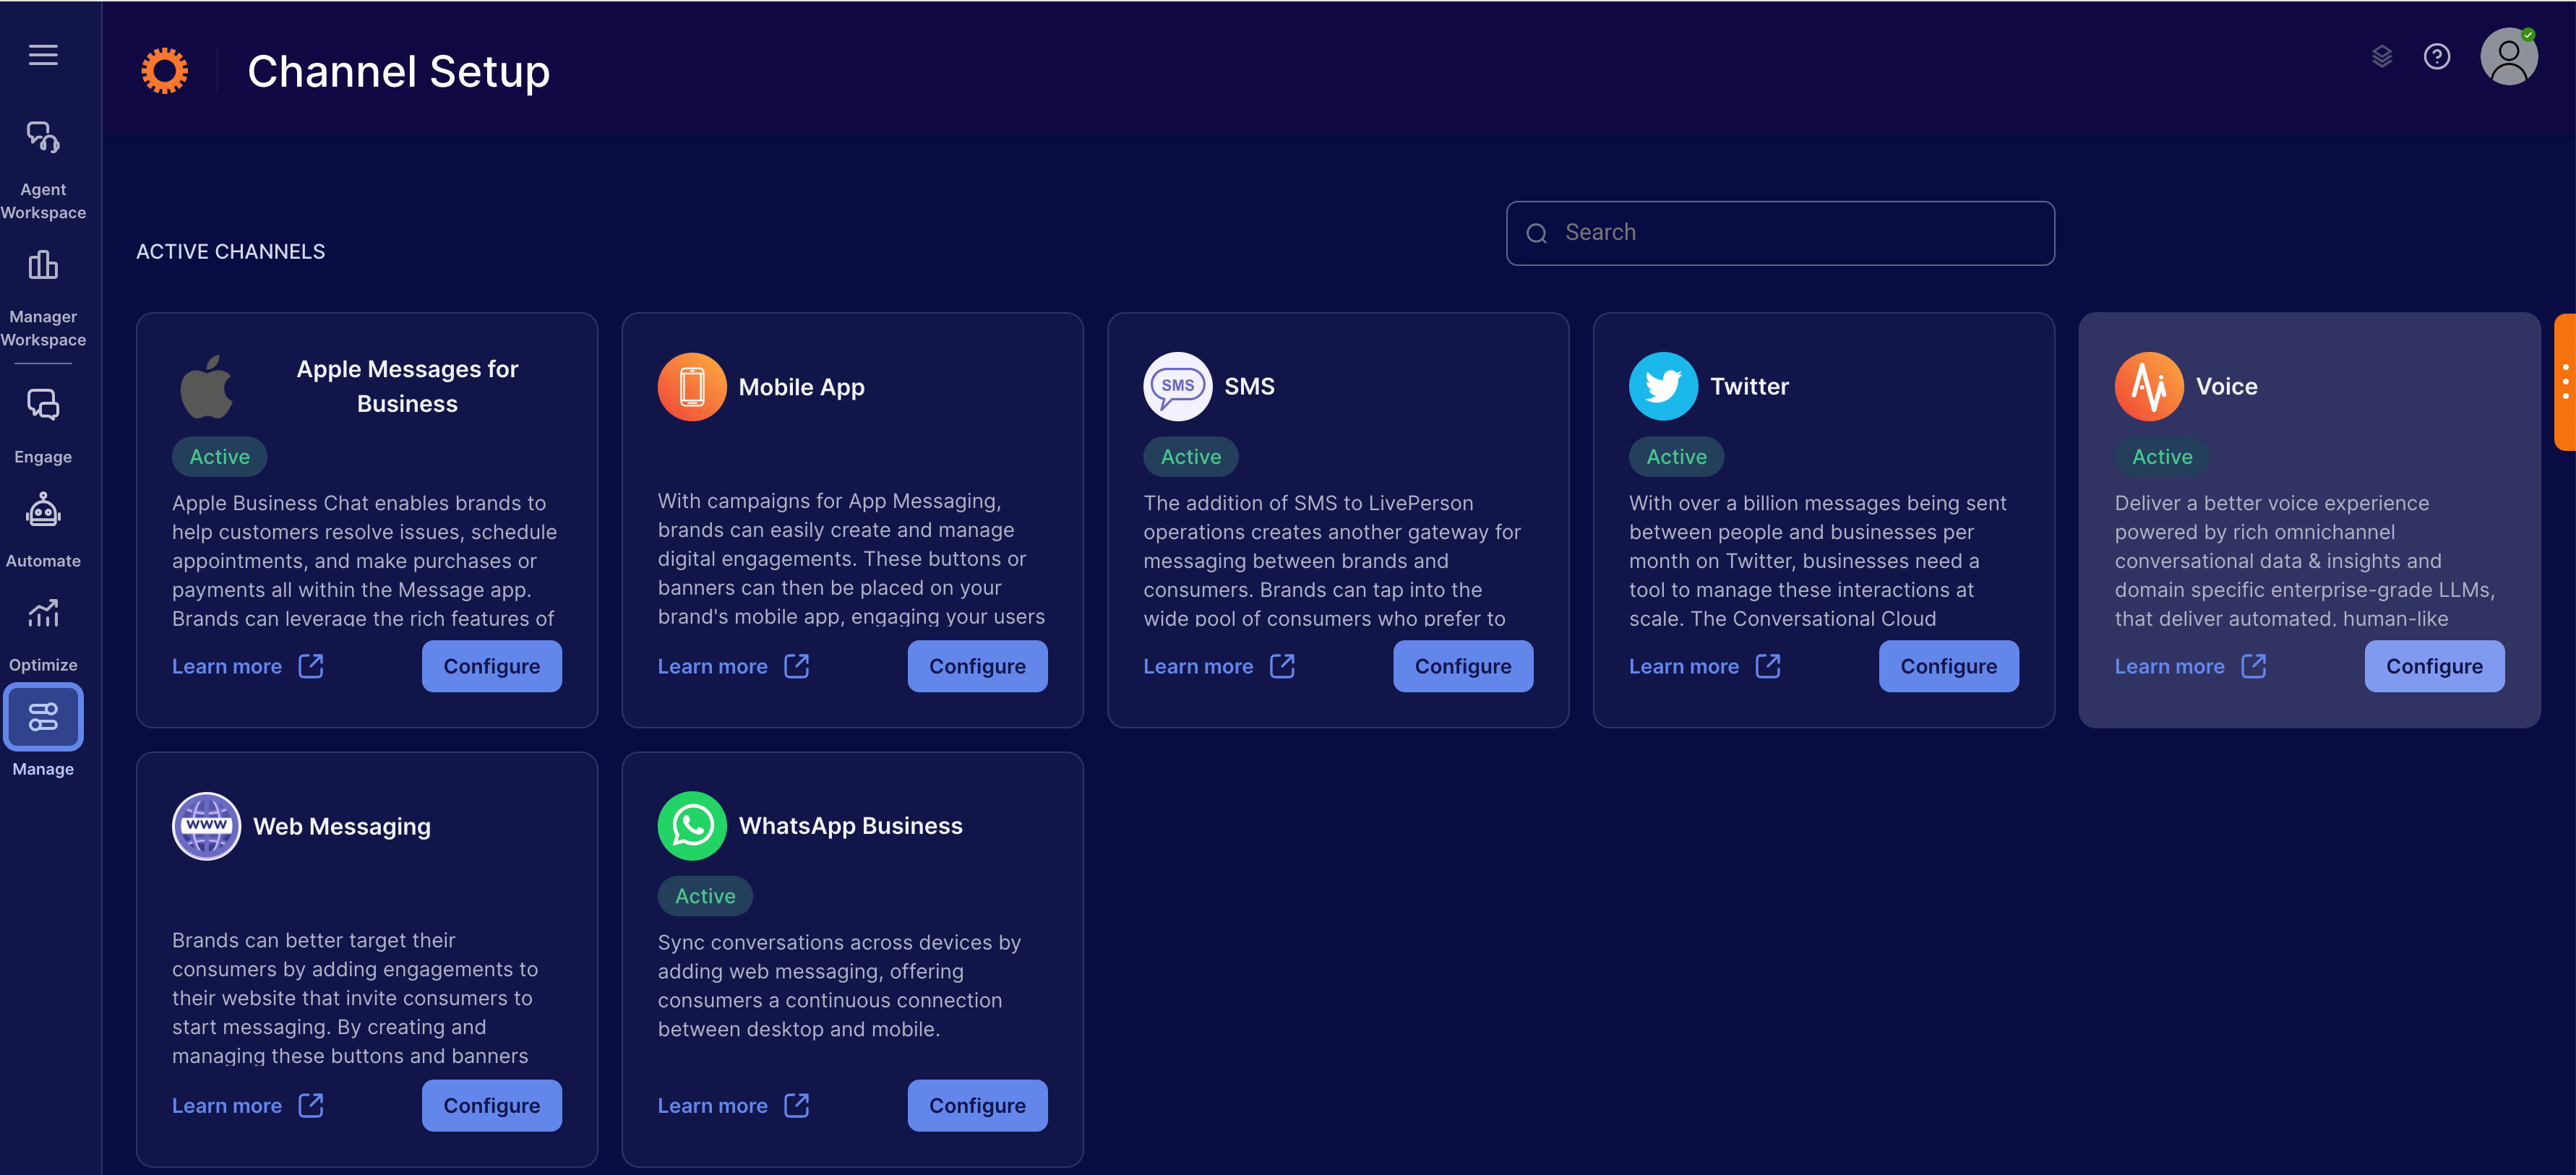
3 - Select the "Configure" option in Voice tile.

4 - Select the "Phone Number Management" subtab.
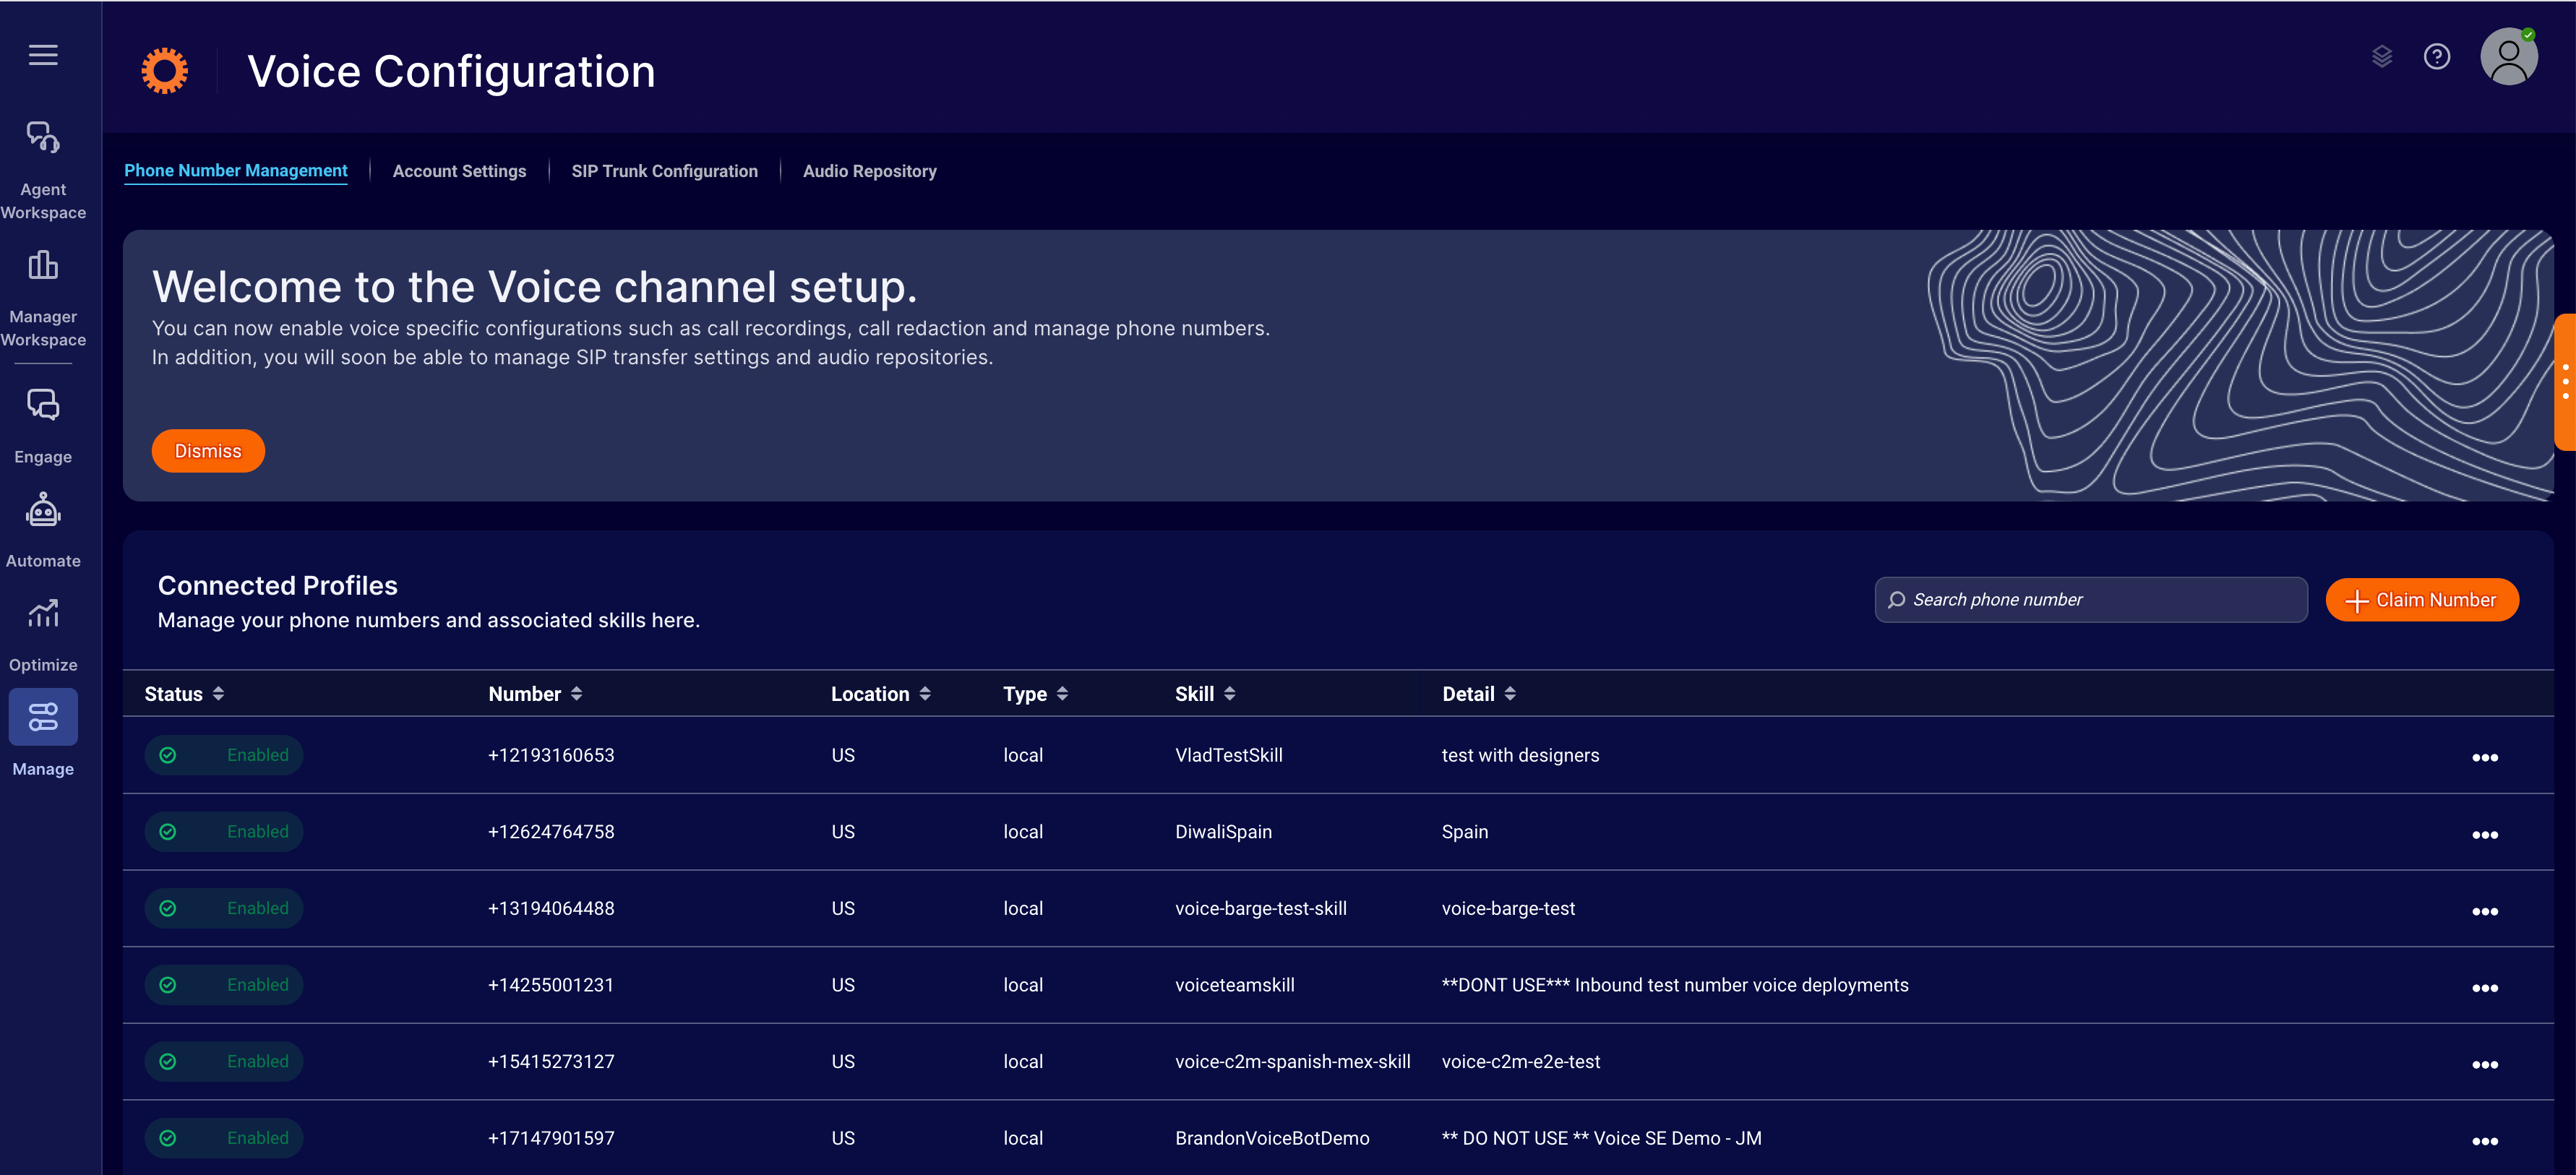
5 - Click Claim Number, enter the toll-free or local phone number that you want to acquire, and click Search. (You can search for local numbers by region or area code.)

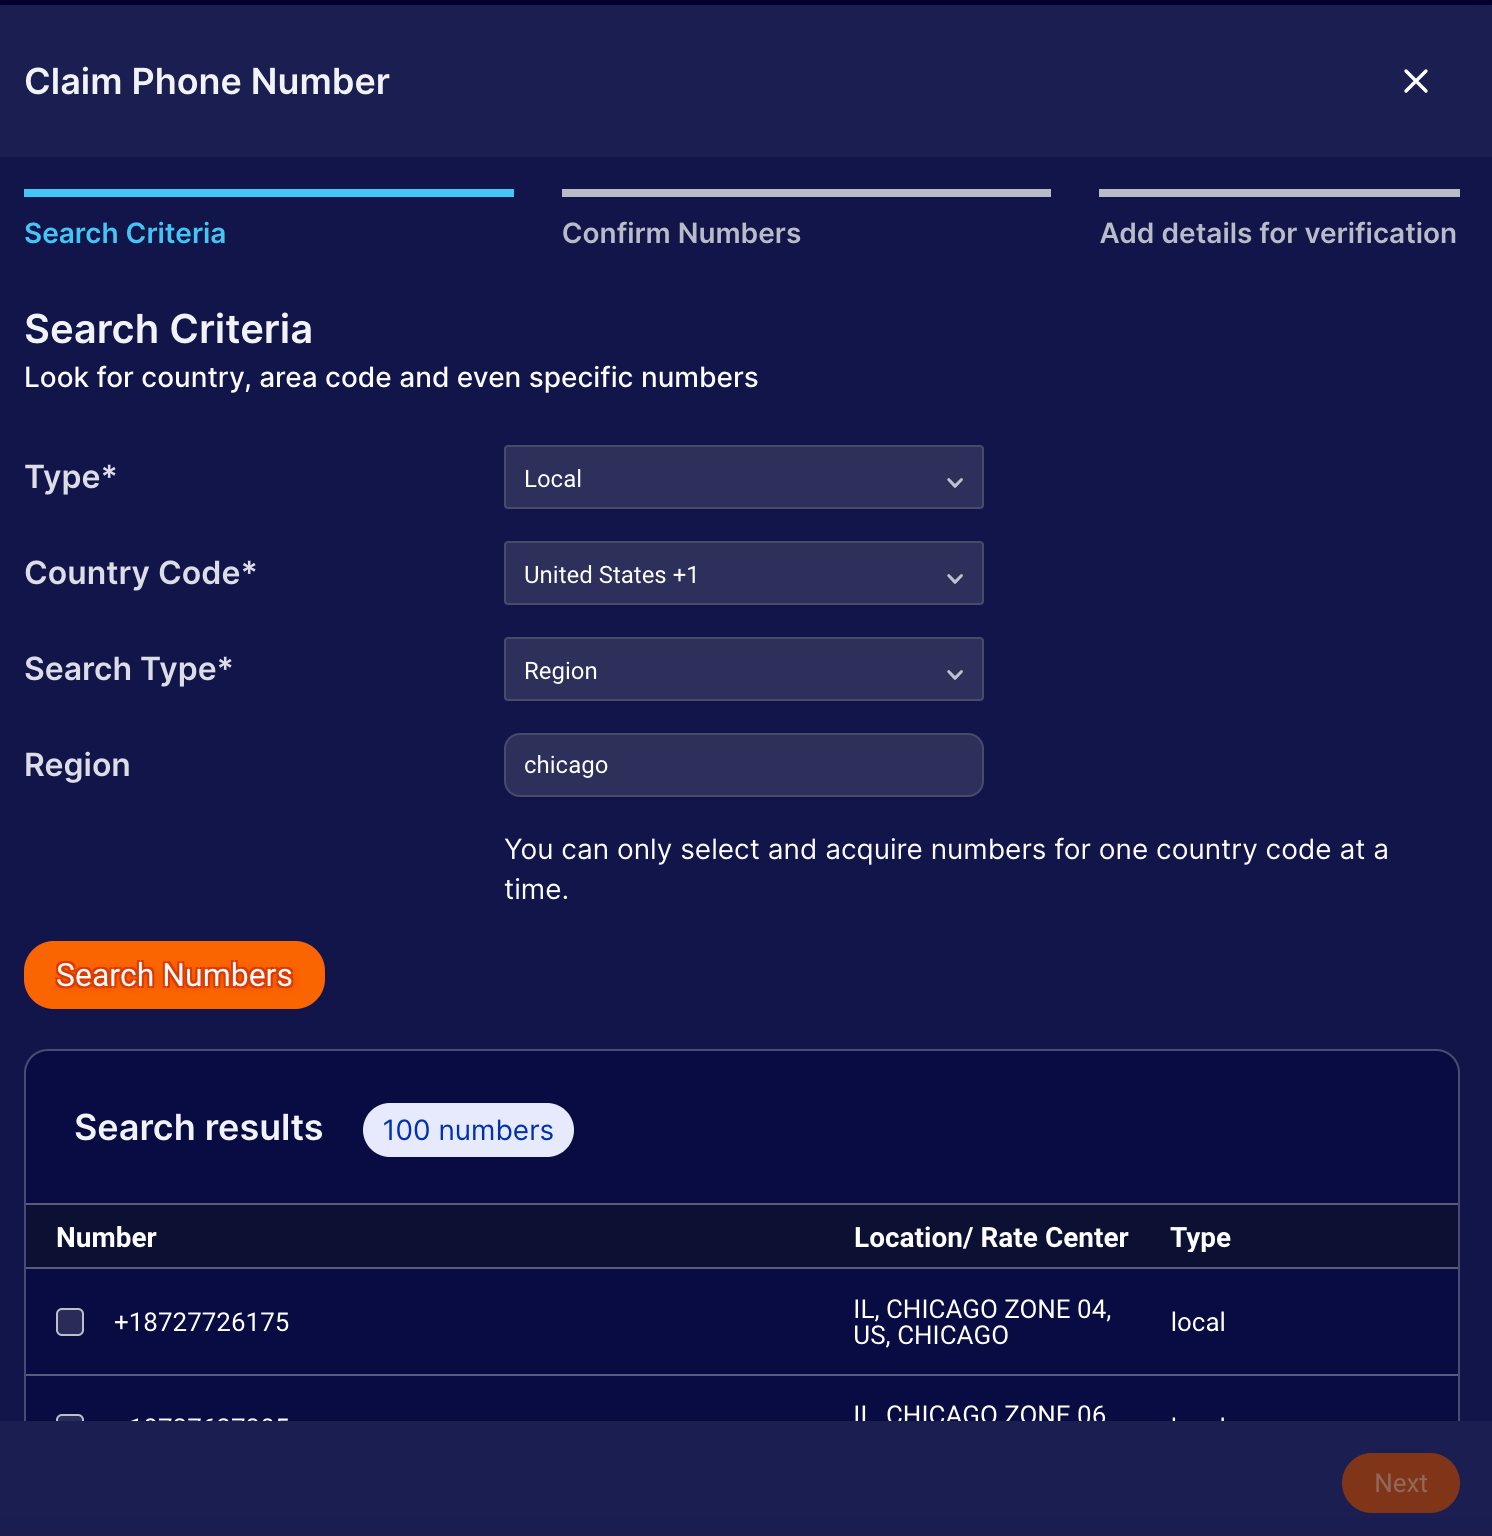
6 - Select the phone number by clicking the check box next to it ,and then click Next.

7 - Click Save to confirm the number.

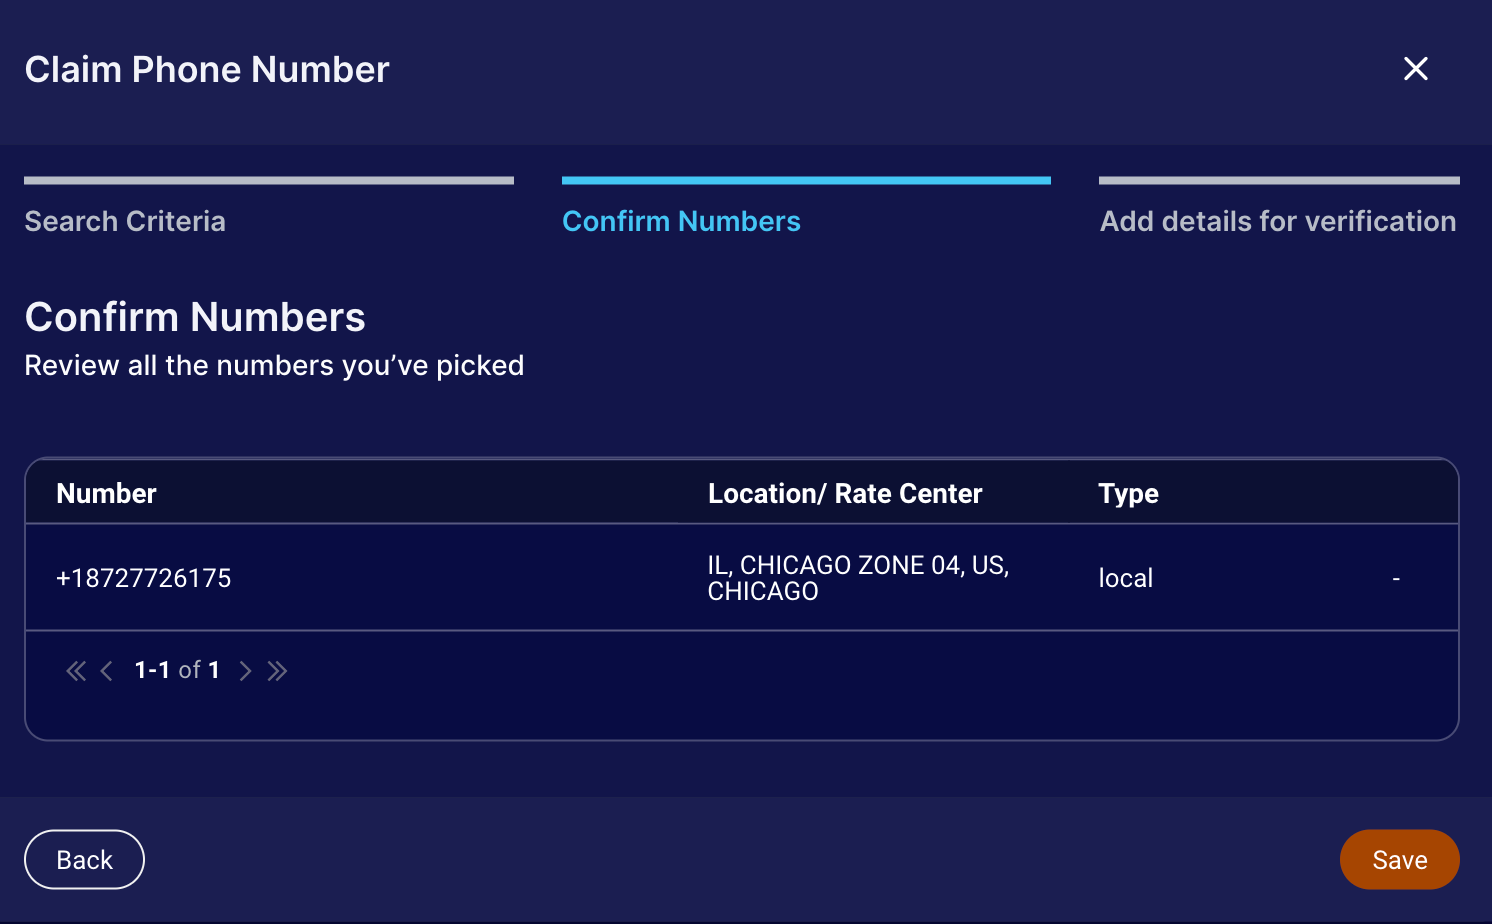
This takes you to Connectivity Profiles. (It might take a few minutes for the purchase to be completed.)
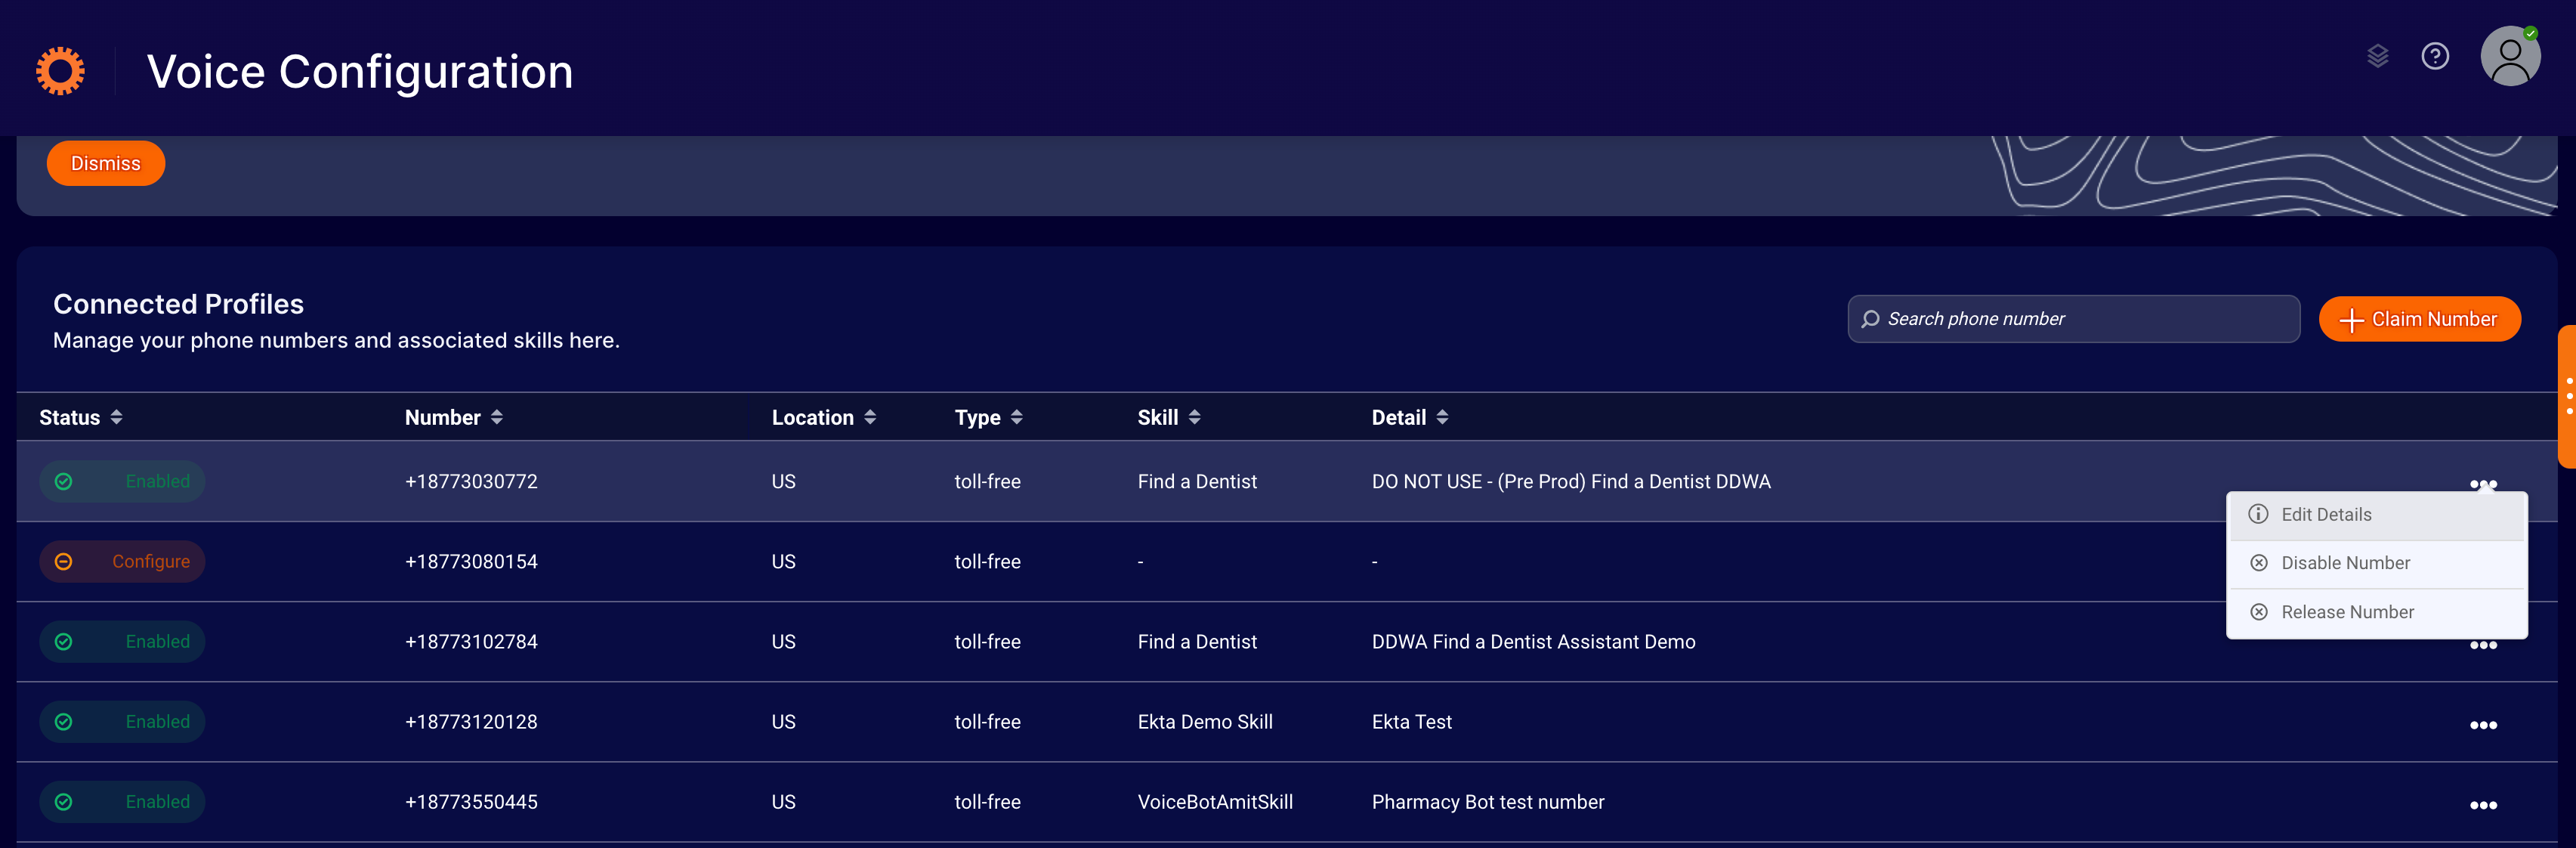
8 - Search for the number that you just claimed, and click the corresponding Edit Details option.

9 - In the Edit Details window, enter a description for the phone number, and assign the skill that you created earlier. Click Save Details.

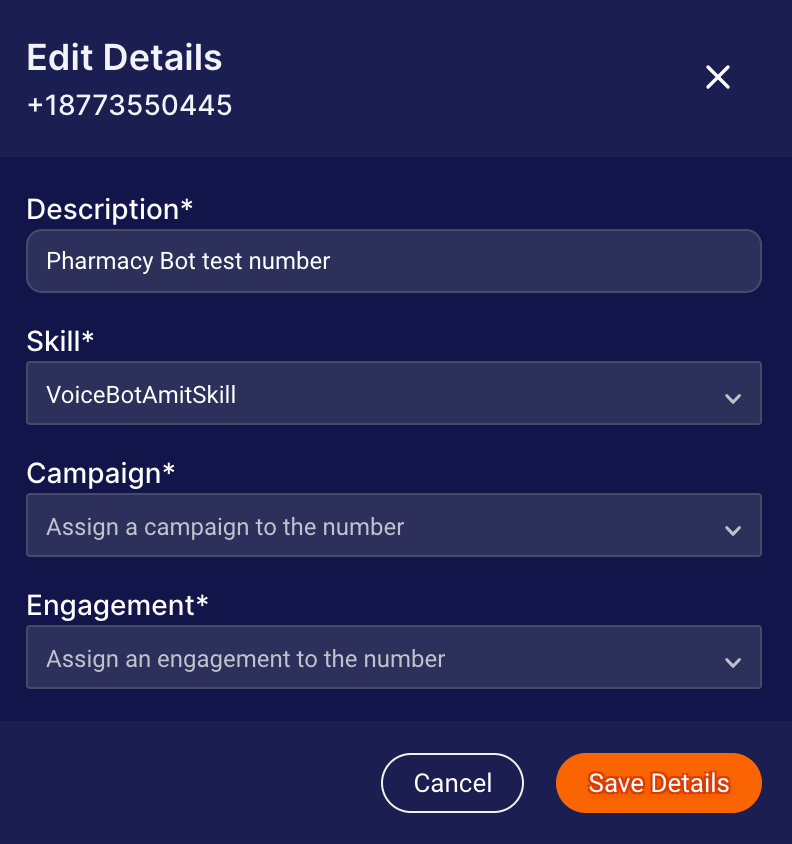
The phone number is enabled automatically and ready for use.
Claim a phone number for the European Union or Asia-Pacific region
Claiming a phone number for one of these regions can take some time and involves submitting some required documentation (proof of address, ID of contact person, etc.). Contact your LivePerson representative for assistance.
Disable a phone number
If you disable a number, it remains yours. It’s just not active (not in use) at the moment. On the consumer side of the experience, the call is simply hung up. The Voice bot is never invoked.
Disabling a number is useful when you want to temporarily stop routing calls to the Voice bot, so you can make changes to it. You can disable the number, then enable it again.
To disable a phone number
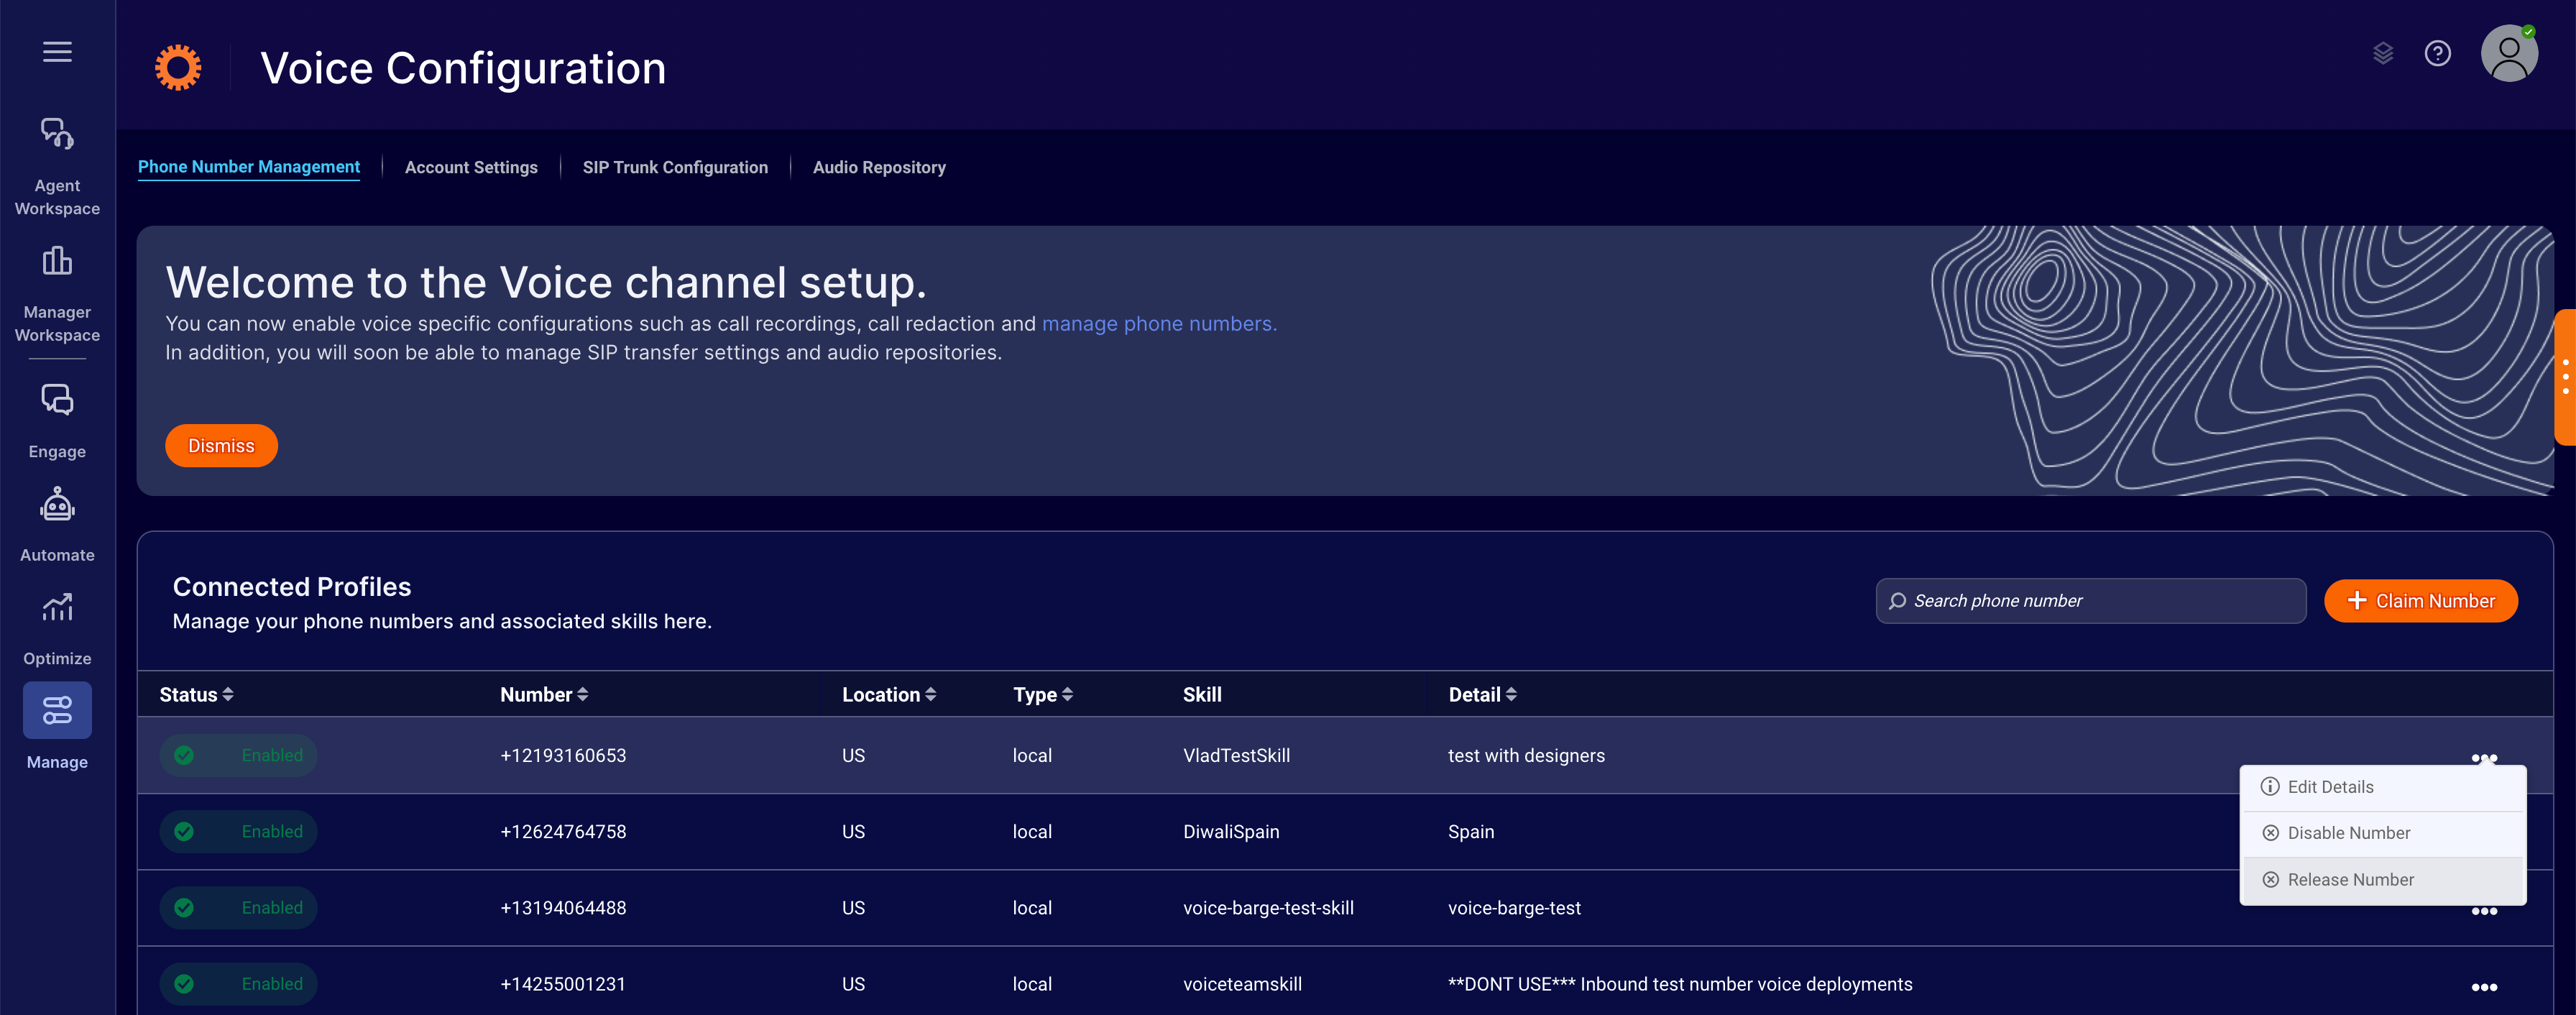
1 - In Conversational Cloud, open the menu on the left side of the page, and select Manage > Channel Setup > Voice Configuration.

2 - Select the "Phone Number Management" subtab.

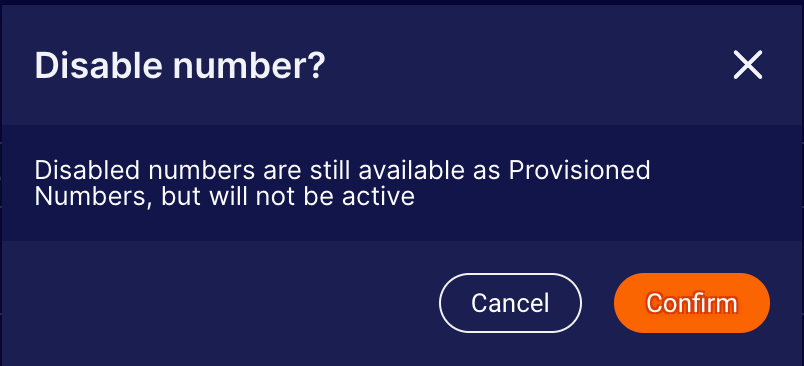
3 - Under Connected Profiles, search for the number to disable, and select Disable Number from the corresponding 3-dot menu.

4 - Click Confirm.

Release a phone number
Release a phone number when you no longer have use for it. Carefully consider this before you do so. Once you release the number, it’s no longer yours, and another brand is free to claim it.
To release a phone number
1 - In Conversational Cloud, open the menu on the left side of the page, and select Manage > Channel Setup > Voice Configuration

2 - Select the "Phone Number Management" subtab.

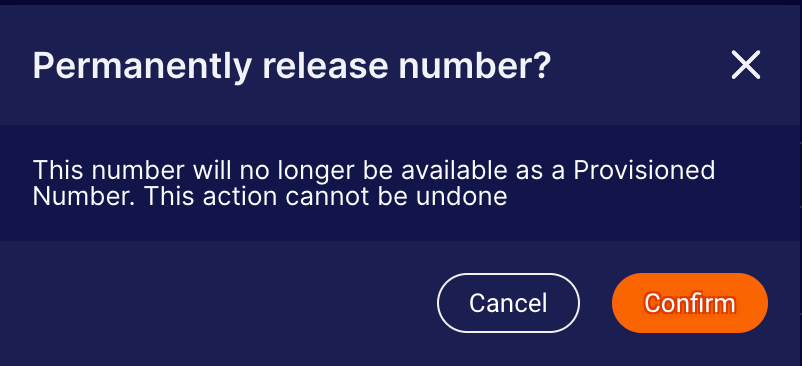
3 - Under Connected Profiles, search for the number to disable, and select Release Number from the corresponding 3-dot menu.

4 - Click Confirm.

Missing Something?
Check out our Developer Center for more in-depth documentation. Please share your documentation feedback with us using the feedback button. We'd be happy to hear from you.