Add messaging to your mobile app
The following article describes the steps you need to take in order to add Web Messaging buttons and banners to your mobile app. For additional information on setting up your messaging program as a whole, including agent experience and operations, see Getting started with messaging. If you're looking to quickly get started with our Native App SDKs, check out the App Messaging SDK for iOS and the App Messaging SDK for Android .
With campaigns for App Messaging, brands can easily create and manage digital engagements. These buttons or banners can then be placed on your brand’s mobile app, engaging your users and inviting them to message.
Mobile app engagements require the following steps to configure:
To be completed within your brand’s app by a mobile developer:
- Implement the new SDK
- Implement the SDK’s Monitoring APIs
To be completed within the Conversational Cloud by campaign manager, contact center manager, or project manager:
- Install the Mobile App application
- Create new campaigns and engagements
For an overview of campaigns in the Conversational Cloud and their terminology, click here.
1. Planning and thought starters
(completed by contact center manager, project manager or program manager)
Answering these questions will help you prepare and streamline your campaign creation process:
- Do you want one messaging button available on all pages of your app?
- Is there a dedicated place on your app that you’d like the button to display?
- Will you hard-code the button into your app? Or do you want it to dynamically display based on different criteria?
- What skills will be answering your messaging? How will you do the routing? Based on the location of the app? The type of customer?
- Are you offering service transactions? Will you need to authenticate the conversations?
- Will you utilize messaging for sales? Specific campaigns? Do you expect to track the conversations made over messaging?
- Prep the right messages for your consumers and agents
2. Mobile app configuration
(completed by mobile developers)
Add messaging to your SDK
Work with your developers to build the App Messaging SDK into your app. For information on adding the App Messaging SDK, please refer to the documentation on the Developer Center:
Engagement attributes
Determine what information you’ll need to collect and set up your engagement attributes. If you’d like your engagement to target specific customers or pages - or even track your sales and transactions - you’ll need to set up engagement attributes. Engagement attributes help you to collect more in-depth information about your visitors. In order to collect this information from your engagements, you first need to set up your engagement attributes through the mobile SDK.
By adding monitoring capabilities to your campaign, you can display tailored engagements to the right consumer at the right time. Learn more about the monitoring API and reporting on engagement attributes by following these links to the Developer Center:
3. Install the mobile app data source
(completed by contact center manager, project manager or program manager)
Before you can create engagements for your mobile app, you must first configure the mobile app data source in the Conversational Cloud. To do this, go to the Campaign Builder from the Management Console, select Data sources from the Campaign Builder footnote, and follow these instructions:
- Under “Manage” on the navigation, choose "Channel Set Up", then choose “Mobile App” -> Configure & "proceed to configure".

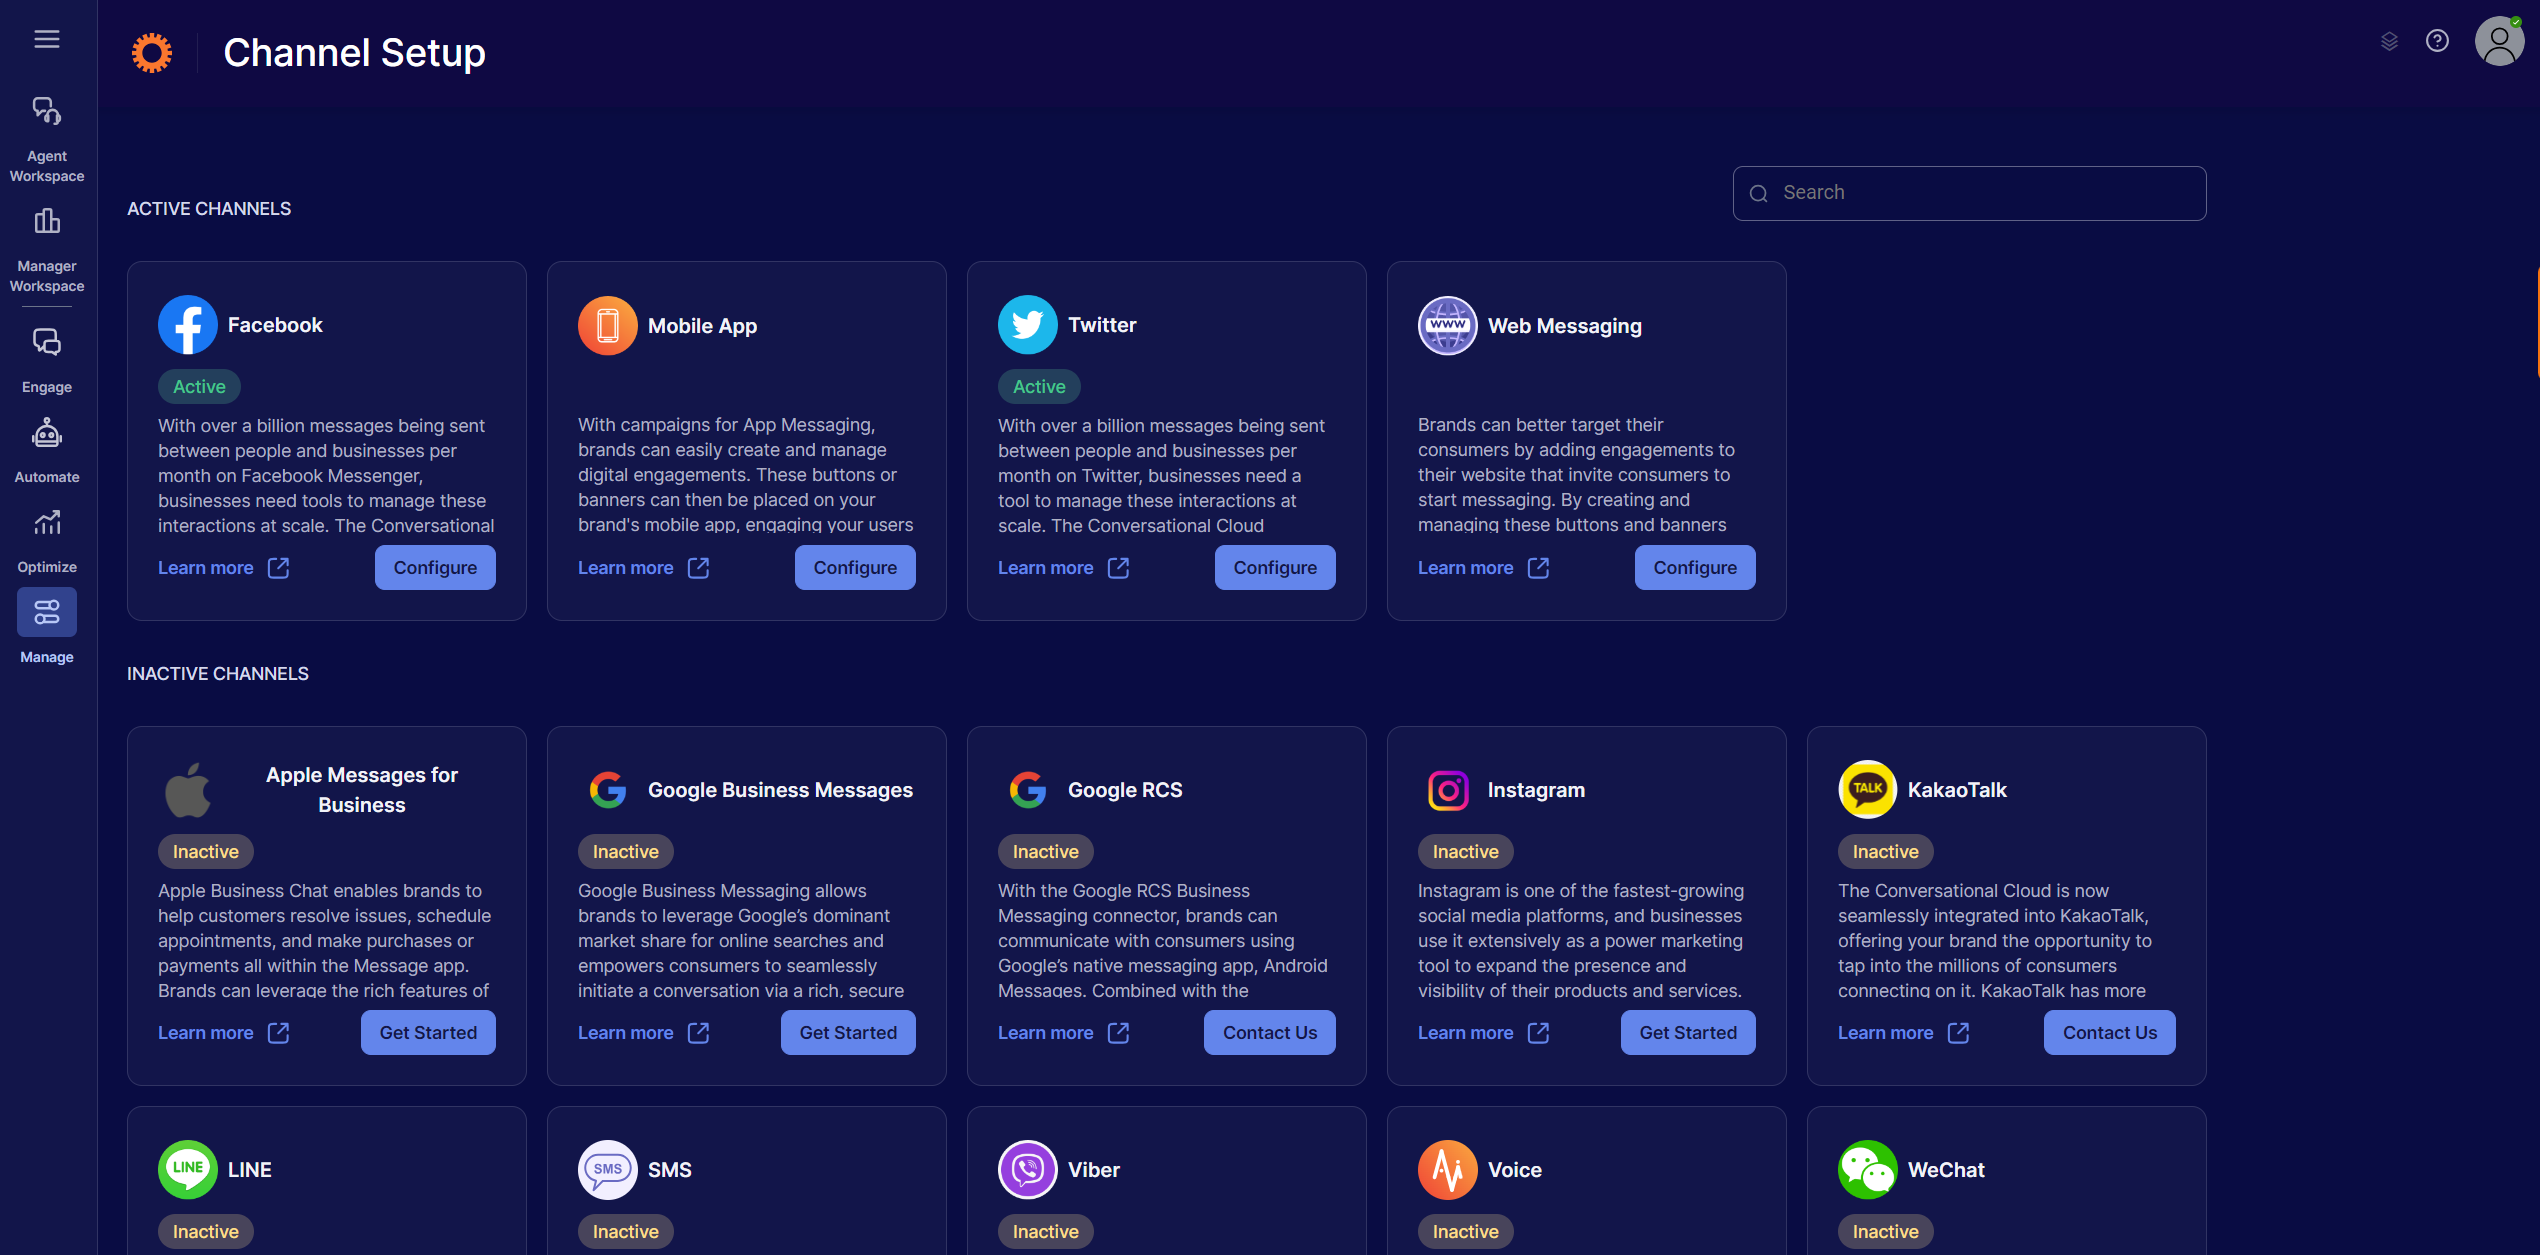
New channel set up
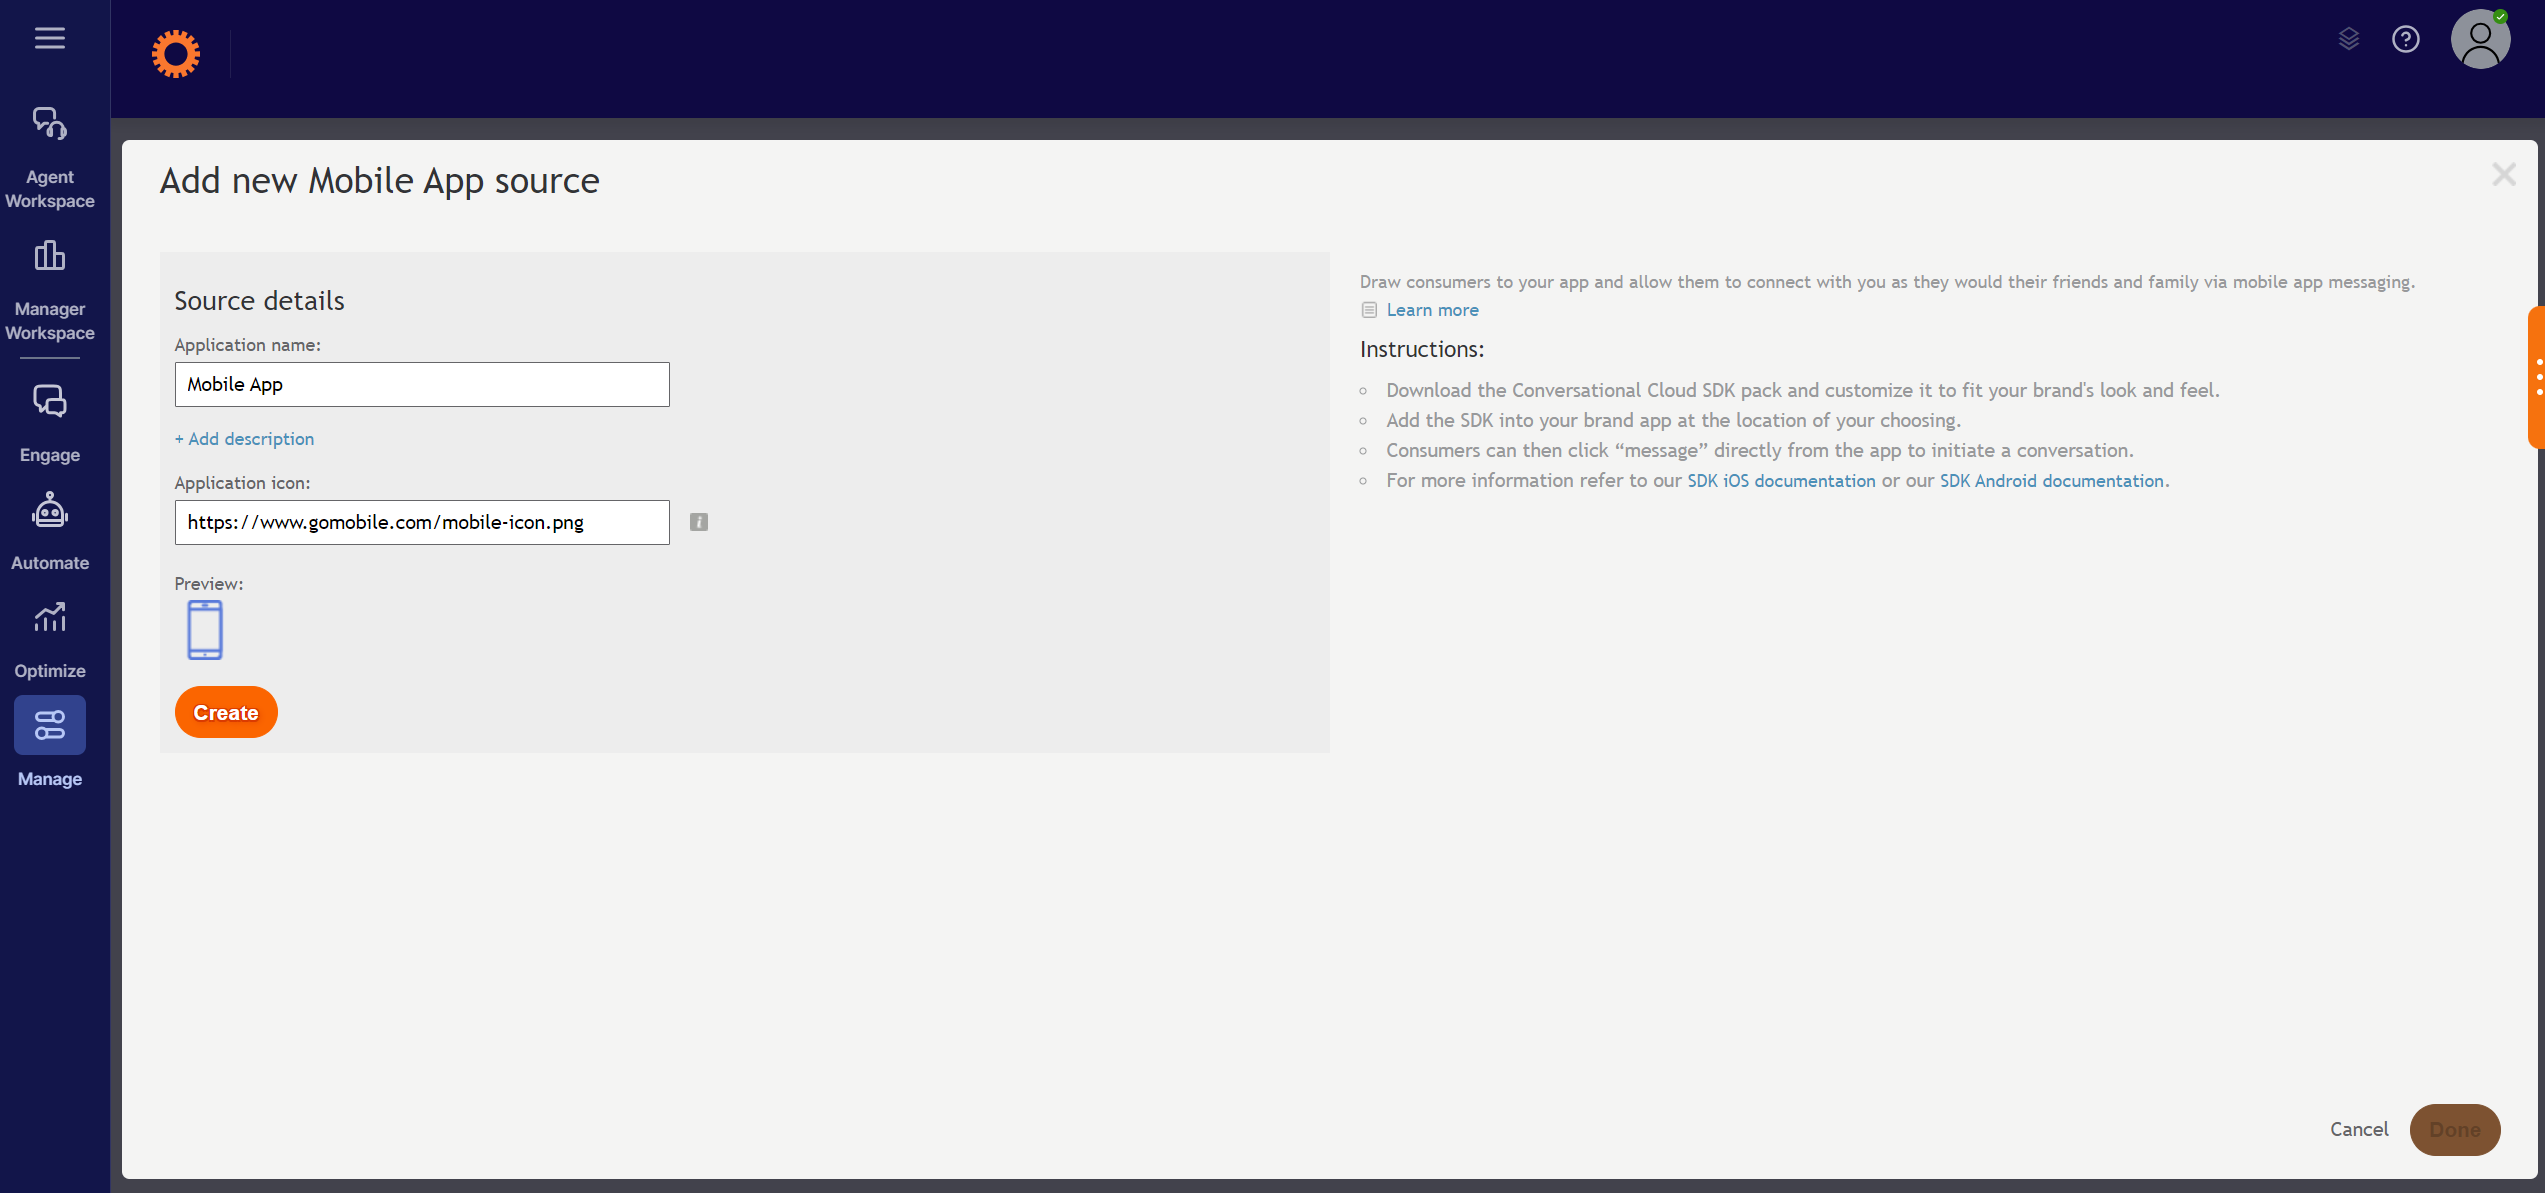
- Edit the mobile app source details
- Enter the name of your app (the default is mobile app) and add a description if you wish.
- Add an application icon by entering the URL of the hosted image. The icon should be in .PNG, .JPG or .GIF format, the recommended size is 50x50 pixels (up to 50KB) and the image should be hosted on a https site.
- Click “Create.” The mobile app will now be installed on your LivePerson Conversational Cloud account. On the same page, a new “App key” will be created, under the “Authentication details” section:
- To disable App Messaging conversations, from the Edit Mobile App source page, switch the source activation toggle to off. As a result, no App Messaging conversations will be directed to the Conversational Cloud

4. Create a campaign
In the Conversational Cloud, engagements can be added to either new or existing campaigns via the Campaign Builder.
As a best practice we recommend creating new, separate campaigns for Mobile App engagements, in order to avoid misleading reporting for existing campaigns. To do so, simply click “Add campaign” at the bottom of the Campaign Builder.
When creating a new campaign, you first need to define the following:
Click on each of these links for a more in-depth explanation. Once these items have been defined, you can begin creating your mobile engagement.
Create a new mobile app engagement
Once the app is installed on your LivePerson Conversational Cloud account and a new campaign has been set up, you can begin creating buttons or banners to engage consumers on your mobile app. These engagements are created in the engagement studio, where a campaign wizard will guide you through the process.
To create a new engagement, click “Add engagement” under the desired campaign, then select “Mobile App” as the data source. This will open the settings page within the Campaign Builder. There are three stages for creating mobile engagements: settings, entry point and behavior.


Engagement settings
On this page, you can define authentication, routing and language settings for your engagement.

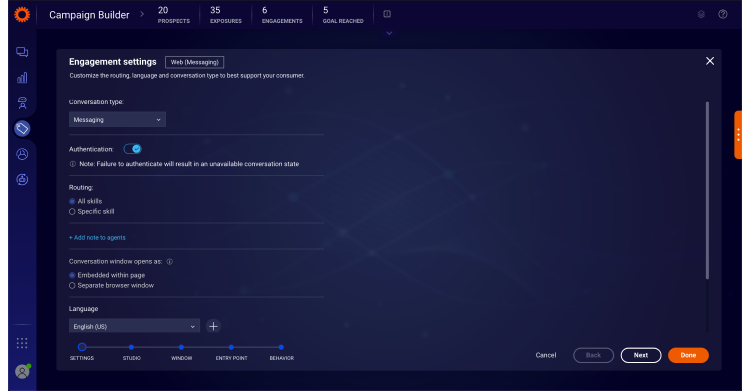
Authentication
App Messaging engagements are currently for authenticated conversations only. You will see that authentication is toggled on by default.
Routing
Under routing, you may select the skill that your engagement should be assigned to. To route to all skills, select ‘All skills’ (default), to select a specific skill, select the ‘Specific skill’ option and choose from the dropdown menu.
Note: For brands using internal routing rules defined by LivePerson’s internal system, a third option, “System routing”, will be displayed. Selecting this option will route the conversation to an available agent according to the skill selection rules defined. Contact your LivePerson representative for additional details.
Language
The engagement language selected in this step will only affect items in the Agent Workspace - namely Automatic Messages and Predefined Content - during an active conversation.
The window language displayed within the app (hardcoded texts like button text, window header etc.) is set by the consumer’s mobile device language settings. In order to understand which text elements are configured locally on the device, refer to Mobile String Localization on the Developer Center, for the full string localization keys.
Once your settings are complete, click next.
Entry point
You will now reach the entry point library. An entry point is the section within your app where the engagement will be displayed. You can choose the engagement entry point from the existing items, or click “Add new” to define a new entry point.
Note: By default only the relevant entry points for App Messaging will be displayed. To view all entry points on the account, choose ‘All entry points’ from the filter. All entry points will then be displayed, however only App Messaging entry points can be chosen. For further information on creating a new entry point, please refer here.
When you are finished defining your entry point, click next.
Behavioral targeting
The next page is the behavioral targeting library. Here you can decide when to display engagements according to your consumers’ behavior by selecting the consumer behavior conditions you wish to impose on the target audience. From the behavioral targeting library, you can choose the desired behavior from the existing items, or click “Add new” to define a new behavior.

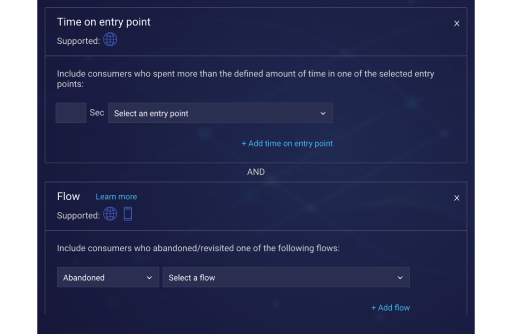
When selecting the condition, look for a mobile phone icon next to the word “Supported,” which indicates that this engagement attribute is applicable for mobile engagements. For more information on creating a new behavior, click here.
When you are finished defining your behavioral targeting, click next.
Publishing your campaign
Your new mobile app engagement is now complete. From the Campaign Summary page, you can give your engagement a name, edit all aspects of the engagement, enable or disable the engagement and publish. To learn more about publishing and unpublishing campaigns, click here.
Next steps
Once you have added the mobile engagements to your app, remember to follow the getting started with messaging article for additional important steps such as:
- Define your working hours to ensure consumers see the actual reply times
- Customize Automatic Messages
- Create pre-defined content for your agents
- Set up a routing bot
- Set up the Post Conversation Survey
Set expectations based on your actual working hours
Although you have the option to hide your messaging buttons at certain hours of the day, it is best practice to make the button appear at all times - and to set expectations for reply times. For example, if your contact center does not operate at night, you can change the automatic reply during off hours to: “Thank you for your message - we’ll answer you first thing tomorrow morning.”
Through the platform, you can also set different working hours for different skills. For example, if your sales agents works until 7pm and your customer service agents are available 24/7 - you can adjust the automatic replies to reflect an accurate response time for each. Learn how to set up your working hours here.
Customize the Automatic Messages for your brand
There are various messages that are automatically generated by LivePerson - such as ‘an agent will be right with you,” “your conversation has now ended,” etc. By default, there are messages written for various anticipated scenarios, but you can adjust and customize the language and wording to suit your branding or individual skill.
If you are communicating with your customers in multiple languages, you can also create different sets of Automatic Messages per languages. Learn how to customize your Automatic Messages.
Create predefined answers for your agents
For increased efficiency in your contact center, you can create predefined sentences and paragraphs that your staff can easily search and enter into conversations.
You can create different sets of answers for use cases such as:
- Support in different languages
- Sales promotions and benefits
- Frequently asked questions
- Processes for various inquiries
As you create campaigns, you can create messages that are specific to that topic or campaign and assign it based on skill or languages. Click here to learn how to import predefined content.
Set up a routing bot
A routing bot can identify the intent of the consumer, i.e., the reason why they have requested to message with you. The bot then routes the consumer to the relevant skill that can handle the inquiry. For practice with routing conversations based on intent, complete the in-depth Conversation Builder tutorial series.
Set up the Post Conversation Survey
The Post Conversation Survey enables brands to gather feedback from consumers at the end of conversations and measure their success across all messaging channels. The survey is delivered in a conversational experience, driving higher completion rate and helping you to improve customer satisfaction. To learn more about the Post Conversation Survey and how it is configured, click here.
Missing Something?
Check out our Developer Center for more in-depth documentation. Please share your documentation feedback with us using the feedback button. We'd be happy to hear from you.