LivePerson Conversation Builder quick start
Create a "Hello World" bot using LivePerson Conversation Builder.
Step 1: Log in and access Conversation Builder
- Log into the Conversational Cloud.
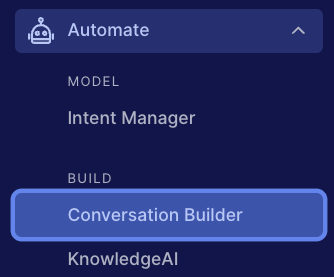
- Open the menu on the left side of the page, and select Automate > Conversation Builder.

Step 2: Create a "Hello World" Messaging bot
1 - In Conversation Builder, click New Bot in the upper-right corner.
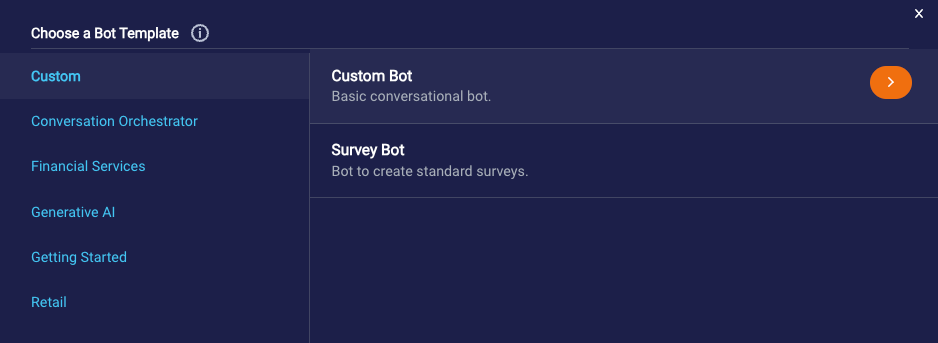
2 - Select the Custom Bot template.

3 - In the dialog that appears, specify the following:
- Name: Enter a unique name, such as "Hello World."
- Description: Enter a meaningful description.
- Channel Type: Select "Messaging."
- Bot Language: Select a language.
4 - Click Create Bot.
Since you selected the Custom Bot template, by default this creates a bot with a “Welcome” dialog that matches and responds to simple forms (patterns) of “hello.” The bot also has a Fallback dialog with some fallback text.
5 - In the Dialogs panel on the left, click 1 Welcome and 2 Fallback to open and examine both dialogs.
6 - Preview the bot:
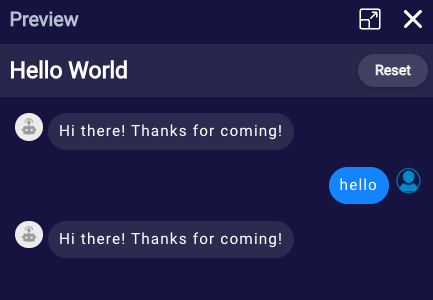
6a - Click Preview in the upper-right corner of the screen to open the Preview window.
6b - Enter “hello” and click Send. You will see the response, “Hi there! Thanks for coming!”

Congratulations! You’ve just created your first bot!
Step 3: Customize the interaction
Add a new pattern
1 - If the Welcome dialog isn't already open, open it by clicking 1 Welcome in the Dialogs panel on the left.
2 - Select the first interaction (a Dialog Starter interaction), and click the pattern that's displayed directly on the tile.

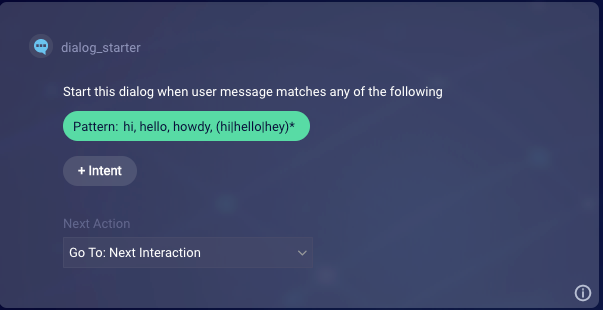
3 - In the Interaction Settings dialog, under Patterns, enter "aloha," and press Enter.

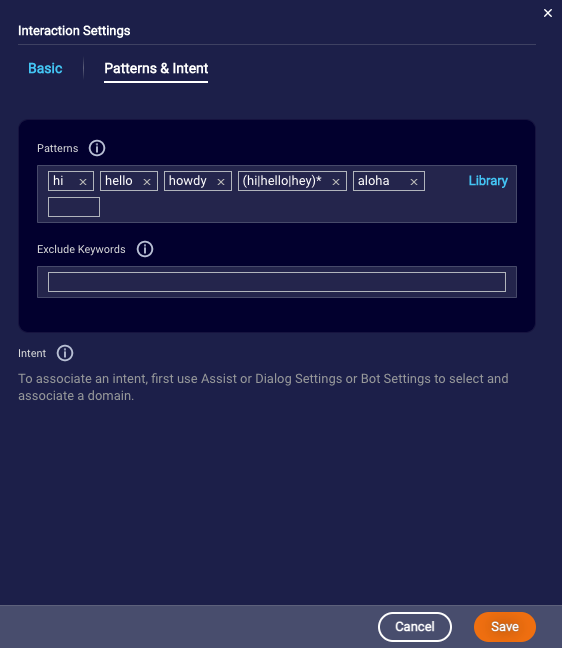
4 - Click Save.
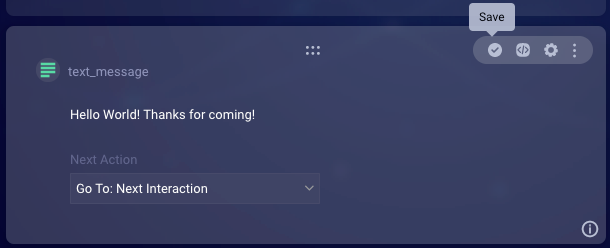
5 - Select the second interaction, and change the text statement from "Hi there!" to "Hello World!"
6 - Click the interaction's Save button.

Preview the bot again
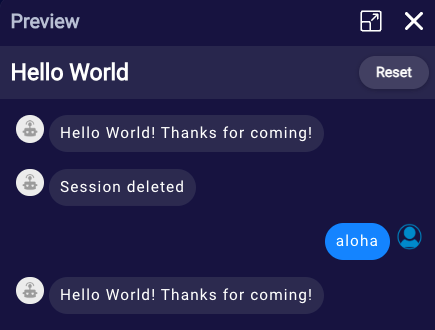
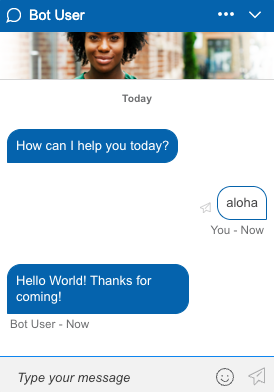
1 - Open the Preview window like you did before, and start a new session by clicking Reset in the upper-right corner.
2 - Enter “aloha.” You will see that the bot responds to this new greeting with "Hello World!"

Step 4: Connect your bot to the Conversational Cloud
Create the skill and user agent
In this step, you create a user agent for the bot. The user agent will have an assigned skill, which you'll create on the fly when you create the user agent.
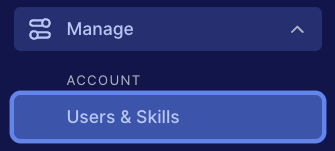
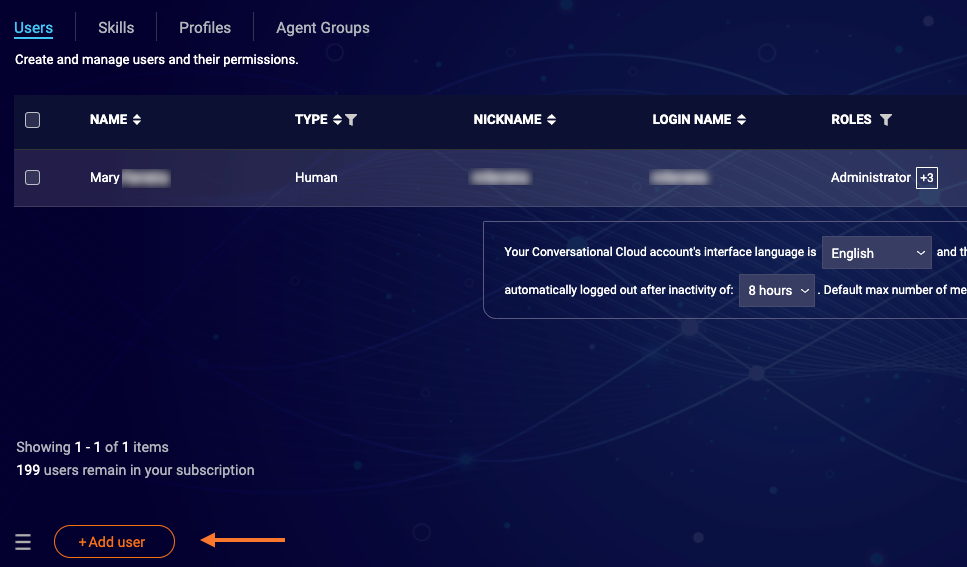
1 - Open the menu on the left side of the page, and select Manage > Users & Skills.

2 - Click + Add user at the bottom of the page.

3 - On the Add User page, specify the following:
- User type: Set this to "Bot." If you don't see this field, contact your LivePerson representative to enable this for you.
- Login name: Enter any value, e.g., "myBotUser."
- Email: Enter any value. Your own email address works fine.
- Nickname: Enter any value, e.g., "Bot User."
- Name: Enter any value, e.g., "Bot User."
- Choose login method: Select "API key."
- Api key: Select "Generate API key" from the dropdown list. This fills in the keys automatically. If you don't see the "API key" option, contact your LivePerson representative to enable this for you.
- Assignment: Click this field, and select "Agent" from the list that appears.
- Skills: Click this field, and enter "Bot." Then click the "Create skill" link that appears dynamically.

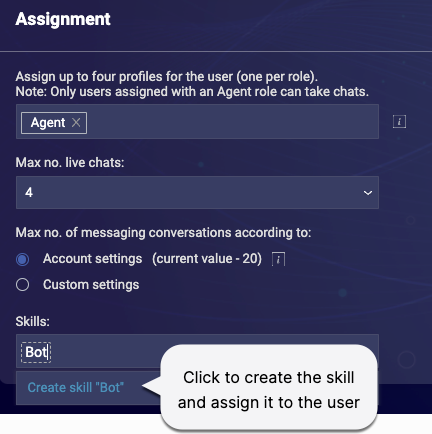
4 - Click Save.
Assign the bot skill to an engagement
You will test the connection with a standard Messaging engagement, so now you create a campaign and an engagement that routes to the new Bot skill.
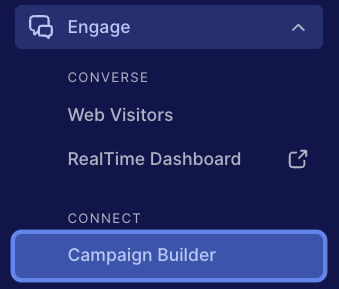
1 - Open the menu on the left side of the page, and select Engage > Campaign Builder.

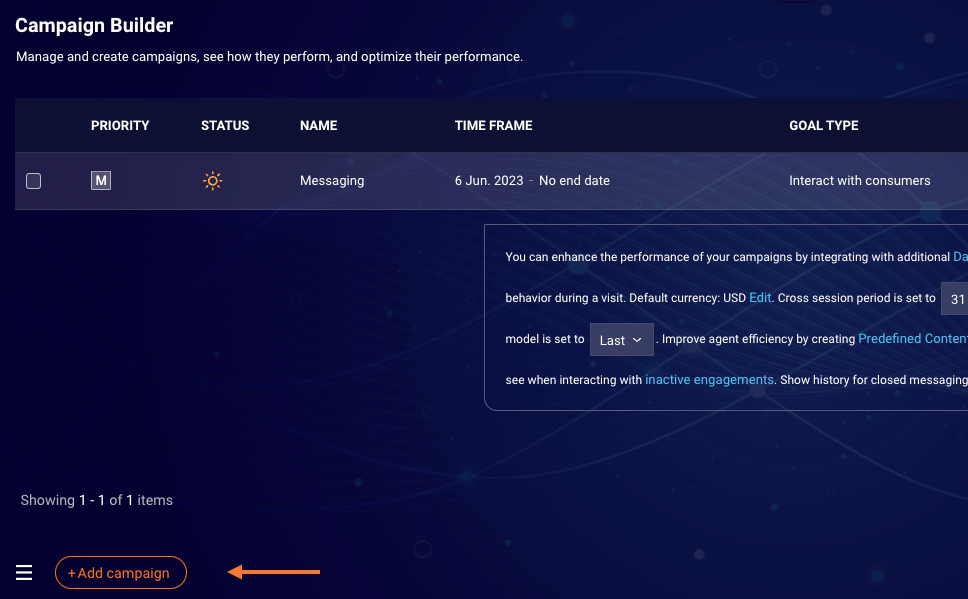
2 - Click + Add campaign at the bottom of the page.

3 - On the page that appears, specify the following:
- Campaign name: Enter "My Bot Test."
- Campaign goal: Click + Add goal, select "Interact with consumers" on the page that appears, and click Done.
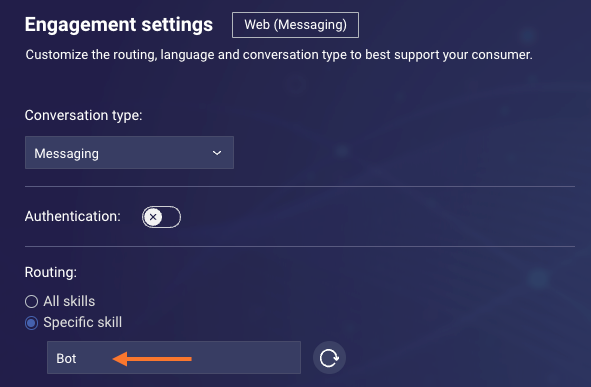
- Engagement: Click + Add engagement. For the engagement source, select "Web." In the gallery that appears next, select a messaging template, and click Next. In the Engagement Settings that appear next, select "Messaging" for the Conversation type. For Routing, select "Specific skill," and then select the "Bot" skill.

4 - Click Next.
5 - In the Engagement Studio, click Next.
6 - In the Engagement Window Library, click Done.

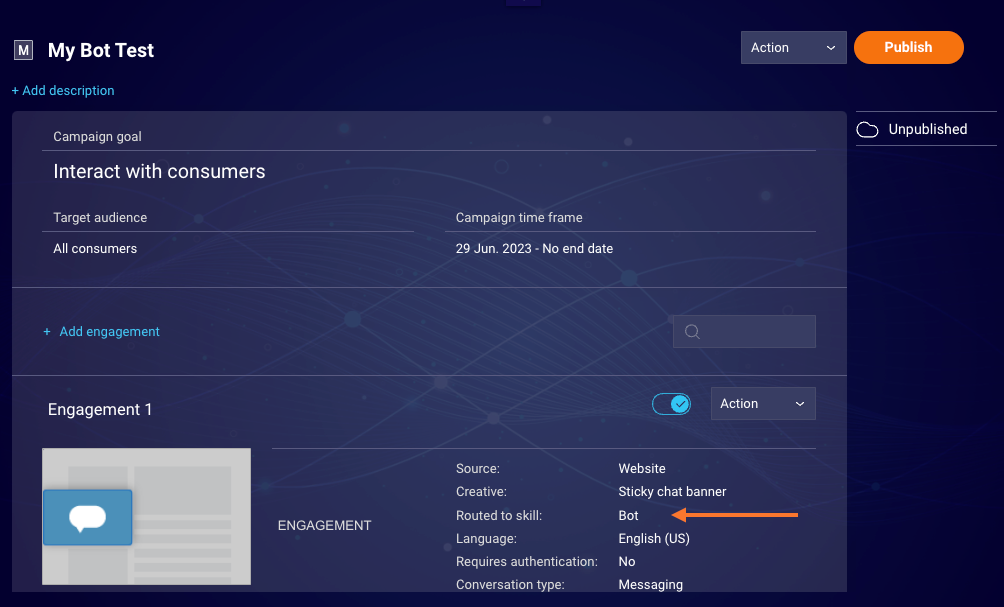
7 - Click Publish in the upper-right corner, and then click Publish again to confirm the action.
Deploy the bot to the Conversational Cloud
Next, you use Conversation Builder to connect your bot to the bot agent you just created and get the connection running in the Demo environment.
1 - Return to Conversation Builder: Open the menu on the left side of the page, and select Automate > Conversation Builder.
2 - Open your Hello Word bot.
3 - Click Agent Connectors on the menu bar in the upper-left corner. (If you don't see the option, check the 3-dot menu icon.)
4 - Click Add Agent Connector in the upper-right corner.
5 - In the Add Agent Connector dialog box, specify the following based on the bot user you created.
- Agent User ID: Select “myBotUser.” This is the login name you used for the user agent.
- Role: Select "Agent."
- Conversation Type: Select "Messaging."
- Deploy to: Select "Demo." The Demo environment is a testing environment.

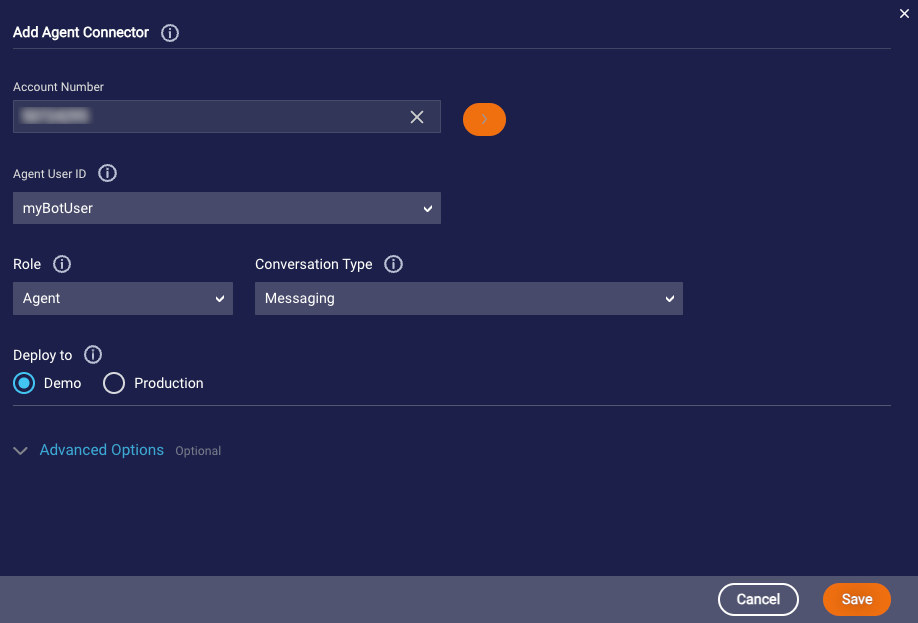
6 - Click Save.


7 - Click Start to start the agent connector.
This fully deploys the bot. It might take a few minutes for the connection to be established.
Test your bot
1 - In a browser, navigate to this test page.

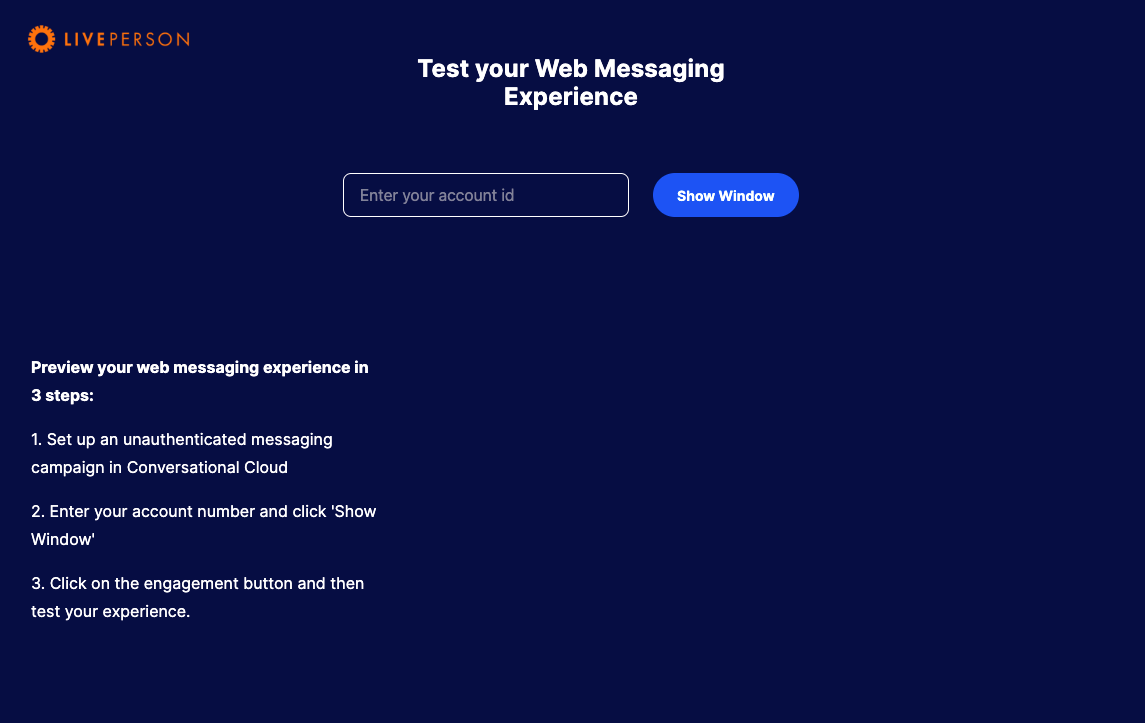
2 - Enter your account number, and click Show Window.
3 - Click the Messaging call to action. This connects you with the bot in the Bot skill.


4 - Test the bot. In the Messaging window, enter a greeting (such as "aloha"), and press Enter.

Step 5: Expand the capabilities of your bot
- Extended Getting Started tutorial: Expand the capabilities of your bot using intents and integrations. Learn how to transfer a bot conversation to a live agent.
- Bot templates: Reference bots for common use cases, such as Routing, FAQ, Lead Generation and Order Status.
- Intent Builder: Learn about intents, how to build new ones and how to incorporate them into your bot.
- Bot Analytics: Visualize and tune the performance of your bot with usage and intent matching metrics.
Additional quick start guides
Missing Something?
Check out our Developer Center for more in-depth documentation. Please share your documentation feedback with us using the feedback button. We'd be happy to hear from you.