Export the “All Calls” Analytics report
Overview: This article provides a quick walkthrough for exporting the complete, itemized call report from Analytics.
Configure and export the report
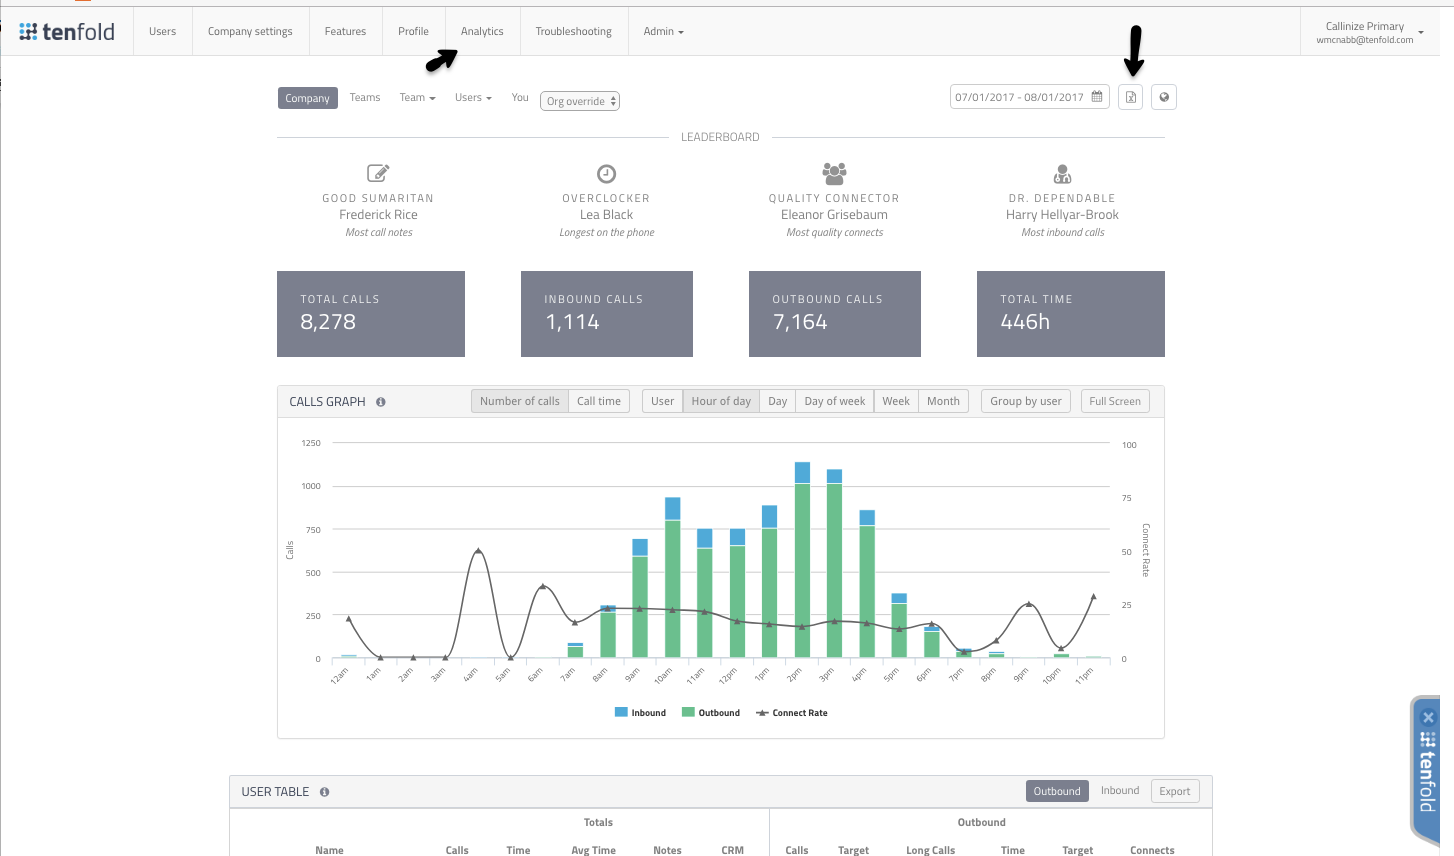
- Navigate to the Tenfold Dashboard > Analytics page.
- Select the desired date range for the report, and then click the “Reports” button.

- Select “All Calls” in the dropdown menu.
- NOTE: There should be a timer icon indicating the report is loading.

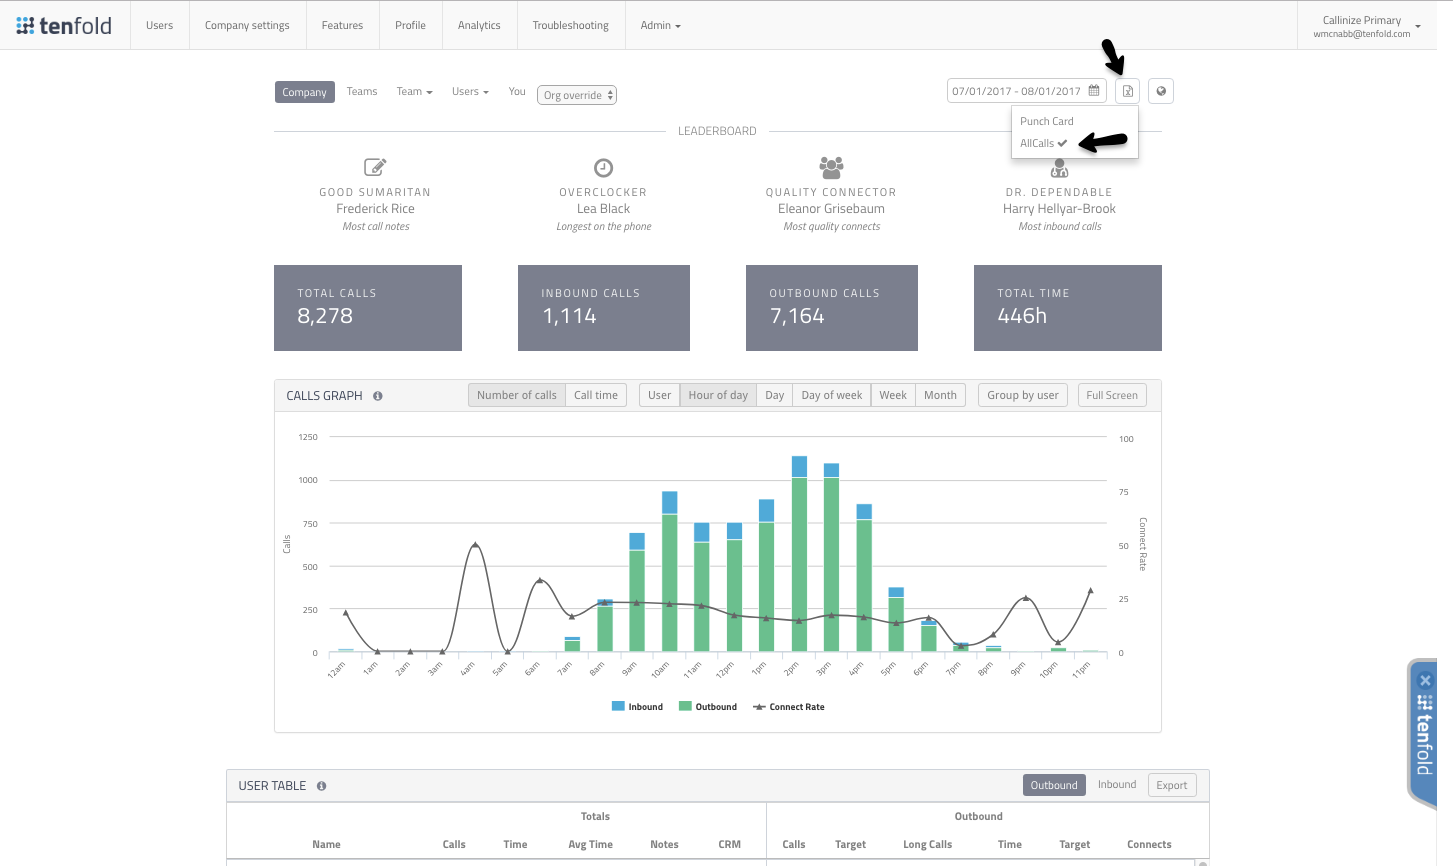
- The timer icon will change into a checkmark when the report is complete. This is sent to the email you are using with Tenfold.
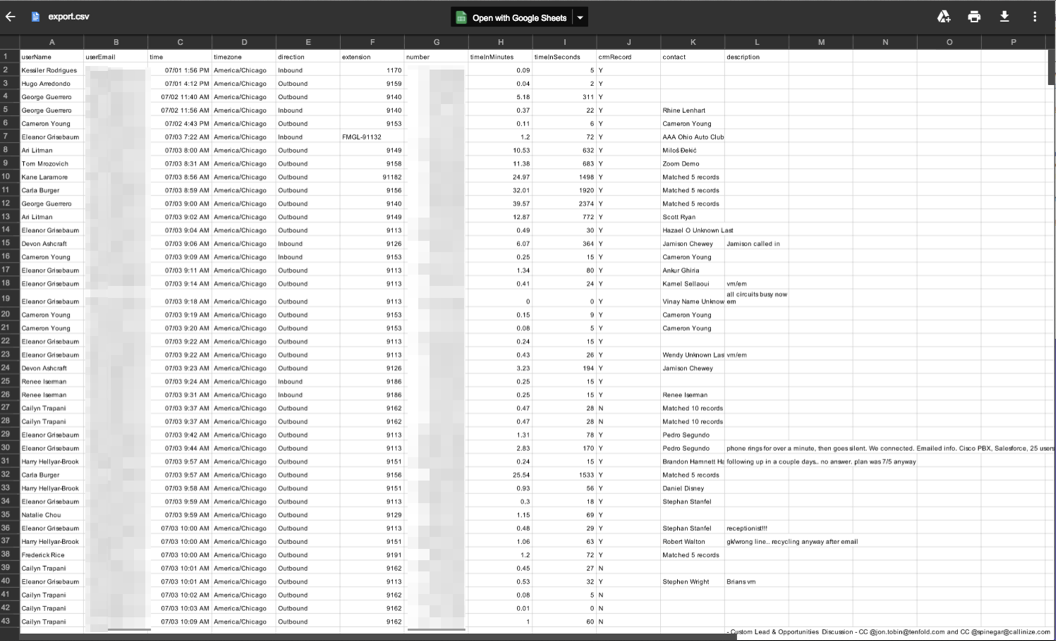
You should see an email from “Team” titled “[Tenfold All Calls report]”. This will have a spreadsheet attached that has all calls made by your organization within the designated date range. You can open this report with any compatible spreadsheet application.

Missing Something?
Check out our Developer Center for more in-depth documentation. Please share your documentation feedback with us using the feedback button. We'd be happy to hear from you.